Plants that thrive in wet or moist places
I like to say that plants can be as fussy as a 2-year-old facing a plate of overcooked broccoli. Plants know what they want, and will not behave the way you want them to unless you accommodate their wishes. Today let’s look at a few that love wet feet.
First, please understand that plants need oxygen but do not get it from their leaves. No; they get oxygen from their roots. Some plants have evolved ways to get their oxygen despite sitting in water-logged soil while others quickly drown or develop root rot. If you have heavy clay soil that holds water, be sure to pick plants that can tolerate wetness.
I have a small stream running through my property, so much of my land stays quite moist, even in dry summers. In spring I often have standing water between raised beds in the vegetable garden. Yet I have plenty of wonderful flowers that thrive here. Here are a dozen I like, arranged roughly according to bloom time, from early spring to late fall.
1. The drumstick primrose (Primula denticulata) blooms in early spring in hues of blue to red or white. Then comes P. kisoana, which spreads by root in either wet or dry places. Last, starting now, there is the candelabra primrose (P. japonica) which sets out a series of blossoms on an increasingly tall stem over a month of bloom time. All love growing under old apple trees in dappled shade.
2. Forget-me-nots (Myosotis sylvatica). I have these blooming now by the hundred everywhere I look, sun or shade. These lovely low-growing blue (or sometimes pink or white) flowers self-sow bountifully. They prefer rich moist soil and will do well in sun or shade. Because they come back from seeds so easily we let them bloom, then often pull them out like weeds to plant something else.
3. ‘Thalia’ daffodil. Most bulbs require good drainage, but ‘Thalia’ does fine in soggy soil. She is nearly white, and each bulb can produce three flowers at once. She blooms with the forget-me-nots. Order now for fall planting.
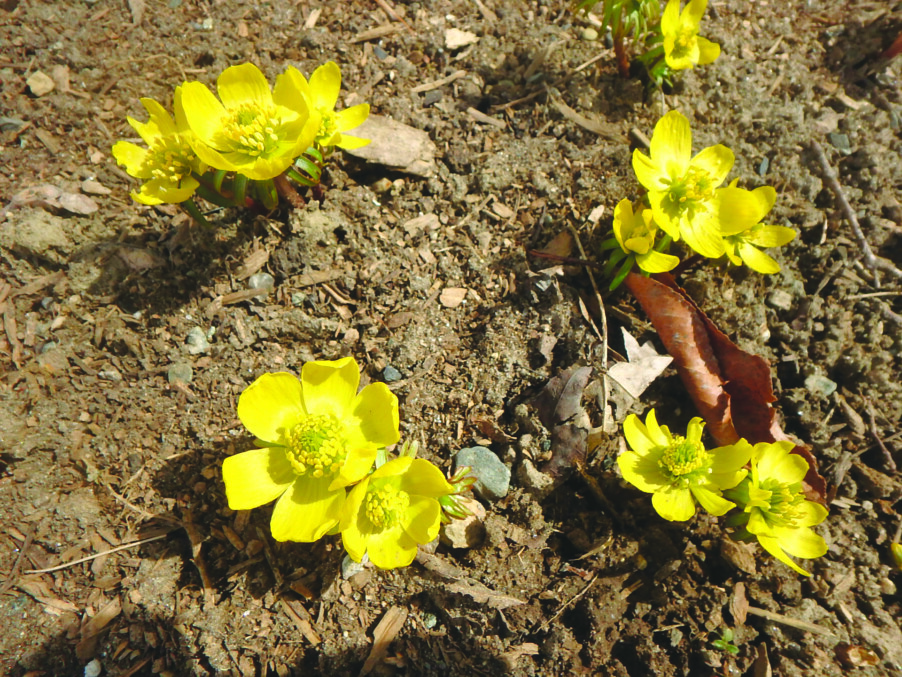
4. Globeflower (Trollius spp.). An early summer bloomer, it does best in part sun and moist soil, but will also grow in ordinary garden soil and in full shade. The blossoms are an inch or so across and bright yellow. Blooms in late May to June, but may sometimes re-bloom in the fall.
5. Japanese iris (Iris ensata). These beauties will bloom in standing water or in damp soil. They are like the Siberian iris, but their falls (petals) lay back almost flat. Blues and purples. Early summer.
6. Cardinal flower (Lobelia cardinalis). These flowers are native plants that bloom on 3-foot stalks in fire engine red! I’ve seen them growing on the banks of the Connecticut River, but they do well in moist soil and full sun in my garden. Will tolerate some dryness, but prefer wet. I avoid modern hybrids that are other colors but not as hardy.
7. Swamp milkweed (Asclepias incarnata). Related to ordinary milkweed, this likes moist soil and full sun. Unlike the wild one, this does not send runners out and spread by root. Mine get 3 to 5 feet tall and come in pink or white. Readily available at garden centers.
8. Astilbe (Astilbe spp.) These flowers come in red, pink and white and various heights. They can survive in drier soil in shade, but really love moist, rich soil and full sun. Good cut flower with an almost woody stem.
9. Goldenrod (Solidago spp.). There are many species, some of which spread by root while others do not. It is the very best perennial for supporting pollinators. Mid-summer to fall. ‘Fireworks’ is my favorite.
10. Joe Pye weed (Eutrochium purpureum). This is a native plant that thrives on stream beds and swampy areas that has been domesticated. A cultivar known as ‘Gateway’ is the best but gets to be over 6 feet tall. ‘Baby Joe’ is supposed to be a smaller version, but I haven’t tried it yet. Pollinators love this plant, which blooms in fall with pinky-purple blossoms.
11. Turtlehead (Chelone lyonii). Gorgeous tall stems loaded with pink flowers shaped like helmets – or turtle heads. Will do sun or shade, loves moisture but will grow in ordinary gardens, too. Bumblebees force themselves inside, and seem to growl in there at times. Great cut flower. Fall.
12. ‘Henry Eiler’ rudbeckia. One of the latest flowers I grow. Petals are distinctive: They have space between each one, like missing teeth. Tall, often 6 feet or more. Needs to be staked early, or perhaps cut back in early June to reduce height. Blooms past frost. Full sun, rich moist soil.
If you have a clay-based soil that is sticky when you rub it, wet, between your fingers, you would do well to add compost to the soil before planting any of these lovely flowers. Yes, they like the moisture clay holds, but compost — a shovel or more mixed into the planting hole — will improve their performance.
I’m pleased to report that our new young dog, Rowan, is learning to stay out of garden beds. He’s an 18-month-old golden/Irish setter mix with lots of energy. But so far, he hasn’t dug up any plants.
Featured photo: Pollinators are attracted to Swamp milkweed by color and scent. Photo by Henry Homeyer.