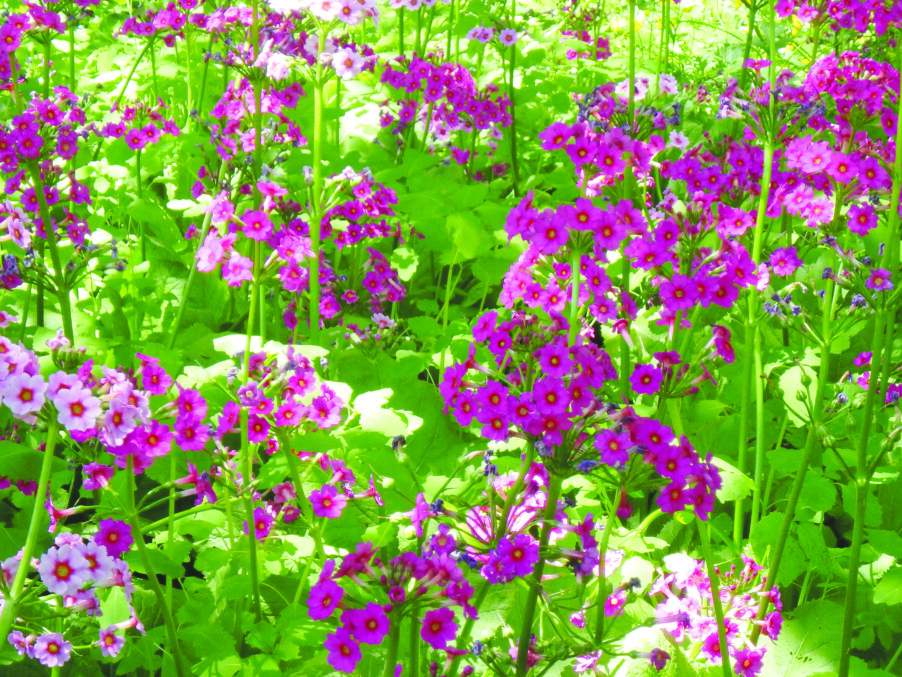
I’ve heard it said that June is the most common month for weddings. I’m not sure why, but my theory is that June, despite black flies and noxious ticks, is a great month to be outside for wedding receptions. Roses are in bloom, as are peonies, iris and so much more.
Roses have evolved considerably since I was a boy in the 1950s. Breeders have created modern hybrids that are disease-free and bloom almost non-stop all summer. In the old days rosarians sprayed roses regularly with various poisons to minimize damage from fungal diseases and insect pests.
Many old-fashioned roses bloom mostly in June and are deliciously fragrant. New hybrids will bloom more or less continuously all summer if in full sun, but most are not fragrant. And they are rarely attacked by insects as they have no scent that would attract them. Since I’m technically a geezer, I should grow the old-fashioned roses — but I like these new hybrids.
There are several lines of trademarked roses. I love the ‘Knock-Out’ roses. They are winter hardy (in Zone 4) and offer blooms until October for me. Everything the Proven Winner people grow — annuals, perennials, roses — does very well. Their ‘Oso Easy’ line of roses is well-regarded, but I haven’t personally grown any.
My wife loves heirloom roses and has had great luck buying some from Old Sheep Meadows Nursery in Alfred, Maine. And if they will grow in Alfred, Maine, they will grow where you are. According to his website, the owner, Raymond Graber, has been growing roses in Maine for over 60 years. He has a wealth of knowledge and he is happy to share it.
Three bits of knowledge I can share about roses: 1. They love — and need — plenty of water. Water daily in hot or dry times. 2. They like dark, rich soil and some added garden lime and slow-release organic fertilizer at planting time. 3. Although six hours of sunshine or more is recommended, most will do fine with four. You don’t have any roses? Go buy a few. We only live once.
Most plants have a finite lifespan. Many perennials will die out in 10 years. Some trees last a hundred or more. But I often say, “Properly planted, peonies will live forever.” My maternal grandmother, Anna Lenat, died in 1953 when I was just 7 years old. My mother dug up one of her peonies and brought it to our home in Connecticut. I dug it up again in 1984 and divided it, leaving half with my mom, and planting half at my home in Cornish, New Hampshire. The roots or tubers, presumably more than 100 years old by now, still produce plenty of blossoms.
I always recommend buying peonies in June when they’re in bloom — seeing is believing. Some are fragrant — even heavenly fragrant — while others are not. Some have stiff, strong stems, while others flop even on sunny days from the weight of their magnificent blossoms. “Single” peonies have just one row of petals so are less prone to flopping. But most common are the doubles: gorgeous, but with so many petals they flop when it rains.
Peony rings are wire cages sold to hold up flower stems even on rainy days. Most are too low to really do the job right. Plus, you have to remember early in May to install them. By now mature plants are too big to fit the cages over them. My solution is to poke three bamboo stakes firmly into the soil around each plant and then connect them at the appropriate height with green garden twine. If you were a Scout, you may remember learning to tie a clove hitch. That’s the knot you want.
If you bought a nice peony a few years ago and it no longer blooms, you may have planted it too deeply or covered the “nibs” (growing points) with too much mulch. Feel around the plant to see where next year’s growth will emerge from little pointy nibs. More than an inch of cover will often inhibit blooming. Yes, you will have a healthy plant — but no blossoms.
My great Great-Granny told me that peonies need ants crawling around on the buds for them to open. Not true. Peonies attract aphids, and ants come to harvest the sweet “nectar” that is their poop.
Other great June flowers in my garden include gas plant (Dictamnus albus), which has an intense citrus odor that is strongest at dusk to attract night-flying moths.
Delphiniums are wonderful plants with stalks often over 5 feet tall and loaded with blue, purple or white blossoms. But you do need to stake them to keep them upright in the rain. Scratch in some slow-release organic fertilizer each spring as they are heavy feeders. And if you cut them back to the ground after blooming, they probably will re-bloom in the fall.
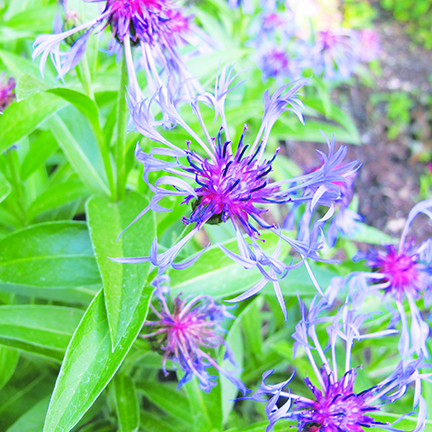
Perennial bachelor buttons (Centaurea montana) are easy to grow and make good cut flowers. Blue to purple, they love sun and will make you feel like you have made it as a gardener.
All the flowering plants are wonderful. Think back to what your parents and grandparents grew. That’s a good place to start shopping. Or better yet, see if you can dig some plants from their gardens if they will let you.
Henry can be reached at PO Box 364, Cornish Flat, NH 03746 or henry.homeyer@comcast.net. He is the author of four gardening books.
Featured photo: Bachelor buttons have unusual, spidery flowers. Photo by Henry Homeyer.