Holiday gifts for the gardener
I love the holiday season: the lights, the carols, the cookies and more. It’s a good antidote to the news, and to the gray and chilly weather. Last summer many gardening necessities sold out as so many people were quarantined at home and took to gardening. So I recommend getting presents now, before everything is sold out. Here are some ideas for presents to gardeners.
Nice pots are good presents, for growing plants on the deck or just for their sheer beauty. For my birthday this year my wife gave me an urn made by Brattleboro, Vermont, potter Stephen Procter. It is 20 inches tall, a foot wide in the middle and tapering to a six-inch neck. His website, stephenprocter.com, shows mostly huge pots, some six feet tall, but he makes smaller things like mine, too. And your garden center will offer a wide variety of nice pots for growing things, too.
We all need hand tools, and sometimes we lose them. So you can always give a weeder to your loved one. The best of these, in my opinion, is the CobraHead weeder with its curved single tine that is great for teasing out roots of grasses and invasive weeds, or for use at planting time to loosen the soil. It’s available locally or from CobraHead.com for about $28 including shipping, and made in America.
Last summer was dry, so watering devices and accessories were hard to buy locally much of the time. One item that is a bit of luxury, for me, is a three-way or four-way splitter for the hose. Look for a good, heavy-duty metal one at your local garden center. Why four-way? One for each hose. No more disconnecting and reconnecting hoses. Price? Around $30. Give a five- or six-foot hose to go with it, to attach to the spigot and the splitter. Under $10.
Another watering device is a watering wand. Dramm is the best because their wands deliver a lot of water in a gentle fashion. I like a 30-inch wand with a built in on-off controller. Around $25.
I like adding height to the garden, and an easy way to do this is with Gardener’s Supply’s “Essex Round Trellis.” It comes in five-foot and seven-foot heights, and I selected the taller one to grow my morning glories next year. Metal, easy to assemble, $60 or $80. It will look good in the garden all winter, too.
Also from Gardener’s Supply I got some metal edging. It comes in a variety of lengths and assembles and installs easily; it’s sold as 12- to 24-foot kits in a variety of metals and finishes for $43 to $80. These bend nicely and create a finished look for a flower bed.
I love gardening books. I realize that the web has a lot of information, but nothing beats a book in my hands as I settle in on a cold and snowy day.
Norwich, Vermont, garden designer Bill Noble came out with a beautifully illustrated book this year, Spirit of Place: The Making of a New England Garden (Timber Press, $35). It is a lovely description of his gardens – and the thought processes that went along with doing this over a long period of time.
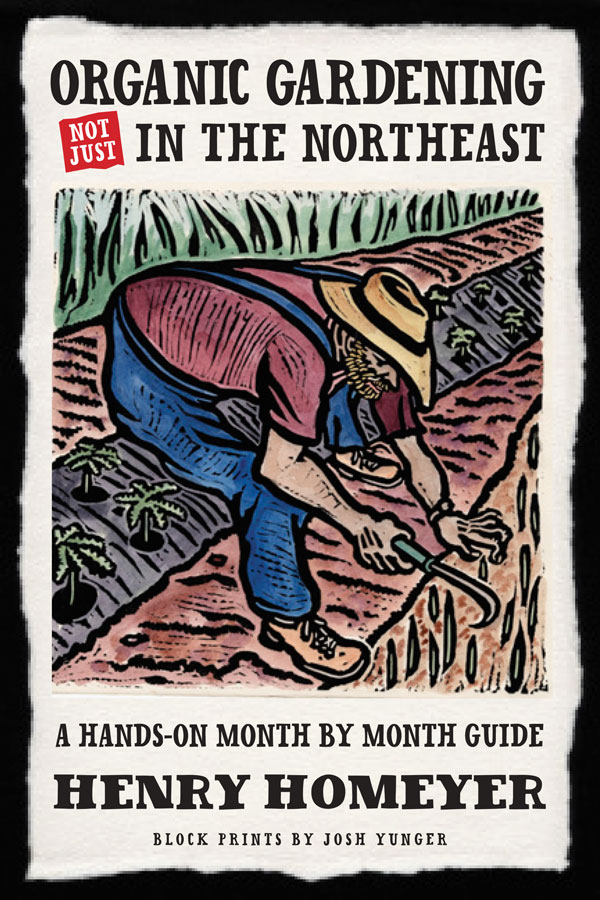
I have a few cases of my last book, Organic Gardening (not just) in the Northeast: A Hands-On, Month-by-Month Guide (Bunker Hill Publishing, 2015) collecting dust. It came out at $17.50 in paperback, but I am offering it now at $15 including shipping. It’s a collection of my best articles arranged by month. Send me a check at P.O. Box 364, Cornish Flat, NH 03746.
Storey Publications (storey.com) is one of my favorite publishers for garden books, not only because their books are practical and well-written, but because many are in paperback and very affordable. Their Vegetable Gardener’s Bible by Ed Smith ($24.95 in paper) is a classic and a must-have even for experienced gardeners.
New to me this year are these, all looking interesting. Best of all is a great book on soil by Dianne Miessler, Grow Your Soil: Harness the Power of the Soil Food Web to Create Your Best Garden Ever. It explains very well how soils work, what soil test results mean, and how to correct deficiencies. You don’t need to be a scientist to read this one ($16.95 in paperback).
The Gardener’s Weed Book and The Gardener’s Bug Book, both by Barbara Pleasant ($14.95 each) are very useful No color illustrations, but the drawings are fine. It’s written for organic gardeners.
Saving Container Plants by Alice and Brian McGowan is a useful book for all of us in New England that want to winter over tender perennials that we have grown in pots on the deck all summer, but that can’t survive the winter outdoors. A stocking stuffer at $9.95 in paperback.
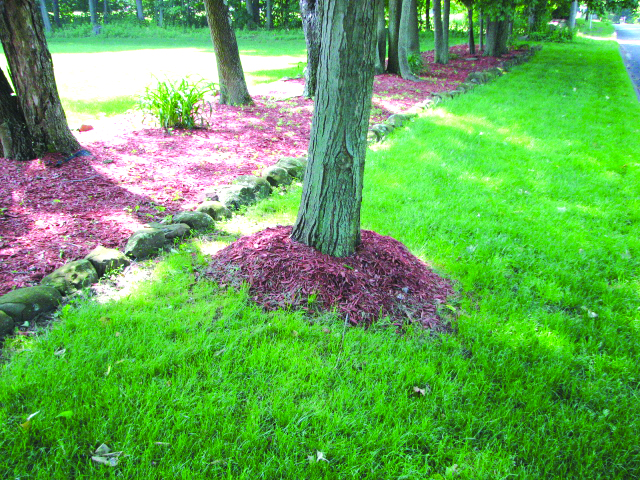
Lastly, give your loved one a pile of … manure. Farmers and garden centers sell hot-composted or aged manure that is great for the garden. It will improve the soil and nurture soil organisms. Three yards is a small dump truck load, or you can go get a load in a pickup truck.
All my best to you, my readers, in this holiday season. Don’t be naughty, and Santa may bring you what you want.
You may reach Henry at henry.homeyer@comcast.net or at P.O. Box 364, Cornish Flat, NH 03746.
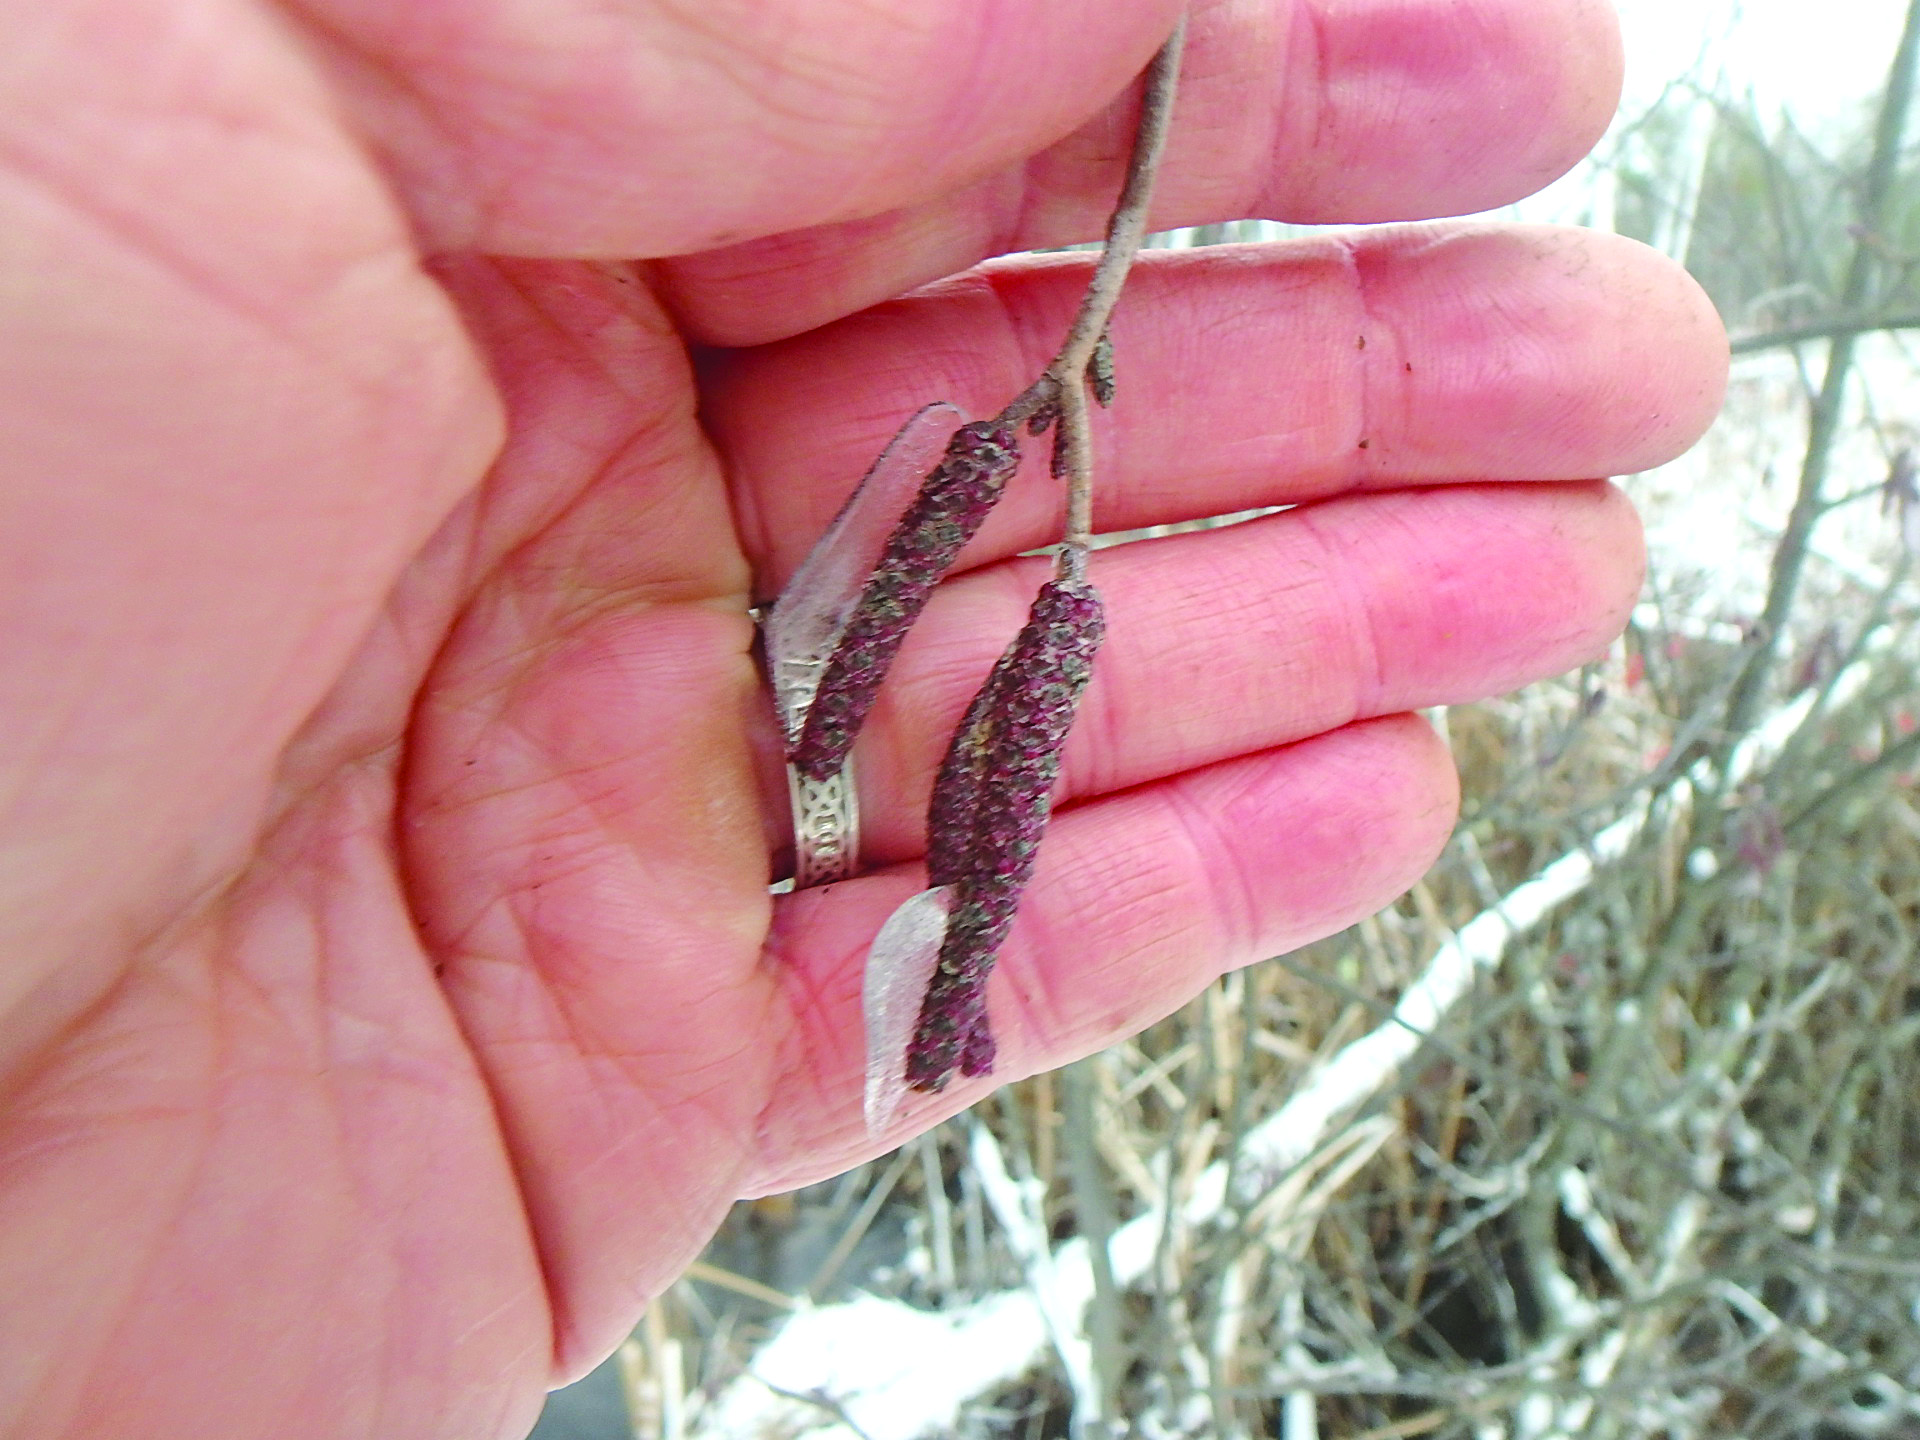
Featured Photo: Alder catkins provide seeds now. Photo by Henry Homeyer.