Looking at the name of this recipe, you may think, “Now I know what I will do with all the apples from my recent trip to the orchard!”
Well, you could use your freshly picked apples for this recipe, but you’d have to slice and dry them first. If you want to spend less time making these cookies, you will want to start with store-bought dried apple slices.
Dried apples are key to this recipe for one very important reason: They have less moisture. Fresh apple chunks are going to release their juices in a hot oven. The cookies will then transform from moist and chewy delights to overly spread out and disappointing cookies.
Besides dried apples, there are two other items to consider. First, you may not think of oatmeal when you think of apple pie, but it adds texture to the dough that makes the cookies reminiscent of pie crust. Make sure you use old-fashioned or rolled oats for that textural note. Second, it may seem silly to stop baking to add the cinnamon and sugar topping. Trust me, it adds a delightful sweetness to the cookie that is worth the baking interruption at the midpoint.
Make a batch of cookies, serve them a la mode if you like, and then enjoy a piece of pie, cookie style.
Michele Pesula Kuegler has been thinking about food her entire life. Since 2007, the New Hampshire native has been sharing these food thoughts and recipes at her blog, Think Tasty. Visit thinktasty.com to find more of her recipes.
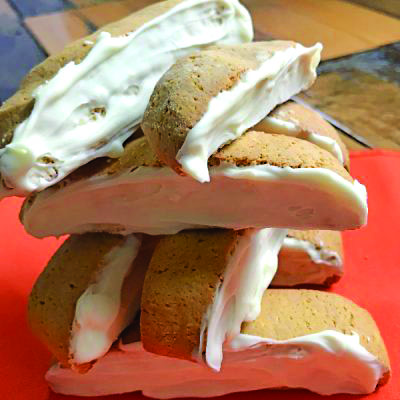
Apple Pie Cookies
Makes 4 dozen
1 cup unsalted butter, softened
1 cup light brown sugar
1 cup granulated sugar
2 eggs
1 teaspoon vanilla extract
1 teaspoon baking soda
1/4 teaspoon salt
1 teaspoon cinnamon
1 1/2 cups all-purpose flour
3 cups old-fashioned oats
2 cups diced dried apple
1/3 cup granulated sugar
2 teaspoons cinnamon
Preheat oven to 350 degrees.
Combine butter, 1 cup brown sugar, and 1 cup granulated sugar in the bowl of a stand mixer
Mix on speed 2 for 4 minutes.
Add eggs, one at a time, mixing until incorporated and scraping sides, if necessary.
Add vanilla, baking soda, salt, 1 teaspoon cinnamon, and flour, mixing until combined.
Add oatmeal and apple to dough, stirring until combined.
Scoop heaping teaspoons of dough onto a parchment paper-lined tray, placing 2 inches apart.
Bake for 7 minutes.
Combine 1/3 cup sugar and 2 teaspoons cinnamon in a small bowl, while cookies are baking.
Remove cookies from oven, and sprinkle a small amount of the cinnamon-sugar mixture on each cookie.
Bake for another 7 minutes.
Allow to cool for 2 minutes on tray, then transfer to baking rack to cool completely.
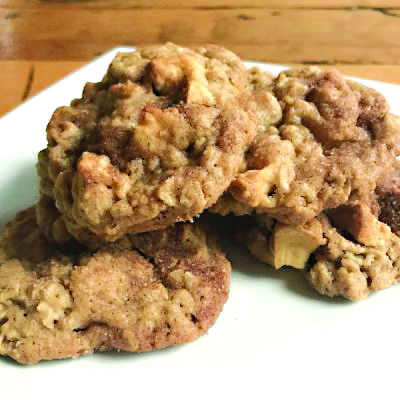
Photo: Apple Pie Cookies. Photo by Michele Pesula Kuegler.