Quiet the first year, spectacular the second
Biennials are some of the least planted flowers we can grow. Why? The year they are planted by seed, they generally do not flower. They only have a clump of low-growing leaves. The second year, they send up a flower spike, bloom, and then die. That’s right. They have done their job of producing seeds, and then die. Gardeners prefer quick-blooming annuals, or long-lived perennials. Biennials are the least favored puppies of the litter.
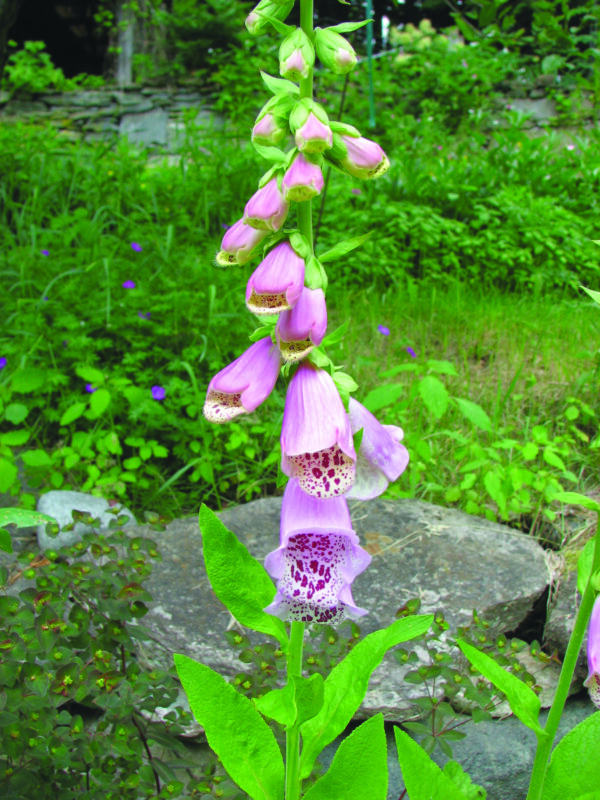
On the other hand, some are worth the effort, or the wait. I love purple foxgloves (Digitalis purpurea). In the past, I was able to buy first-year plants in six-packs at a nursery, and planted them two years in a row. After they were finished blooming, I cut down the tall stems and shook out tiny black seeds over a flower bed that had been weeded, loosened and raked smooth. I patted down the seeds but did not cover them with soil. The tiny seeds just fell into crevices and waited for spring, when they started the growing cycle again.
It is important to know what the leaves of a first-year biennial look like so that seedlings do not get weeded out before getting established. I do that by trying to remember the color, texture or shape of the leaves. Often, color is my cue. So, for example, the biennial rose campion (Lychnis coronaria) has a distinctive gray leaf. I recognize the first-year plants, often growing in a cluster, and dig up some to divide and plant where I want them the following year, and to give them more space to grow.
Rose campion flowers are deep magenta, a truly spectacular color. The blossoms are an inch wide and are very profusely produced. Well worth planting if you can find plants for sale, or buy some seeds and wait for second-year blossoms.
Often biennial flowers are in the same genus as perennial plants. Closely related plants are grouped in the same genus (equivalent to your last name). The second name is the species (equivalent to your first name). So Lychnis is like “Jones” and coronaria is like “Susan.”
So for example, our common purple and pink foxglove (Digitalis purpurea) has relatives in the Digitalis genus. I grow two kinds, D. grandiflora and D. lutea. Both are yellow and both often start new plants by seed, so I have plenty. The latter one has smaller blossoms than the former one.
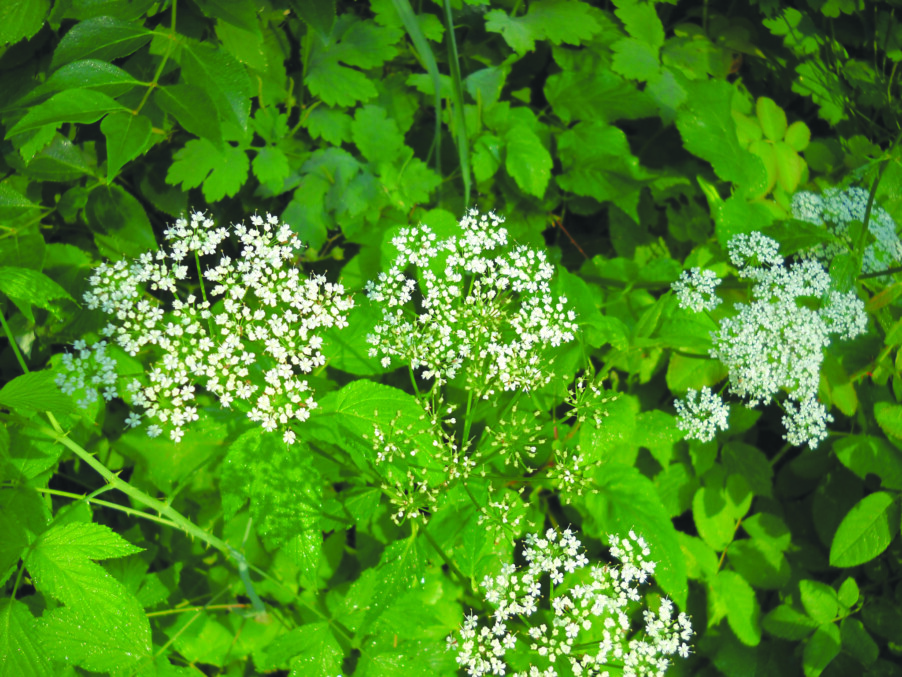
A biennial wildflower I just love is Queen Anne’s lace (Daucus carota). As the species name, carota, implies, it is in the carrot family. The tap roots are not as big as carrots, but the fragrance is about the same. But the root is white, while most carrots we eat are orange, though white, yellow, purple and red varieties are available. Anyhow, Queen Anne’s lace stands up tall (to 3 feet) and has an umbel or flat-topped cluster of tiny white blossoms, with purple ones in the center. It is a great cut flower in a vase. Young second-year plants are occasionally sold in six-packs in garden centers, and some of those are pink or even dark purple. Lovely.
Another way to get Queen Anne’s lace is to dig up first-year plants and transplant them on your property. They are commonly seen along the roadside and are free for the taking on rural roads. Mature Queen Anne’s lace has a tap root and is difficult to transplant.
Please note that poison hemlock is a related carrot-family plant. But unlike Queen Anne’s lace, it has smooth stems, not fuzzy ones, and has no purple center to the flower. It has purple blotches on the stems. The sap of hemlock can cause rashes when exposed to sunlight.
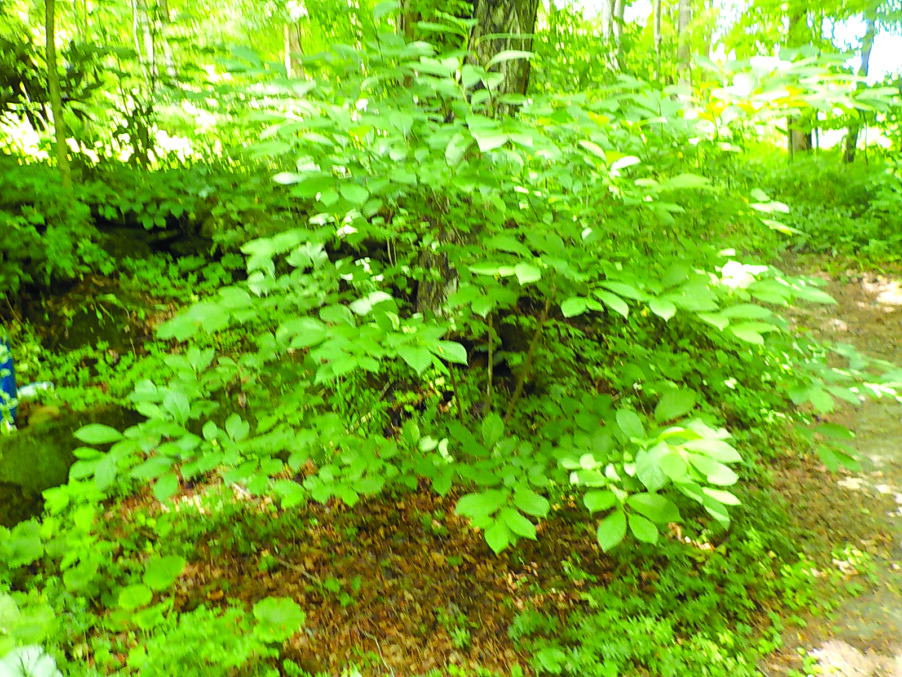
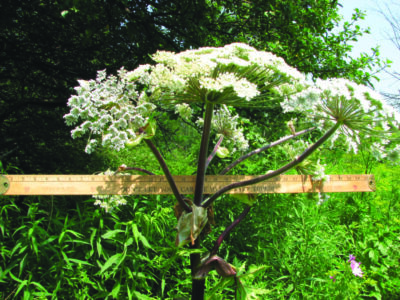
Perhaps my favorite biennial is angelica. Again there are biennial and perennial forms, but the biennial is the best. Its scientific name is Angelica gigas. It has huge purple or burgundy globes of small flowers, each globe 4 to 8 inches across. The plant stands up 4 to 6 feet tall with strong stems and big leaves.
The best thing about the plant is this: It is an absolute gem of a pollinator plant. When I last grew it, it often had three or more bees on it at once. Unfortunately, it is hard to find in plant nurseries, and when I have found it, it was a big second-year plant in a 2-gallon pot that cost me at least $15. Yikes. I tried planting seeds after blooming, but did not save any for spring planting. I got no plants from my meager efforts, but I will buy seeds now and try starting some plants next spring.
Most plant books list hollyhocks (Alcea rosea) as biennials, though some consider them half-hardy perennials. One plantsman told me that the plants with leaves the shape of fig leaves are more perennial than others. This is a tall plant, sometimes 6 to 8 feet tall, that has open-throated 2- to 3-inch blossoms that come in a variety of colors from white to pink, red, yellow and nearly black, often with a yellow center.
Hollyhocks do best in rich, moist soil in full sun. But they will also grow in part shade. They open their buds in sequence up the stem over a period of four to six weeks. When they’re done blooming, cut them to the ground immediately. I believe that makes them wonder if they have produced seeds, and come back the next year to finish the job. They do show up uninvited in the garden, and I always welcome them.
Featured photo: Purple Foxgloves bloom from bottom of the stem to the top. Photo by Henry Homeyer.