Giving thanks

Grateful for family, friends and gardens

I am grateful for bright red geraniums on my windowsills. Courtesy photo.

I think it’s important to take time to count my blessings. I try to take time each day to reflect on how grateful I am for living the life I do. And on a sunny afternoon near Thanksgiving I like to sit outside and reflect on everything I have to be grateful for. Here are some thoughts about my life, and how gardening helps to make my life full, satisfying — and rich in flowers and vegetables.

I am grateful to have a loving family and wonderful friends. On July 1 of this year Cindy Heath and I got married, after 11 years of partnership. Our family and friends attended via Zoom. Cindy is a wonderful person, an accomplished fiber artist and a terrific gardener. Not only that, she loves to weed! The gardens here in Cornish Flat have never been so well-tended. I am so grateful to have her in my life.

I am very pleased to have a newspaper column that has kept me writing and learning for 22 years. On Nov.11, 1998, my first gardening column appeared in the Valley News of West Lebanon. In that article I reflected on how important it is to clean up the garden each fall, and to get rid of weeds before their seeds get in the soil.

I also noted, “As insects may have laid their eggs on or in vine crops, tomatoes and potatoes, it is not a good idea to compost these plants.” Diseased or insect-prone plants I recommended for the burn pile or the household trash — or perhaps a pile in a far corner of the property, well away from garden beds. I am happy that our vegetable garden is fully cleaned up and put to bed.

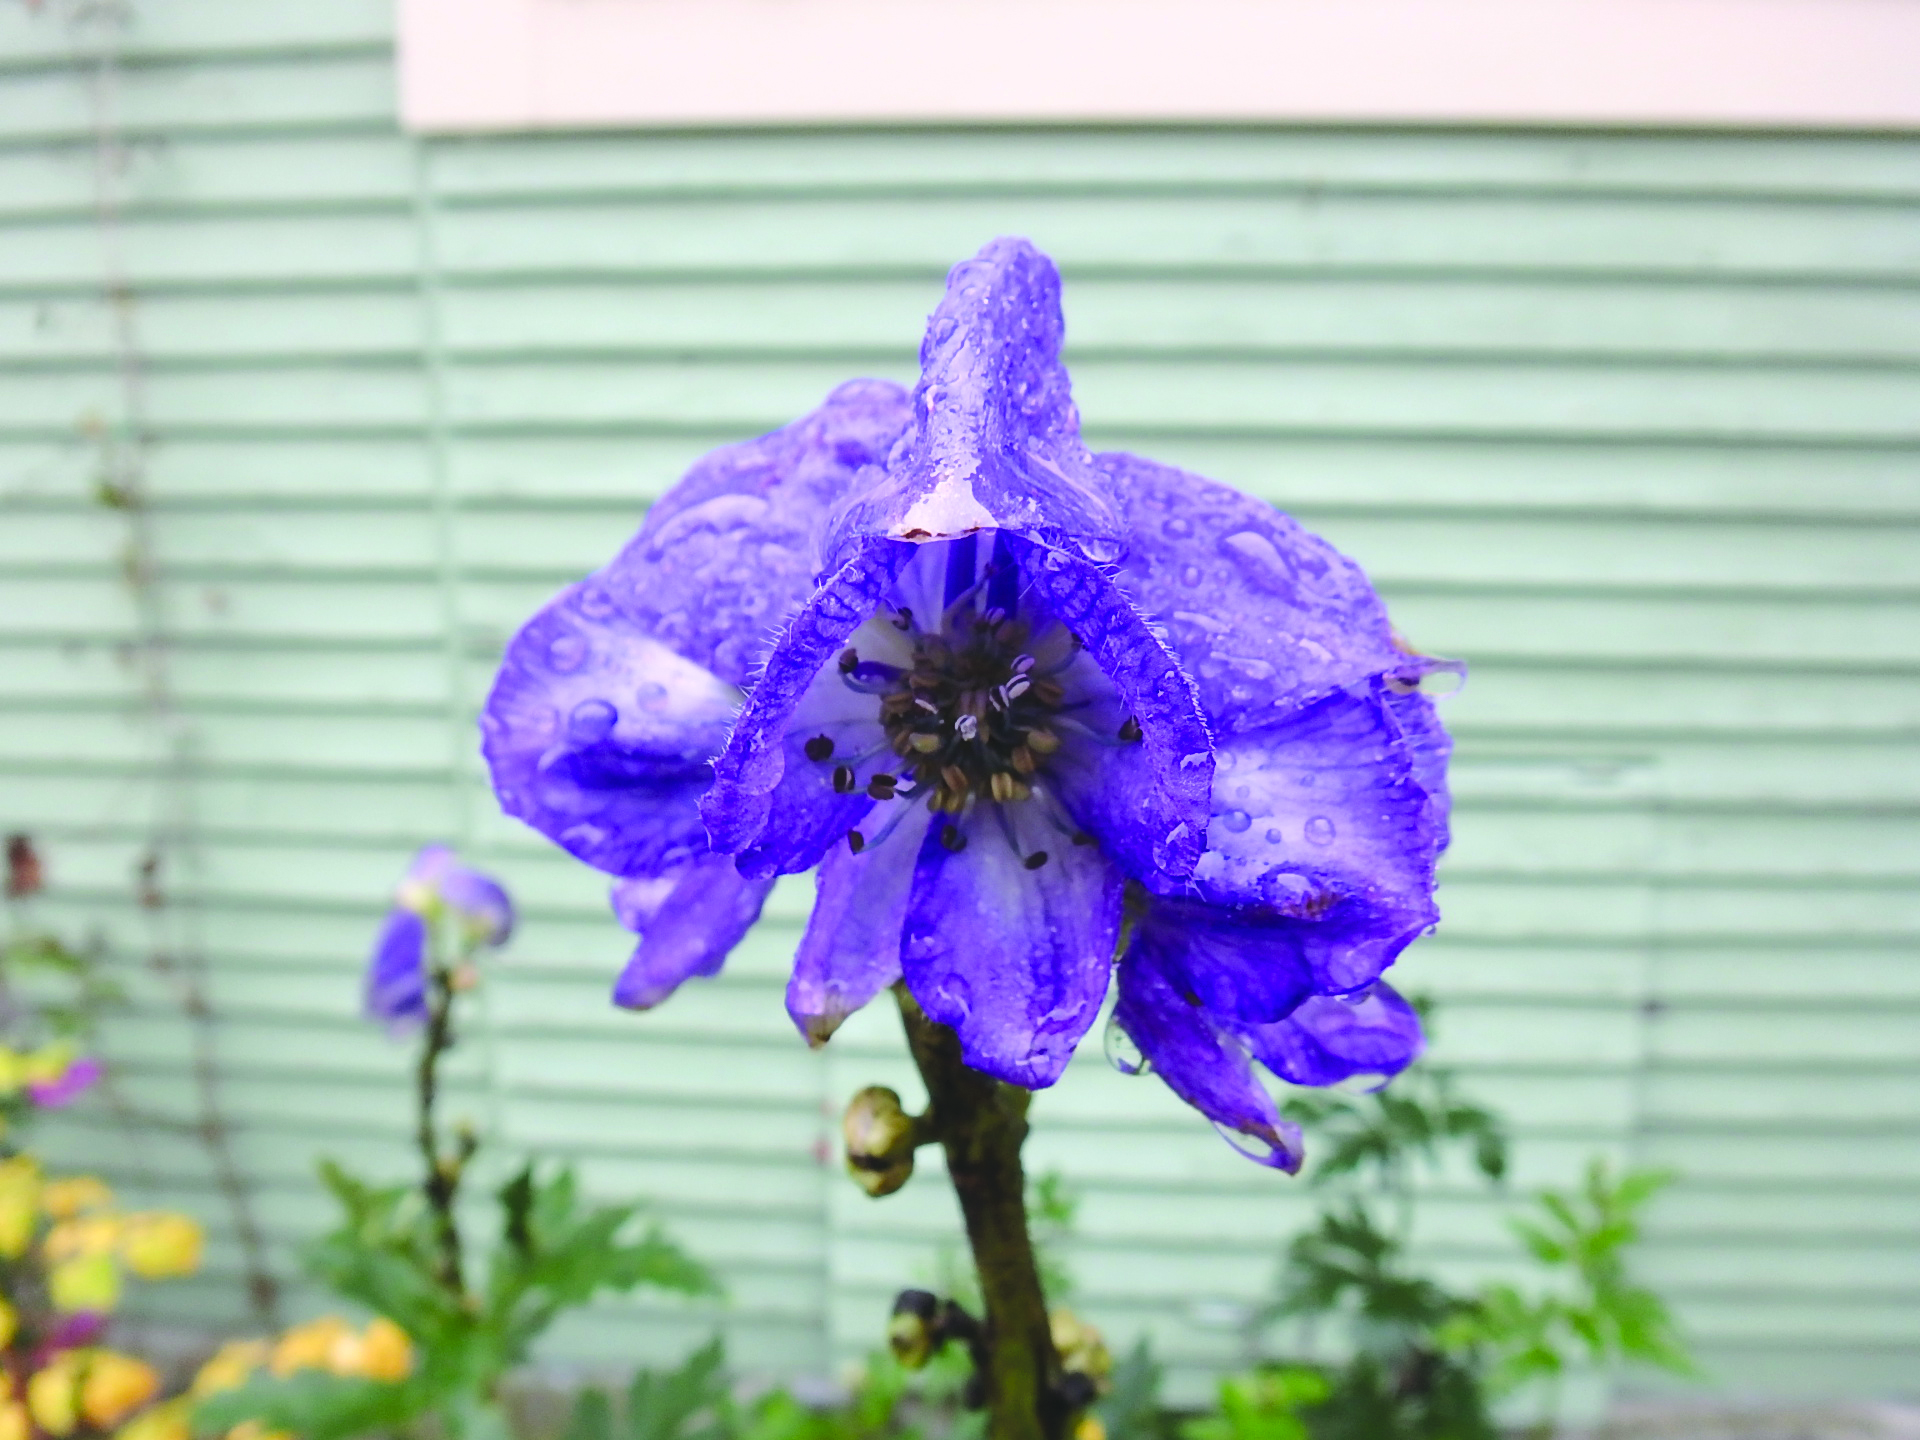
I am grateful for my gardens. My huge ‘Merrill’ magnolia tree that blooms with a thousand white blossoms on my birthday in April. The primrose garden with hundreds of blossoms in the shade of old wild apple trees in June. The peonies that are seemingly everywhere. Milkweed that attracts and nourishes the gorgeous monarch butterflies. Fall asters, and so many more.

Although this may sound silly, I am grateful to have so many potted geraniums in the house. This year we brought in all our geraniums (Pelargonium spp., not to be confused with perennial geraniums of a different plant family that winters just fine outdoors). They sit on bright windowsills and will bloom off and on all winter, and go outside next summer. Their bright red blossoms give me joy.

I am happy and grateful that I have a small crape myrtle tree in a pot and have learned how to overwinter it indoors. I bought it in Florida in 2018 and brought it home as carry-on luggage. Last winter I brought it indoors and overwintered it in our cold, dark basement that stays in the 35- to 50-degree range. I didn’t think it would survive, but it did and bloomed magnificently this summer. The fall foliage was a great red, the leaves dropped, and it has now settled in for its winter rest.

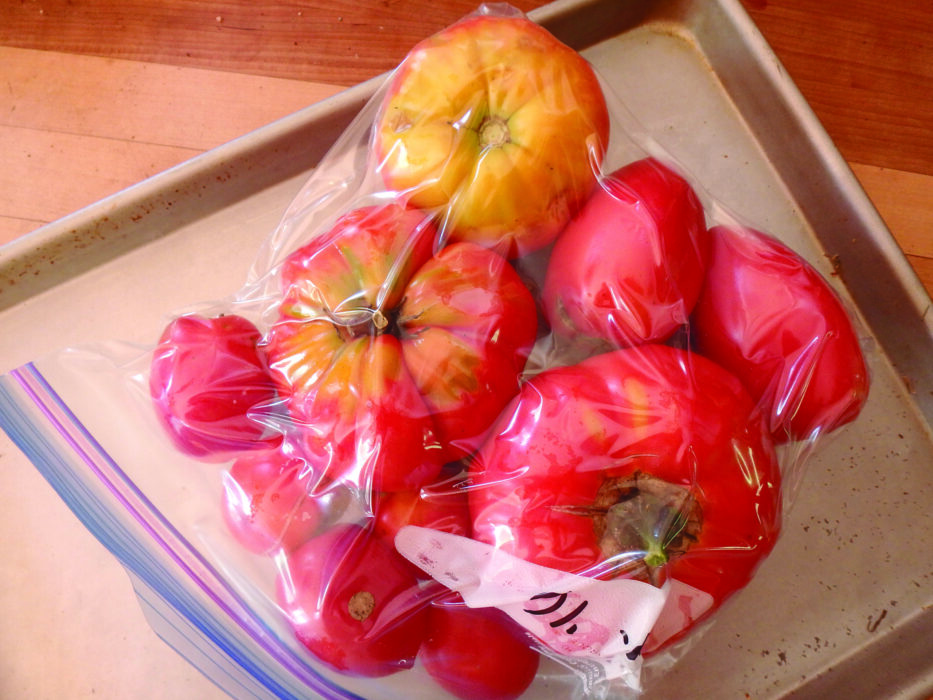
I am grateful that we have put up so much food for the coming months. We froze lots of whole tomatoes in zipper bags for use in soups and stews, along with dried cherry tomatoes and some tomato sauce. What else is in the freezer? Lots of leeks, zucchini, kale, Hubbard squash, beets, blueberries and peppers.

I’m happy to have good farm stands nearby. I only had a few peppers this year, so I bought half a bushel from Edgewater Farm in Plainfield at the end of the year. They are great farmers who use the IPM method: Integrated Pest Management. As IPM farmers, they use many of the techniques of organic farmers but reserve the right to use pesticides if a crop is in danger. I prefer to buy organic produce, but trust them to use the least toxic chemicals, and only if necessary. I buy my corn from them and I am always pleased when I get a corn worm: it means that they did not have to spray.

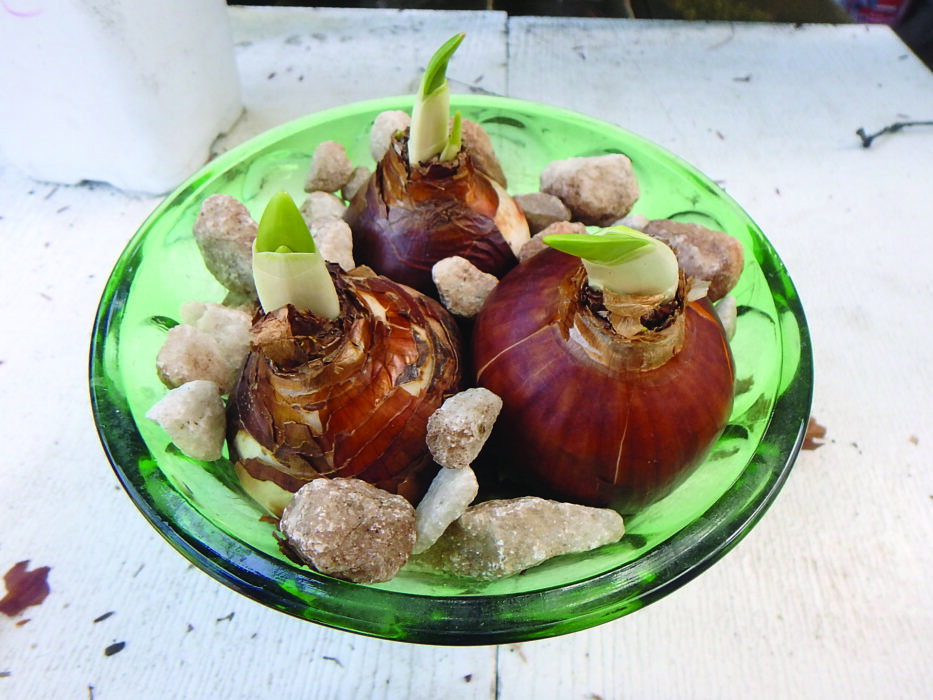
I am happy and grateful that I have been able to plant bulbs each fall for decades. Winters are long here, and the thought of all those little balls of energy waiting in the soil for the onset of spring to come up and share beauty with me makes me happy.

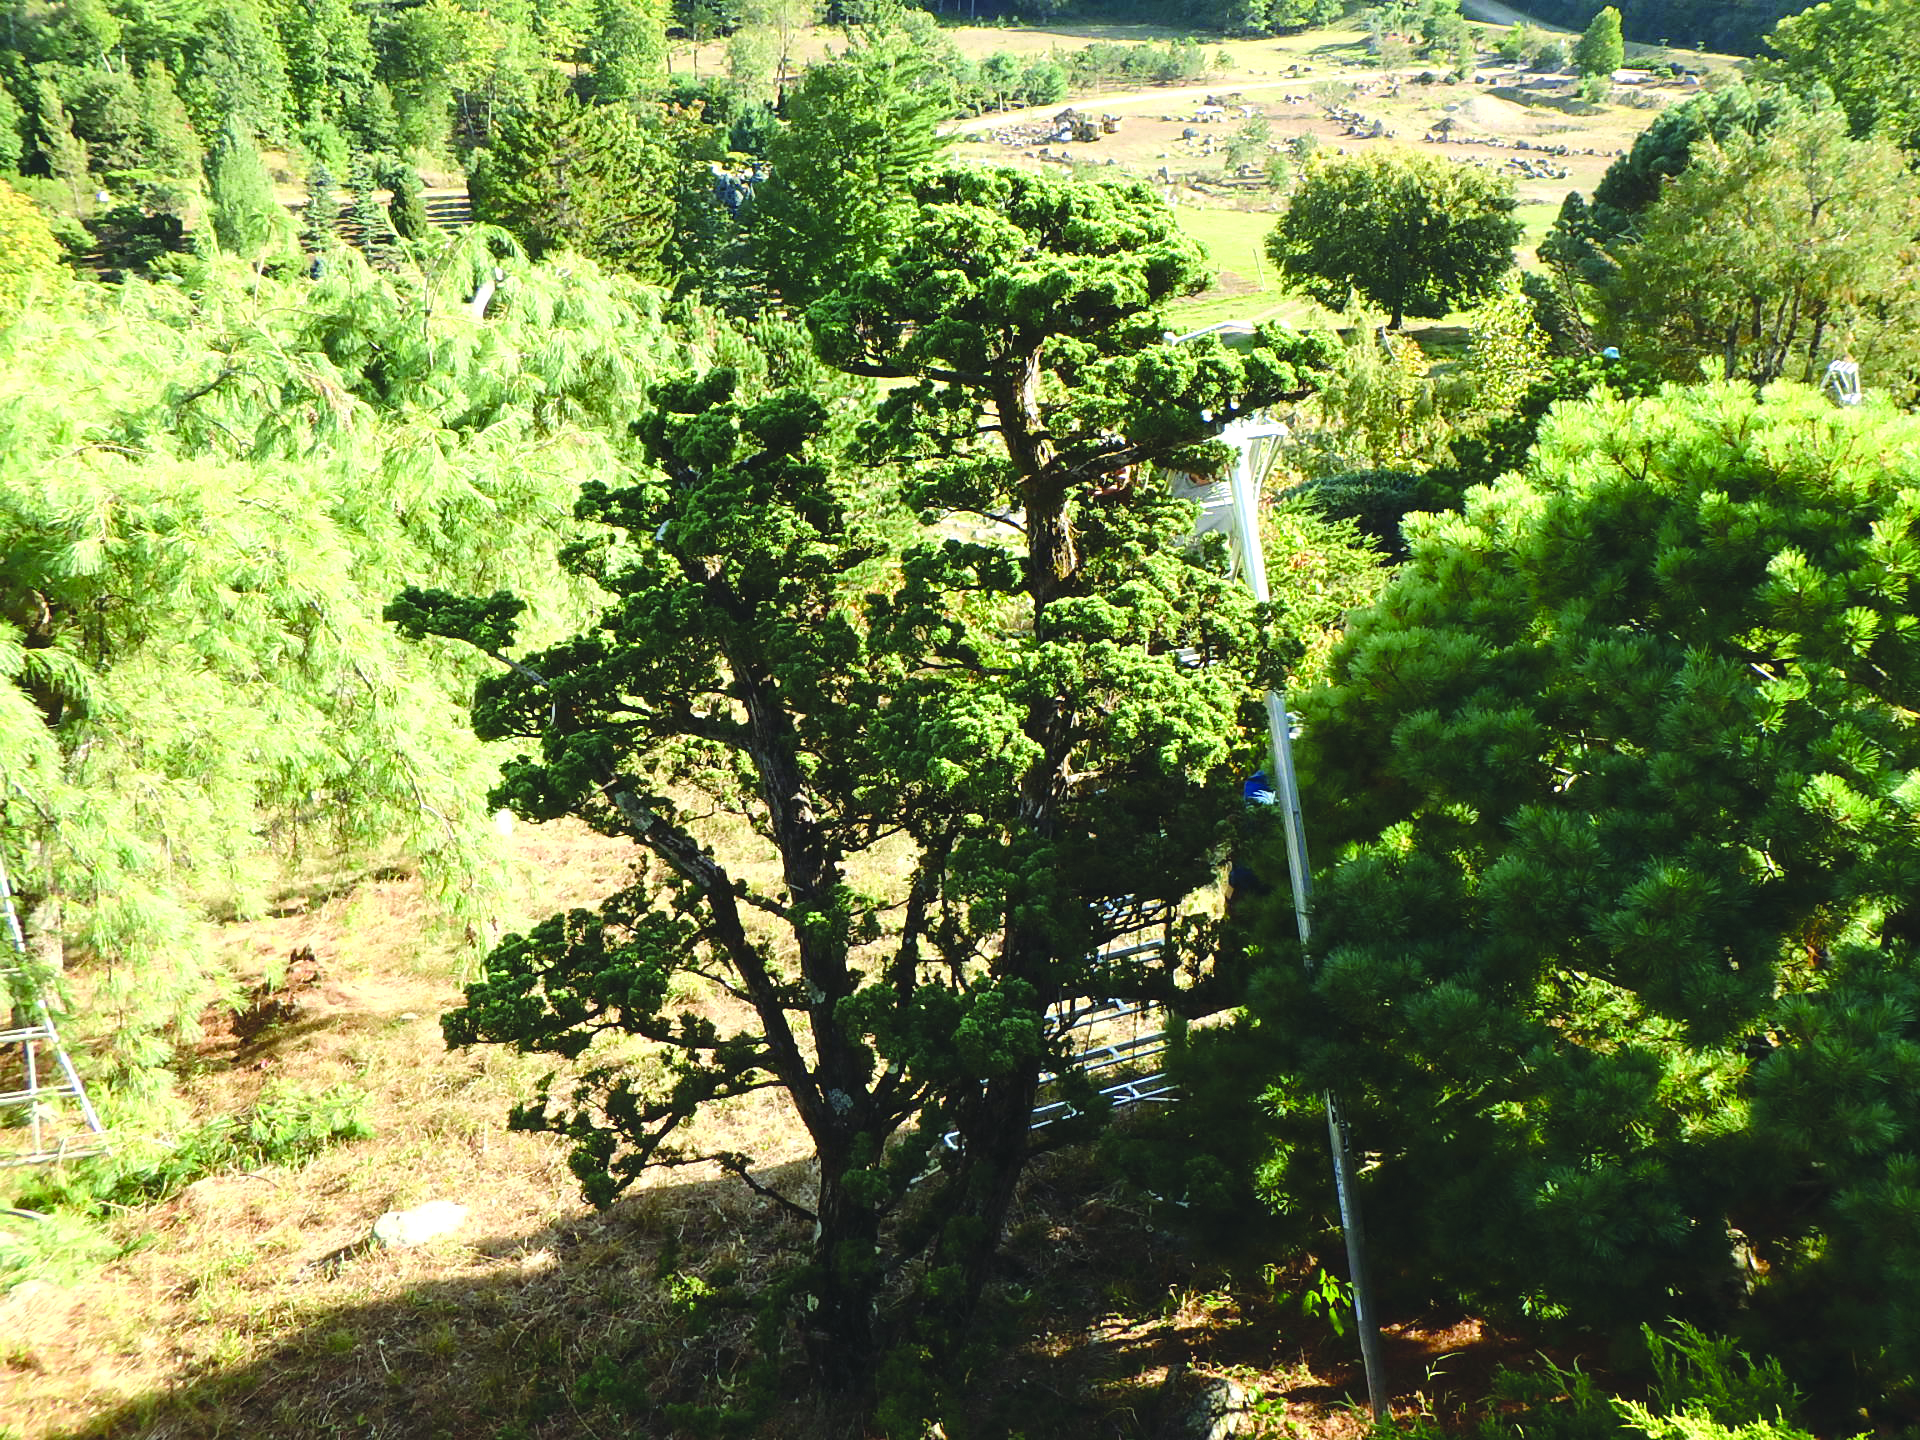
At age 74 I like to point out that I willmake it through another winter just because I want to see what else did. I regularly take chances with plants that are not supposed to be hardy in my climatic zone. This year I planted a cut-leaf Japanese red maple, a variety called Tamukeyama. The cut-leaf varieties are generally less hardy than the standard varieties, of which I have three.

The grower of our Tamukeyama, John Lyon of Newbury (Lyon Family Nursery) told me it is one of the hardiest varieties. We’ll see. I’m happy to have it, and if it does not survive a cold winter, so be it. Although I have never done this before, I will protect it from the wind with a little A-frame shelter made of plywood. I do love the plant.

I am happy and grateful for you, my readers. Each week I get nice emails or thoughtful hand-written notes thanking me for sharing my knowledge and sharing personal experiences, and only occasionally disputing my assertions. When my corgi, Daphne, passed away last summer, I was inundated with messages of sympathy. Thank you. Please write to tell me what you are grateful for, where you live, and if I can quote you in a future column.

Lastly, I am grateful that all the newspapers that carry my column are still in business. Subscribe! Buy the paper. Donate to the paper if you get it free. Advertise if you have a business. Local newspapers are the lifeblood of our communities.

Featured Photo: Freezing tomatoes extends the season, feeding me even in winter, for which I am grateful. Courtesy photo.

Forcing spring bulbs

Tips for getting them to bloom indoors

At this point, the garden is put to bed — or if I’ve neglected to do something, it probably won’t happen until spring. But this is a good time to force bulbs for early spring blooming indoors.

To force bulbs means preparing them in such a way as to force them to bloom early indoors, before they would bloom outdoors. Daffodils or crocus, for example, can be made to bloom by mid-February indoors, and tulips in March.

On a raw day recently I planted 20 “Tete-a-Tete” daffodils in pots. Each of these will produce one or more brilliant yellow blossoms just when I’m sick of winter, and renew my faith that spring is on the way. Bulbs have everything they need in order to bloom. All we have to do is offer a suitable place to spend the winter. Here is what I did:

First, I selected nice deep pots for planting. In the soil outside, daffodils are planted with six inches of soil over their pointy little noses. But in a pot, three inches is fine. I selected pots that were five or six inches deep, and placed three inches of potting soil in each. It’s fine to place the bulbs close together, just a couple of inches apart.

The potting soil I used was already damp, but after the bulbs were covered and ready for their winter sleep, I watered lightly. I will check them from time to time throughout the winter to make sure the soil does not dry out. The bulbs need moisture to develop roots and prepare to bloom. But be moderate: A soggy soil mix can rot roots.

I have a cold basement that I keep lightly heated to avoid freezing temperatures my old house is set on a hill, and the basement is above ground in the back of the house where I keep my bulbs. The ideal temperature for forcing bulbs is around 40 degrees for good root development. You can begin the process by leaving your pots outdoors until real cold weather is upon us. Cover the pots with leaves to minimize temperature fluctuations.

If you have a warm basement, you can try placing pots in an unheated garage or mudroom, or perhaps in the bulkhead if you have one. Everything I have read says to keep the pots in a dark place, though I think that only matters once the bulbs have started to send up leaves or buds. The bulbs can’t know about light while covered with soil. So put the pots in a cardboard box if you have them in a garage with windows.

How long do bulbs need to stay dormant? The little bulbs crocus, snowdrops and such only need eight to 10 weeks, daffodils need 12 weeks, and tulips need 16 weeks. I always place a plant tag in the pot with the date I started the process. And tulips will not bloom if you bring them into the warmth of the house before March.

Beware of mice and squirrels! Most old houses harbor at least a few mice. Once the mice got into my pots and ate all the tulip bulbs! Daffodils are mildly poisonous, so rodents will not bother them, and I’ve never had trouble with mice eating any alliums, which are good for forcing, too. I’ve had mice dig up bulbs, only to find they were daffodils and leave them on top of the pots, those rascals.

One way to know if your bulbs are ready is to look for roots poking out through the drainage holes of the pots. If you have daffodils that you planted 12 weeks ago but have not sent out any roots, they may be ready, but it would be safer to wait another week or two. Once you bring your bulbs up into the house it will take two to four weeks more for them to bloom. Place the pot on a south or east windowsill and check daily. Water if the soil surface feels dry.

Will the bulbs bloom again next year? Tulips probably will not ever bloom again for you, even if you plant them outdoors in the spring. Daffodils can bloom again, but might take a couple of years to rebuild their energy enough to bloom.

Paperwhites are bulbs that can be forced without soil and an extended dormant cold period. These beauties are in the daffodil family and are sold for forcing in a bowl of gravel and water on a sunny windowsill. Most have a very strong fragrance, though not everyone likes it.

Select a deep bowl without a drainage hole. Place a one- to two-inch layer of gravel or small stones in the bottom, then place your paperwhites on it, shoulder to shoulder. Add water to the bowl until it just kisses the bottom of the bulbs. You don’t want water so deep the bulbs are wet; it is just for the roots that will grow.

Next add more stones or gravel up around the bulbs. This will help to keep your flower stems from tipping over. Another way you can do is to keep stems short by giving them some gin! Start them in water, and after a week drain the water, and add a mixture of five parts water to one part gin. That will stunt the growth. Paperwhites started by the third week of November should bloom by Christmas. They will never bloom again, so put them in the compost after blooming.

Featured Photo: Paperwhites are easy to force in pebbles and water. Courtesy photo..

Eating fresh

Try Brussels sprouts, broccoli and other fall veggies

Cut away fhe fine roots of celeriac to expose the bulbous root used for cooking or even salads. Courtesy photo.

Granted, I have a vegetable garden mainly so I can have fresh, succulent tomatoes from July until some time in October. But I also have grown, I think, all vegetables that will grow in our climate. Right now, in late October, my saved tomatoes are all eaten, but I am enjoying plenty of other fresh veggies, and I am storing others for eating later.

For late fall, nothing beats Brussels sprouts. The trick to having good Brussels sprouts is to cut off the top of the plant in early September. I say do it on Labor Day, but even a bit later is fine. If you fail to do that, the plants will use all their energy to grow taller and taller. If you cut off the top three inches and it stops growing taller, it sends its energy to bulking up those cute little green “cabbages” that pop out of the stalk. Some years I’ve continued picking until late December, despite snow and cold.

Now I realize that for many people, a serving of Brussels sprouts is as appetizing as dead skunk left on the side of the road for a couple of days before serving. Those are people who probably were served overcooked sprouts in public schools. Mushy, grayish-green sprouts are not appetizing.

If you cook your sprouts “al dente,” you may change your opinion. Steam them until just tender enough to spear with a fork, or cut them in half and sauté in butter or olive oil and walnuts, and you may change your mind. I happen to like steaming them, then sprinkling Marukan brand seasoned gourmet rice wine vinegar over mine — tasty, and without the calories of the butter preferred by many.

Kale gets tastier as the season goes on. A few hard frosts sweetens it up, and if the deer don’t get it after snowfall, I often have it until Christmas. I like it in a breakfast smoothie: In a blender I put two leaves of kale with midribs removed, a banana, a cup of orange juice and a cup of water, some fresh ginger (to taste), the juice of half a lime, and some frozen blueberries or raspberries from the garden and stored in the freezer.

Kale can also be used for salad. Our friend Eliza Bergeson makes a great kale salad: She removes the midrib and chops the kale. She then massages it for about five minutes with a dressing of olive oil and lemon. She adds honey mustard, salt and pepper. The massaging makes the kale tender and works in the dressing. She adds feta cheese crumbs, dried cranberries, walnuts and fresh red peppers for color.

My broccoli continues to produce side shoots, despite the frosts. If you keep on cutting them off, they keep on flowering. Some years I grow non-heading broccoli relatives. One is called piricicaba, the other Happy Rich. Neither produces a big head, but both produce lots of little florets and persist well into the fall. I get seeds from Johnny’s or Fedco and start them in April, as these are not readily available as starts in most garden centers.

I just harvested a five-gallon pail of celery root, or as it is often called, celeriac. This is a celery relative that is grown for its roots, not stems. The leaves look and smell the same, but celeriac does not produce edible stalks. I clean and chop celeriac roots and chop them to use in soups and stews. It has a nice celery flavor.

I start celeriac in March by seed indoors. It is a slow grower at first, but once in the ground it takes off if in moist soil and full sunshine. Spacing is important, too. Crowd celeriac and you’ll get little. This summer I spaced them six inches apart in three rows eight inches apart in one wide bed, and they did well. I watered in dry times.

I also just harvested a five-gallon pail of leeks. Leeks are great, in my book, because you can use them in lieu of onions when cooking, and unlike onions, you can freeze them.

Leek and potato soup is one of my fall favorites. I just made some, and here is what I did. I started by dicing and frying two or three strips of thick-cut bacon in a large cast iron, enameled pot. Of course, vegetarians can substitute butter instead. Then I added some olive oil and four cups of potatoes, cut into half-inch cubes. I browned the potatoes a little, then added four cups of leeks. Since I am rich in celeriac, I chopped up a whole one and added it to the mix.

Then I added eight cups of water and simmered slowly. I added 1½ teaspoons of a dried herb called herbes de Provence. That is a mix of various Mediterranean spices (savory, marjoram, rosemary, thyme, oregano and lavender). And I added a couple of tablespoons of vegetarian vegetable broth powder (Seitenbacher brand) to give some added flavor. Then I added a handful of fresh chopped parsley.

I cooked the soup until the potatoes were done. I used a red-skinned potato I grew this year, one called Fenway Red. It is a productive potato and holds together well in a soup. Just don’t overcook it. I like a milky leek and potato soup, but don’t like to cook the milk, so I just added a quarter cup to each bowl at serving time. Yum!

As with any soup, I vary my leek and potato recipe whenever I make it. Sometimes I add dried cherry tomatoes or peas. Kale would be good it goes well with potatoes at my St. Patrick’s Day meal, colcannon. That’s the great thing about fresh vegetables. You can’t go wrong.

So when you plan your garden for next year, be sure to grow some veggies that survive frost and are tasty on a cold fall night.

Featured Photo: Leeks are easy to grow and a good substitute for onions when cooked. Courtesy photo.

In praise of garlic

Plant now to have it ready next year

When I was growing up, my mom served meat and potatoes nearly every night. Our vegetable was peas or cooked carrots, and once a week or so we had an iceberg lettuce salad with cucumbers, tomatoes and carrots with dressing from a bottle. So I don’t really know how I developed a taste for complex flavors. But I grow — and cook with — a lot of garlic and find it adds depth and intensity to soups and stews. Now is the time to plant some for next year.
Growing garlic involves less work than anything else I grow. There really are only three steps: plant it, mulch it and harvest it. Once you have an established bed of garlic, it’s also the least expensive crop. I planted this year’s crop from last year’s crop, and that one I planted from the crop of the year before. You really only have to buy garlic once, so long as you plant some extra and save it each year for planting. I choose my best-looking, biggest garlic each year for planting.
The hardest part of planting garlic for the first time might be to find garlic sold for planting. You can’t just go to the grocery store to get garlic because much of it has been treated with chemicals to prevent it from sprouting, and most is the wrong kind for New England.
I went online to see about buying “seed” garlic. Many major suppliers are already sold out, and prices have skyrocketed since last year. Try your local farmer or farmers market — they may still have some.
There are basically just two kinds of garlic: soft neck garlic, which is what you probably get at your grocery store, and the stuff we grow here in the Northeast called hard neck garlic. Most soft neck garlic (the kind that is braided and hung on walls) comes from California and keeps nearly forever. It is less hardy than hard neck garlic, a bit bland, and less interesting to cook with.
Hard neck garlic has a stiff stem in the middle of each bulb. In my opinion it has a much more complex flavor. It will keep in a cool place until spring, but not much longer. Then it either sprouts or dries up. There are many named varieties of hard neck garlic, but all are excellent.
To plant garlic, take a bulb (or head) of garlic and separate it into the cloves that surround the hard “neck” or flower scape. Depending on the variety of garlic, you might have just five cloves or as many as a dozen. I like big cloves, as they are easier to peel and use. So each year I select for big cloves and plant them. Over the years my crop has produced bigger bulbs and bigger cloves.
Garlic needs full sun (defined as six hours of sunshine) and rich soil. In a 30-inch wide-raised bed I add a couple of inches of compost and stir it into the soil, loosening the soil in the top six inches. To plant, I draw furrows eight to 12 inches apart with my CobraHead weeder, a single-tine tool that is curved like a bent finger. Next I push cloves into the soil so that they are three or four inches apart and about three inches deep. Always plant them with the pointy end up. After covering them with soil I pat the soil down with my hands.
The last step is to mulch your garlic. I use mulch hay or straw and put almost a foot of fluffy material over the bed. Fall rains and winter snows will cause the hay to settle — I end up with about four to six inches of material in the spring.
The mulch keeps the soil from freezing until January, allowing roots to get well-established before the garlic cloves go dormant. It also prevents most weeds from germinating and growing next year, though I weed the bed well before planting, which helps, too. Garlic is tough stuff and will push right through my layer of mulch, though most weeds do not.
Depending on the weather and when you plant, your garlic may send up green stalks this fall. Don’t fret if it does. Those sprouts will die back in winter, but the garlic will send up new ones in the spring.
Next July the garlic you planted this year will be ready to harvest. Each bulb grows about seven long pointy leaves that surround the cloves and protect them. When three or four leaves have turned brown and started to dry up, it’s time to harvest. If you wait too long, all the leaves will have dried up and the garlic will not store as well — it will dry out too soon.
You can store garlic best in a cool, dry place. Ideally 50 degrees with moderate humidity. You can also freeze garlic instead of storing it at room temperature, I’ve read (but I’ve never tried that). For freezing, separate the cloves but don’t peel them. You can freeze them in a zipper bag or jar for a year or more. Don’t store garlic at room temperature in oil, as it can produce deadly botulism.
For centuries some cultures have believed that garlic helps ward off colds and the flu. Or maybe good garlic breath will just get that guy behind you in the checkout line with no mask to stand back a little!

Featured Photo: Hardneck garlic showing central neck or stalk. Photo by Henry Homeyer.

October blooms

Autumn treasures in my garden

Summer has faded and gone. Autumn’s bright foliage does compensate, somewhat, for the dearth of flowers, but a few of my trees and shrubs (and several perennials) bloom in October, and I treasure them. Let’s take a look.

Starting in early September but varying greatly from year to year, my Seven-Son Flower Tree blooms. This year in early October its white flowers were in bloom, despite four hard frosts. Some years even one frost will ruin the blossoms, but not this year. The flowers are white, small (half-inch in diameter), and borne in clusters of flowers mostly near the top of the tree.

After the blossoms finish, the tree will often display small, purplish-red fruits (half-inch drupes) crowned by very showy rose-pink sepals that elongate after bloom and can last into late fall. But frost usually interrupts that display in colder parts of our region.

The Seven-Sons Flower tree is typically a small one. Most sources refer to it as 15 to 20 feet tall and eight to 10 feet wide. But it is fast-growing and can produce branches five to eight feet long in a single season once it is well-established. It has interesting bark: gray and dusty brown, variegated and exfoliating. In winter the bark stands out well against the snow.

Although this small tree was introduced to the United States from China in 1907, it was not readily available until it was reintroduced in 1980. I’ve had mine for more than 15 years and have not noticed any seedlings or root sprouts. I am always on the lookout for invasive tendencies for newly introduced species, but this one has given me no reason to worry.

A lesser-known shrub that blooms for me in October is disanthus. This shrub likes rich moist slightly acidic soil in part shade to full shade. It is a polite shrub — it does not spread out and take over the area, and rarely needs pruning. During the summer it has nice dark green leaves similar to those on a redbud tree. But in fall the leaves turn an intense reddish purple and hold on well into the fall. I think the leaf color is better than that on burning bush, which is invasive and is no longer sold.

The blossoms on disanthus are tiny, and I didn’t even notice them for a couple of years after planting mine as they are right on the branches and obscured by leaves. But it is fun to have something special to look for now, in autumn, and to show to friends. Mine haven’t appeared yet but should soon.

Then there is the witch hazel tree. I remember the first time I encountered one. I was hiking in late October and came upon a native tree covered in yellow blossoms. Although the blossoms were small, it had petals that were curly and bright — and I was not expecting anything to be blooming.

So of course I had to have one. The foliage turns yellow in September and holds on, obscuring the blossoms a bit. But eventually the leaves drop, exposing the flowers. There are also early spring-blooming varieties as well. Arnold’s Promise is a nice one with red and yellow flowers.

Although I have never seen pollinators on the flowers, they are fragrant and brightly colored, so I assume they are trying to attract something. The only source for information I have found on this comes from Bernd Heinrich in a 1987 Scientific American article. He witnessed the night-flying owlet moth feeding on the nectar and pollinating the flowers in November when most other insects are no longer around.

Of the garden flowers blooming now, you must have seen big, bold New England asters and perhaps some of the more shy wild woodland asters. Some of my phlox are still blooming, as are some black-eyed Susans. Of those, a rudbeckia called ‘Henry Eiler’ is the most dramatic. Over five feet tall, it will bloom all month in a huge clump. I just wish I didn’t have to tie it up to keep it from flopping.

I have an absolutely stunning goldenrod, a cultivar called “Fireworks.” It is one I purchased several years ago and it is now a nice tight clump four feet across and three feet tall. The blossoms arch over gently and point in different directions, creating a stunning display, a little like the finale of a good fireworks display. Unlike wild goldenrod, it does not seem to spread quickly by root or seed.

Also in bloom for me now is Knautia macedonia with deep wine-red flowers reminiscent of scabiosa or pincushion flower. It has been blooming for months and is a delight. The stems are thin and tend to bend over a bit when blooming, but the blossoms never seem to fall to the ground. It is not a good cut flower but earns its place in the garden because of its long bloom time.

Most species of monkshood bloom in June, but I also have one species, Aconitum carmichaelii, which blooms now with intense blue flowers on five-foot stems that do not flop. All monkshood species have poisonous sap, and some were said to be used to poison wolves in Russia.

I have always tried to expand the growing season here in my cold Zone 4 garden. I should have a few blossoms into November, and then there will be a hiatus until early March when my first snowdrops bloom. But I can buy flowers for my table in winter, and I do have plenty of houseplants.

Featured Photo: Fall blooming monkshood is a poisonous beauty Photo by Henry Homeyer.

The art of Japanese pruning

Lessons from a visit to Shin Boku

A few weeks ago I traveled to Shin Boku Nursery in Wentworth to attend an all-day workshop on Japanese pruning techniques. Many of the techniques are useful to any gardener.

The workshop was organized and taught by Doug Roth, the publisher of Sukiya Living magazine (rothteien.com), a journal about Japanese gardening that my wife and I subscribe to. It provides practical and aesthetic advice that I find useful anywhere. Mr. Roth lived for years in Japan and apprenticed under a Japanese master, ultimately receiving accreditation as a journeyman gardener.

Shin Boku (shin-bokunursery.com) is a specialty nursery that offers trees and shrubs trained for use in Japanese-inspired gardens. The owner, Palmer Koelb, has been growing specialty trees pruned in the Japanese style there since 1986, and some of the larger trees (in five-foot-diameter pots) he has been training for even longer. There is a lovely Japanese garden there as well as specimen trees for sale.

The workshop began with a lesson on ladder safety. Japanese pruning ladders made by Hasegawa were present for us to see and use. These ladders are tripod ladders made especially for pruning. They are made of welded aluminum and are very light.

Their two front legs flare, shaped much like a side of the Eiffel Tower, and a third leg is hinged so that it can be swung out and placed inside or behind a hedge or tree. Not only that, the third leg can be extended or shortened to work on hillsides. The feet are clawed, so they dig into the soil, but they come with rubber “sneakers” to use on pavement or stone. The steps are wide and comfortable on the feet, and some have an upper platform for working.

After a day of using the Hasegawa ladders, I was convinced that they offer safety and convenience way beyond what my old-fashioned step ladders and extension ladders offer, particularly on rough terrain and hillsides. When I got home I made arrangements to buy my own from Alan Bissonnette in Chichester. He represents New England Ladders (neladders.com), which has representatives and warehouses around the country.

The ladder I selected is a 10-footer, one with a platform at the eight-foot level, and a grab bar on the top. I have been using it on hilly terrain, and love that not only can I adjust the length of the third (back) leg, but it has a chain connecting the front legs and the back legs to assure that the ladder cannot splay more than recommended. I was tempted to get an eight-foot ladder, but have been pleased with the extra height. I like being able to look down on the top of a medium-size crab apple tree to see what needs to be removed. My new ladder weighs just 30 pounds.

In Japanese gardens the trees are often trained to irregular shapes. That can be accomplished by regular pruning and understanding how to direct growth. The tip of a branch produces auxins, or plant hormones that control growth and fruiting. By cutting back a branch to a junction of branches, one can direct growth. Cut off the tip and one of a pair of side branches, and the growth will essentially follow the direction of the remaining branch. In this way, a tree can be made to twist and turn over time.

Some evergreens produce so many branches and leaves that the interior of the shrub or tree gets little or no light. The interior of those specimens can then lose their leaves (commonly called needles), leaving a dark interior that is unattractive if an outer branch is damaged or removed. You can prevent that with judicious pruning.

I recently worked on a bird’s nest spruce. It was a large shrub that was getting too tall and wide, and the homeowner wanted me to make it smaller. This, I explained, is a multi-year project: if I just cut off the top branches, the brown interior would be exposed and unsightly.

Here’s what I did: First, I cut back this year’s growth to stop the shrub from getting bigger. Then I removed some small branches to allow punches of light to get inside the tree. That will stimulate dormant buds to grow new leaves. I did this primarily where two branches were growing parallel — I removed one, left the other. I did this not only on the top of the shrub but on the sides as well.

In the workshop each of us received a copy of Sukiya Living Textbook: Advanced Tree Pruning. It is nicely illustrated with photographs showing several different styles of pruning techniques, mainly for evergreen shrubs and small trees.

If you are interested in turning a tranquil corner of your property into a small Japanese garden, I suggest you subscribe to Sukiya Living magazine. It comes out bi-monthly and, according to its website, covers “various aspects of Japanese architecture, horticulture, art, and philosophy. Topics range from centuries-old design principles to modern, how-to construction and maintenance techniques.”

I hope one day to travel with Doug Roth on one of his tours of gardens in Kyoto, Japan. Meanwhile, I can dream.

Featured Photo: Pine shaped in the Japanese tradition at Shin-Boku nursery. Courtesy photo.

Stay in the loop!

Get FREE weekly briefs on local food, music,

arts, and more across southern New Hampshire!