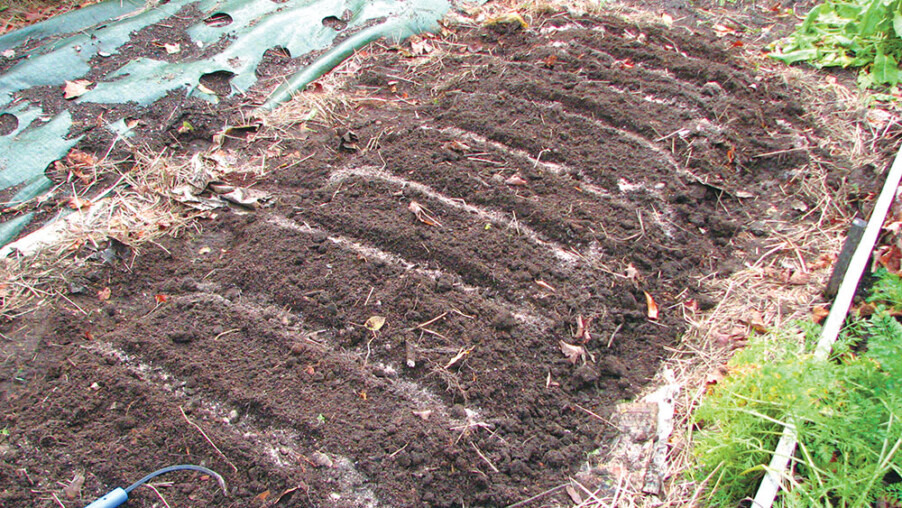
After you’ve weeded your garden, raked your leaves and cut back some of your perennials (and left some for the insects and birds), you may think you are done. You are not. This is a great time to work on improving your soil.
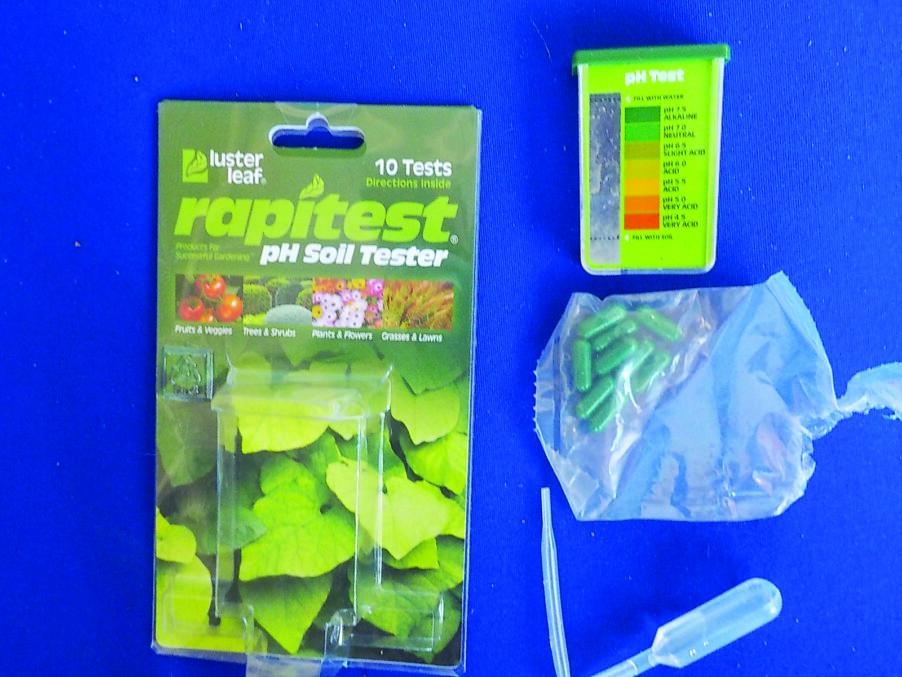
Soil amendments do not act instantaneously. Changing the pH level, a measure of acidity or alkalinity, takes time. Kits are sold inexpensively (under $10) at garden centers that will tell you what your soil pH is. It’s important to know soil pH along with the needs of specific plants.
Blueberries are a prime example. According to Paul Franklin of Riverview Farms in Plainfield, N.H., soil pH is the determining factor for getting berries. Sunlight? Adequate moisture? Soil texture? Sure, those are all important. But, he told me, if you don’t have the right pH you will get handsome bushes but few berries.
Soil pH numbers are not on a linear scale, but a logarithmic scale. That means that for each number you drop down from neutral (7.0), the acidity is multiplied by 10. And 10 times again for the next number down. So a pH of 5 is about 100 times more acidic than a number near 7. Blueberries, unlike most plants, do best with a pH of 4.5 to 5.5. Except in rare instances, soils in New England are not that acidic, so you need to work on it if you plan to grow blueberries.
In the fall of 2021 I prepared the soil for six blueberry plants in a sunny, open field. First, the sod was removed in 4-foot-diameter circles 8 feet apart for the bushes. Then some compost was added to the holes. Finally I added agricultural sulfur — bright yellow sulfur purchased at my local feed and grain store. I could have added a sulfur-containing fertilizer such as Holly-Tone or Pro-Holly. Those both also add some organic material for improving the minerals in the soil.
When adding a soil acidifier, follow the directions on the bag. What I used said that each 100 square feet needs 12 pounds of it to drop the pH one point. But if you want to drop it two points, don’t try to do it all in one year; take two years. A pound of the soil acidifier is 2 cups. A 4-foot circle is roughly 12 square feet and needs about 3 cups to drop the pH one point.
We planted blueberries in the spring of 2022, and they produced well and grew well. I will check the pH in the bed again this fall, and will add more sulfur if needed. I will test the soil at the edge of the circle, not right near the root ball. The root ball probably arrived with plenty of sulfur already in it.
Most perennials and vegetables do best with a pH of 6.2 to 6.8. If your soil is more acidic than that (with a lower number on the pH scale), you can improve it by adding lime to the soil. Lime is ground up limestone and approved for organic gardeners (as is sulfur). For soils with a pH less than 6.0, you can add 5 pounds of lime per 100 square feet. For mildly acidic soils, 2 pounds per 100 is fine. Never add more than 5 pounds per hundred square feet in a single season. Clay soils require more lime than loamy soils.
It is good to have your soil tested every three years or so. You can Google “soil testing” along with your state. Most states have their own labs for testing through the Extension service, and they provide a standard gardening test for a moderate price that will test for calcium, magnesium, potassium, phosphorus, soil pH, organic matter content, and a lead screening analysis. Both conventional and organic fertilizer recommendations are given. In New Hampshire, that is $20. Nitrogen does not show up in soil tests as it changes daily.
The labs offer testing for other things, and I recommend paying extra ($4 in New Hampshire) to learn the percentage of organic matter in the soil. That is important to know. Aim for 8 percent organic matter. If you have less than 4 percent, you need to add compost and work it into your soil. If you have a good level of organic matter, you probably also have good nitrogen levels.
Although in New Hampshire the lab will test to determine the percentage of sand, silt and clay particles in the soil for $30, I do my own test. My way is simple. I take some soil and wet it. Then I rub it between my thumb and forefinger. If it is a clay-dominated soil, it will be sticky. If it is a sandy soil, you will feel the particles of sand. If it is a good loam, it will feel good, with just a few bits of sand and a tiny bit of stickiness. Not scientific, but good enough for me.
Drainage is important, too. You can test soil drainage by digging a hole 24 inches wide and 8 inches deep. Fill it with water, and see how quickly it drains. If your garden is flat and over shallow bedrock, or if you have clay soil, it might take more than a day. If so, plant things that like moist soil. If you have sandy soil, it might drain in an hour or so. If so, plant things that do well in dry soil. Do your test after a week of dry weather.
You can always improve your soil by adding compost and working it in. If starting a new bed, you can work compost in everywhere. In established beds, add compost every time you plant a new perennial. Do not add sand to a clay-based soil; it will turn to concrete when the soil dries out. Add compost.
I’ve been working on my soil for 40 years, and it is dang near perfect. But I still add some compost and organic fertilizer in the hole when I plant a new flower. The results are happy plants.
Featured photo: A simple pH test kit costs under $10 and does fine. Photo by Henry Homeyer.