Weeding the garden is only the beginning
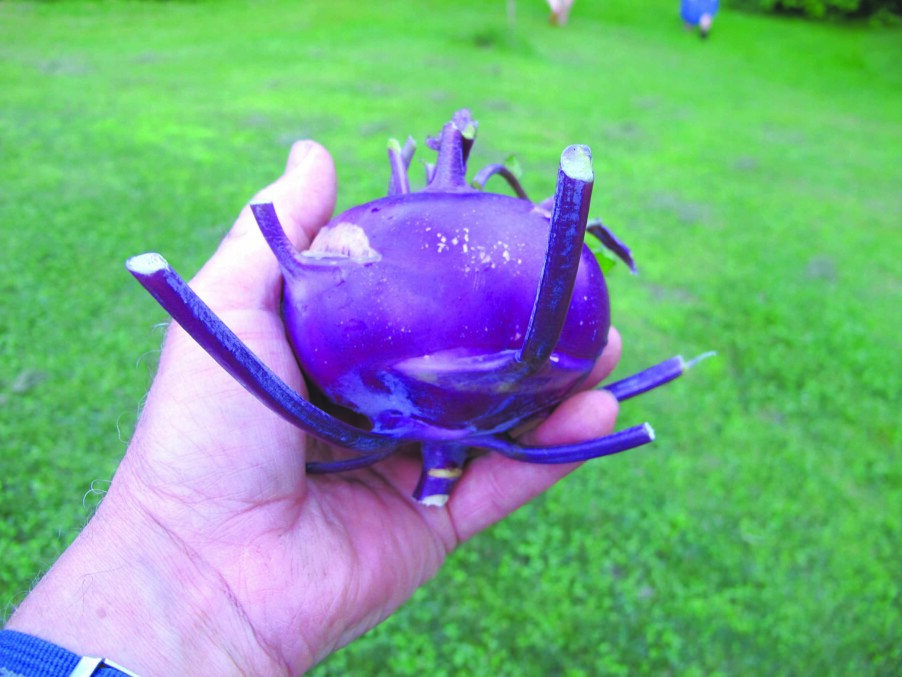
With the advent of summer, it is time to buckle down and get a few jobs done in the garden. In the vegetable garden it’s time to thin out extra plants that are crowding each other. In addition to carrots and beets, others like rutabagas, kohlrabi and parsnips that are started by seed in the ground may need thinning.
Carrot seeds are tiny, so we don’t often plant them one by one. Instead we tend to sprinkle them and, by gum, most of them grow. I maintain that thinning carrots needs to happen by the Fourth of July, so get to work. If they are really close together, you may want to use scissors to cut off the extras at the soil line to avoid pulling up carrots you are trying to save.
I like to be efficient at whatever I do, and that includes keeping a relatively weed-free garden. Many weeds quickly mature, flower, and produce seeds. Your job is to keep them from producing seeds or crowding out your plants.
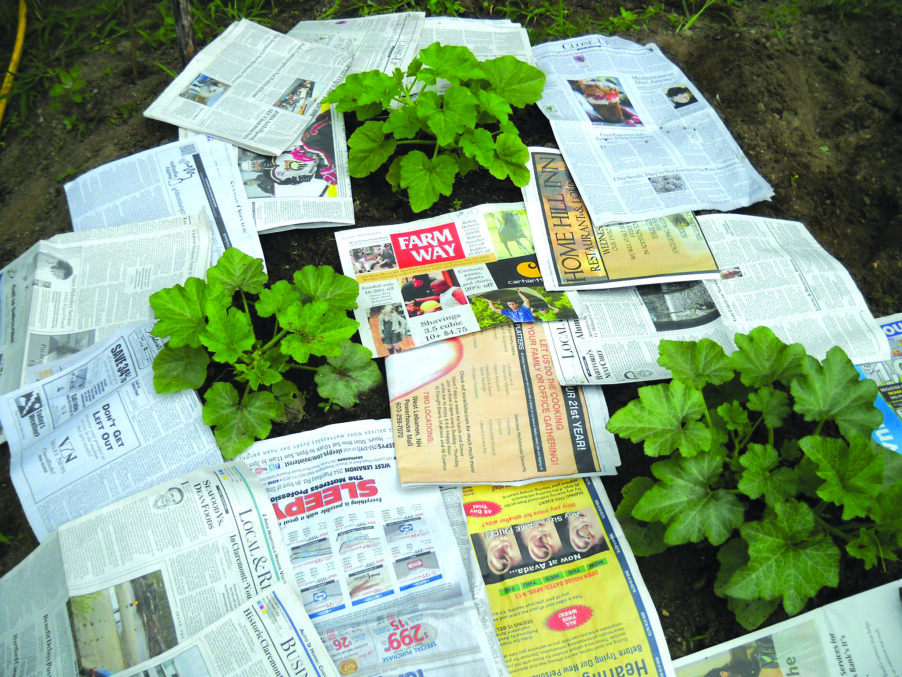
One way to control weeds is to keep them from getting the sunlight they need to grow. You can do this by mulching. I spread out newspapers over the soil and cover them with straw, hay or leaves. Four to six pages of newspaper keeps out light, inhibiting weeds. Three or four inches of straw will keep the papers in place. Earthworms eat the paper over the summer, and newsprint is done with soy-based inks, so you are not adding heavy metals to your soil (which was the case years ago).
This method works well on walkways and around big plants in the vegetable garden but is more problematic for onions and carrots, which are small and closer together. I use grass clippings or chopped leaves, without the newspaper, around small plants.
Mulching in the flower garden is good, too. It keeps down weeds and holds in moisture. But beware: Too much mulch can keep rain from reaching the roots of your perennials. An inch or two of ground bark helps a lot, but 3 or 4 inches will keep quick showers from getting water to your plants.
Some gardeners use landscape fabric under bark mulch, but I generally do not. I find pernicious weeds eventually send roots through the woven fabric and this makes weeding very difficult. Landscape fabric can also constrict perennials as they expand over time, choking them.
What about plain old black plastic? I don’t use it. Sunshine breaks it down over time and makes a mess. It also keeps air and water from getting to the soil, which must affect soil microorganisms. Additionally, the plastic ends up in the waste stream, which I want to avoid.
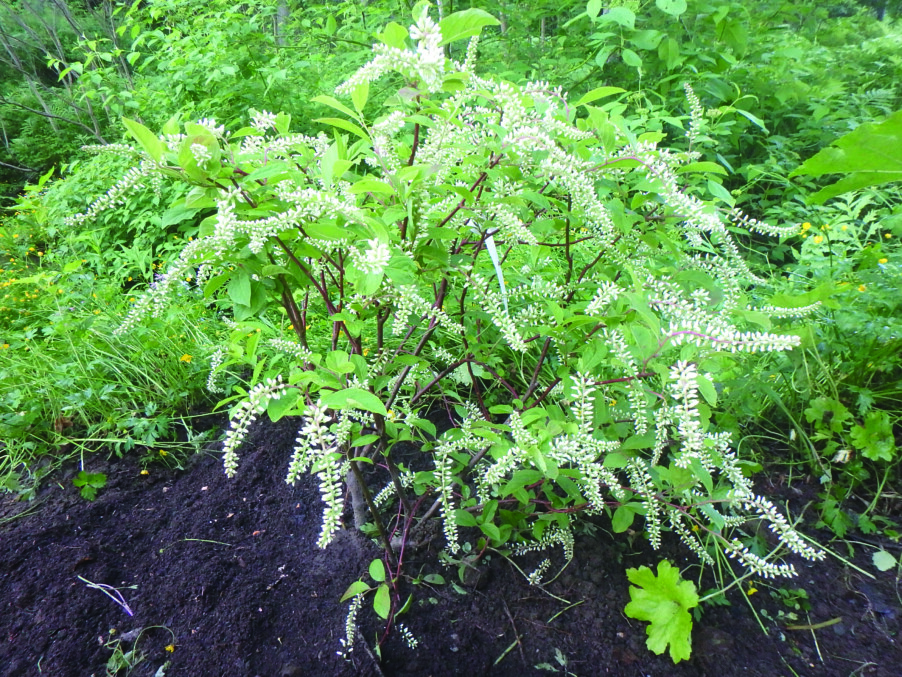
This is the time to prune lilacs, forsythia and other spring- and early summer-blooming trees and shrubs. They set their buds for next spring in the summer, so if you wait until fall to prune, you will reduce the number of blossoms. But don’t take a hedge trimmer and just buzz off a foot or two. Make each cut thoughtfully.
I start by deciding the perfect height and shape for the shrub. I recently reduced the height of some lilacs from 12 feet or more to a more manageable 8 feet or so. I cut back each stem to a place where two branches meet. If you cut any branch to a random spot, the branch may not heal well. It heals best where two branches meet. Try to hide your cuts by cutting bigger branches in places where foliage from other branches will obscure your surgery.
You can also cut back tall fall-blooming perennial flowers by a third to delay blooming and create shorter plants. This is best done in mid-May, but it’s not too late. Sometimes I will cut back the outer stems of a big clump and leave the center stems at full length. That gives me a longer bloom time, and the lower stems help support the taller stems.
Be forewarned: Not all perennials will bloom if you cut them back. I wouldn’t do it for peonies or iris, for example, but anything like an aster will respond well. Experiment with just a few plants at first. Better yet, read Tracy DiSabato Aust’s book, The Well Tended Perennial Garden: Planting and Pruning Techniques. It has detailed advice for most common garden plants.
If we have a dry summer, you may need to water. Established perennials should not need added water, but your vegetable garden might. I don’t favor overhead sprinklers because they water everything: plants, walkways and weeds. I prefer a watering wand, which is a device I attach to my hose. It is a 30-inch aluminum wand with a sprinkler head and a valve. I can direct the water exactly where I want it. I like a brand called Dramm because the sprinkler head allows fast, gentle watering.
Watering cans are good, too. They allow you to see just how much water you are applying. This is important for new trees, which need 5 gallons a week or so. A sprinkler might seem like it is delivering a lot of water, but may not be.
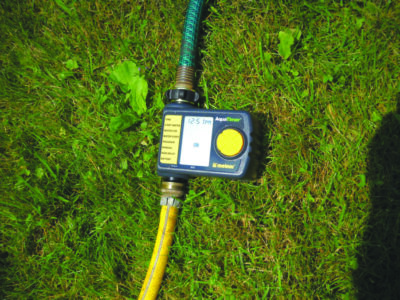
A watering timer will deliver water while you are away on vacation. They attach to your spigot and allow you to use an overhead sprinkler or a soaker hose. So don’t let your garden dictate your vacation schedule. With mulch and a watering system you can come back from vacation with nothing worse than a lawn that needs cutting!
Featured photo: The first step of mulching as I do it is to put down newspaper. Photo by Henry Homeyer.