Planning ahead

Plant bulbs now for spring blossoms

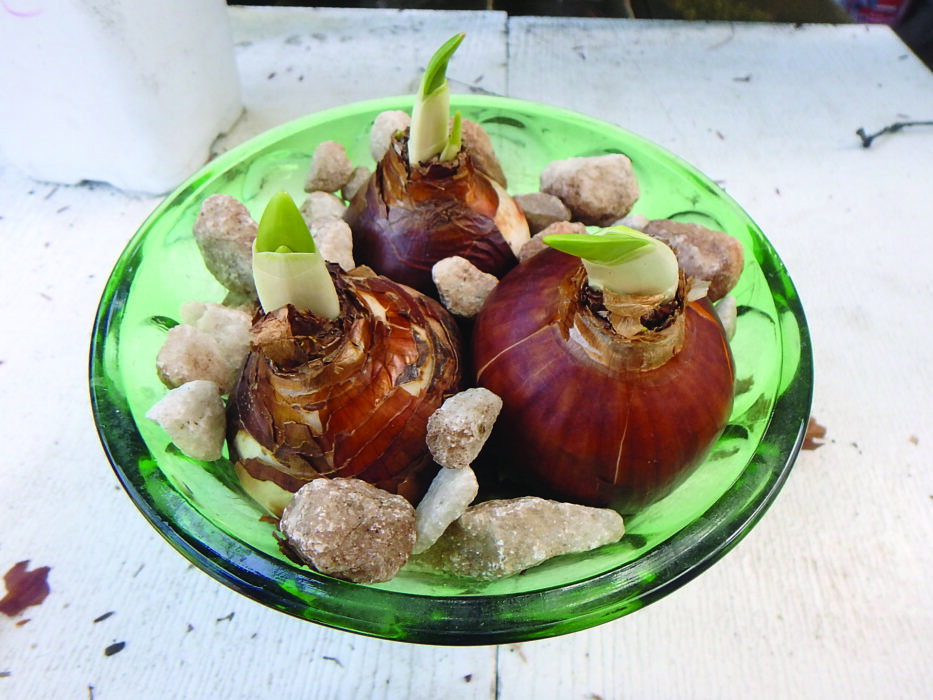
Now is the time to buy your bulbs for spring blossoms. Most years I have bulb flowers pushing their way up through mushy snow and fallen leaves in early March, delighting me with their improbably delicate flowers.

First the small bulbs bloom: snowdrops, glory of the snow, scilla, winter aconite and crocus. Next come daffodils, tulips and alliums. Finally come summer snowflake and camassia. You have plenty of time to plant bulbs as you can do so until the ground freezes. But I recommend that you get them now before they are sold out. Gardening has taken a big uptick in interest this year, and I predict bulbs will go the way of seeds and hoses — all sold out early.

Here are the basics: you plant bulbs in the fall and they bloom in the spring according to an internal clock. All need plenty of sun, though the little ones that bloom early can be grown under deciduous trees, as they will get enough sun to “re-charge” the bulbs by photosynthesis before the leaves are on. Don’t plant bulbs of daffodils or tulips in the lawn because you won’t be able to mow it until July (if you do, the bulbs will not get enough energy and they won’t bloom).

Planting depth matters. The small bulbs only need two or three inches of soil cover over the top of the bulb; bigger bulbs like tulips and daffodils generally need 6 inches of cover. Follow the directions that come with the bulbs.

Tulip bulbs are loved as food by rodents like squirrels and chipmunks. Deer will eat the foliage and flower buds — often the night before you planned on picking some. Daffodils are vaguely poisonous, so not eaten by anything. Alliums, in the onion family, are not eaten by anything, either. Crocus are not generally bothered by anything, but this past spring we had a plague of chipmunks that ate the blossoms just before they bloomed. I’ve never had trouble with any of the other small bulbs.

I like to plant bulbs in big batches. Fifty daffodils will knock your socks off when they bloom, but five will hardly be noticed. I know that some stores sell tools that can be used to cut out and lift a circle of soil all in one motion. The idea is to dig lots of holes (three inches across) and plant one bulb in each hole. I find that method tedious. The same goes for using an auger on a drill to dig holes for bulbs.

What I like is to dig a bulb bed for 25 or more bulbs. Dig down six inches, remove the soil in an oval or circle 24 to 36 inches across. I put the soil in a wheelbarrow or on a tarp so as to keep the area tidy. Once the hole is excavated, I add some bulb booster or slow-release organic fertilizer in the hole with my CobraHead weeder. I generally add some compost, too, and scratch it into the soil at the bottom of the hole, along with the fertilizer.

After all that, I just place the bulbs in the soil, pointy end up. Space them according to the directions, or a little closer than the directions indicate. Daffodils and tulips I space about three inches apart, small bulbs less. Then I take the soil I removed and return it to the hole, being careful not to disturb the bulbs. I remove any stones that are the size of the bulbs or larger, and mix in some compost with the soil if it is a heavy clay or very sandy.

What about those rodents that want to eat your tulips or small bulbs? People try many things to deter them. Some sprinkle hot pepper powder on the soil surface, or crushed oyster shells, which are sharp and unpleasant. A variety of animal repellents are sold, and some may do the job. I like to hide the hole with a layer of fall leaves so it won’t be so obvious to rodents.

Back at the end of Bill Clinton’s time in office I got to interview the White House gardener in the fall. They had just planted, for the newly elected President Bush, thousands of tulips, a variety named Hilary Clinton. I asked how they would keep the squirrels away — I saw them everywhere. Dale Haney, the head gardener, told me they keep the squirrels fat and happy — they give them all the dried corn they can eat. That reduces the desire for tulips. And, he said, they put a layer of chicken wire two inches below the soil surface after planting. Squirrels are deterred by the wire. I tried that method, and it is not easy to do — I needed to cut the chicken wire to fit my plantings, and it was like handling razor wire.

There are a few fall-blooming bulbs, too. Saffron crocus and colchicum need to be planted before this, but you might like to try them another year. Colchicum, generally planted in August, is also called “fall crocus” (even though it is not a crocus at all). But the blossoms look like giant crocus, and each bulb produces several blossoms. I love them.

Colchicum are leafless now, but they put out leaves in the spring that disappear by mid-summer. Bulbs cost $5 to $8 each and are generally sold in packages of three. Good garden centers may have a few for sale potted up and already in bloom now.

I’ve been planting bulbs every year for decades and find it one of my favorite gardening activities. Now, in fall, when the garden is declining, I plant something and dream of spring.

Featured Photo: Photo by Henry Homeyer.

Putting the garden to bed

Get started early to avoid the cold

This year I resolve to get my garden put to bed early so I am not wearing gloves and long johns as I cut back the daylilies on cold, wet fall days.

First on my list is the need to sow some grass seed. I have places where my lawn was killed when a torrential downpour dumped sand from my road onto the lawn. Fall is a better time to sow seed because the ground is warmer and it will germinate quickly. In the spring, seed can rot during cold, wet weather. I will spread some topsoil or compost to improve the soil, then mix it in with a short-tined rake. After spreading seed, I will cover it with a layer of straw. That will help to keep the soil and seeds from drying out, though I will water occasionally if it gets dry.

Chrysanthemums are for sale now at farm stands, and I purchased a few pots of them to brighten up the front yard. I treat them as annuals, even though some of them are perennial. But the growers cut back the plants as they grow, causing them to branch out and produce hundreds of blossoms on bigger plants. If I let them over-winter, the plants would have some flowers, but never so many as what the professionals produce. It’s worth it to me to buy a few each fall.

Mums in pots tend to dry out quickly, so I have been soaking mine in my birdbath. That way the pots suck up water, getting it down deep. I could actually plant my mums in the ground, but I like them in pots on the front steps or in my wooden wheelbarrow. They need water every few days.

This is also the time of year when I move shrubs. I recently moved a diervilla, one called Kodiak. It was given to me years ago, and it was crowded in between a crab apple tree and a red-veined enkianthus. I decided it needed more space to grow, and I wanted to expose a stone wall behind it. So I dug it up.

This shrub is about three feet tall and wide and had been in the ground more than five years. I used a shovel called a drain spade: a spade with a long, narrow blade. I pushed it into the ground at a 45-degree angle in four places around the bush. Each time I pushed the shovel handle down to lift the shrub slightly. Then, when I’d gone all around it, I got the spade under the middle of the plant, pushed down hard, and popped it right out. I tugged on the plant and pulled it loose, roots and all. Some were cut by my shovel, others not. I moved it to its new home, covered the roots and watered well. A week later it looks fine.

The vegetable garden is winding down, and as each crop is harvested, I weed the row and apply mulch as needed to keep wind-blown seeds from finding a home. My favorite mulch consists of chopped fall leaves: I run over leaves on the lawn with my lawnmower to chop them, and rake them onto a tarp, which I drag down to the vegetable garden. It’s too early for leaves, so I’m using straw for now.

When cleaning up the vegetable garden it’s important to keep diseased plants separate from healthy ones (which go on the compost pile). I generally have a location for noxious weeds and diseased plants and do not use that material after it breaks down, or not for many years.

I tend to get a little lackadaisical about the perennial flower gardens late in the season. Weeds and grasses have a way of showing up there, and by pulling them now, the work will be less in the spring. Cindy and I have done a pretty good job of mulching the flower gardens this year using a ground hemlock bark mulch, though some weeds push on through. This is a good time to get rid of those rascals.

I cut back some flowers in the fall but like to leave some tall perennials — birds enjoy their seeds, and some beneficial insects need places to lay their eggs, or to use as shelter. On the other hand, there is a lot to do in the spring, and cleaning up the flower beds now reduces the work later on. Cutting back perennials with a pair of pruning shears is tedious. I prefer to use a serrated harvest sickle that allows me to slice through a handful of stalks in one quick motion.

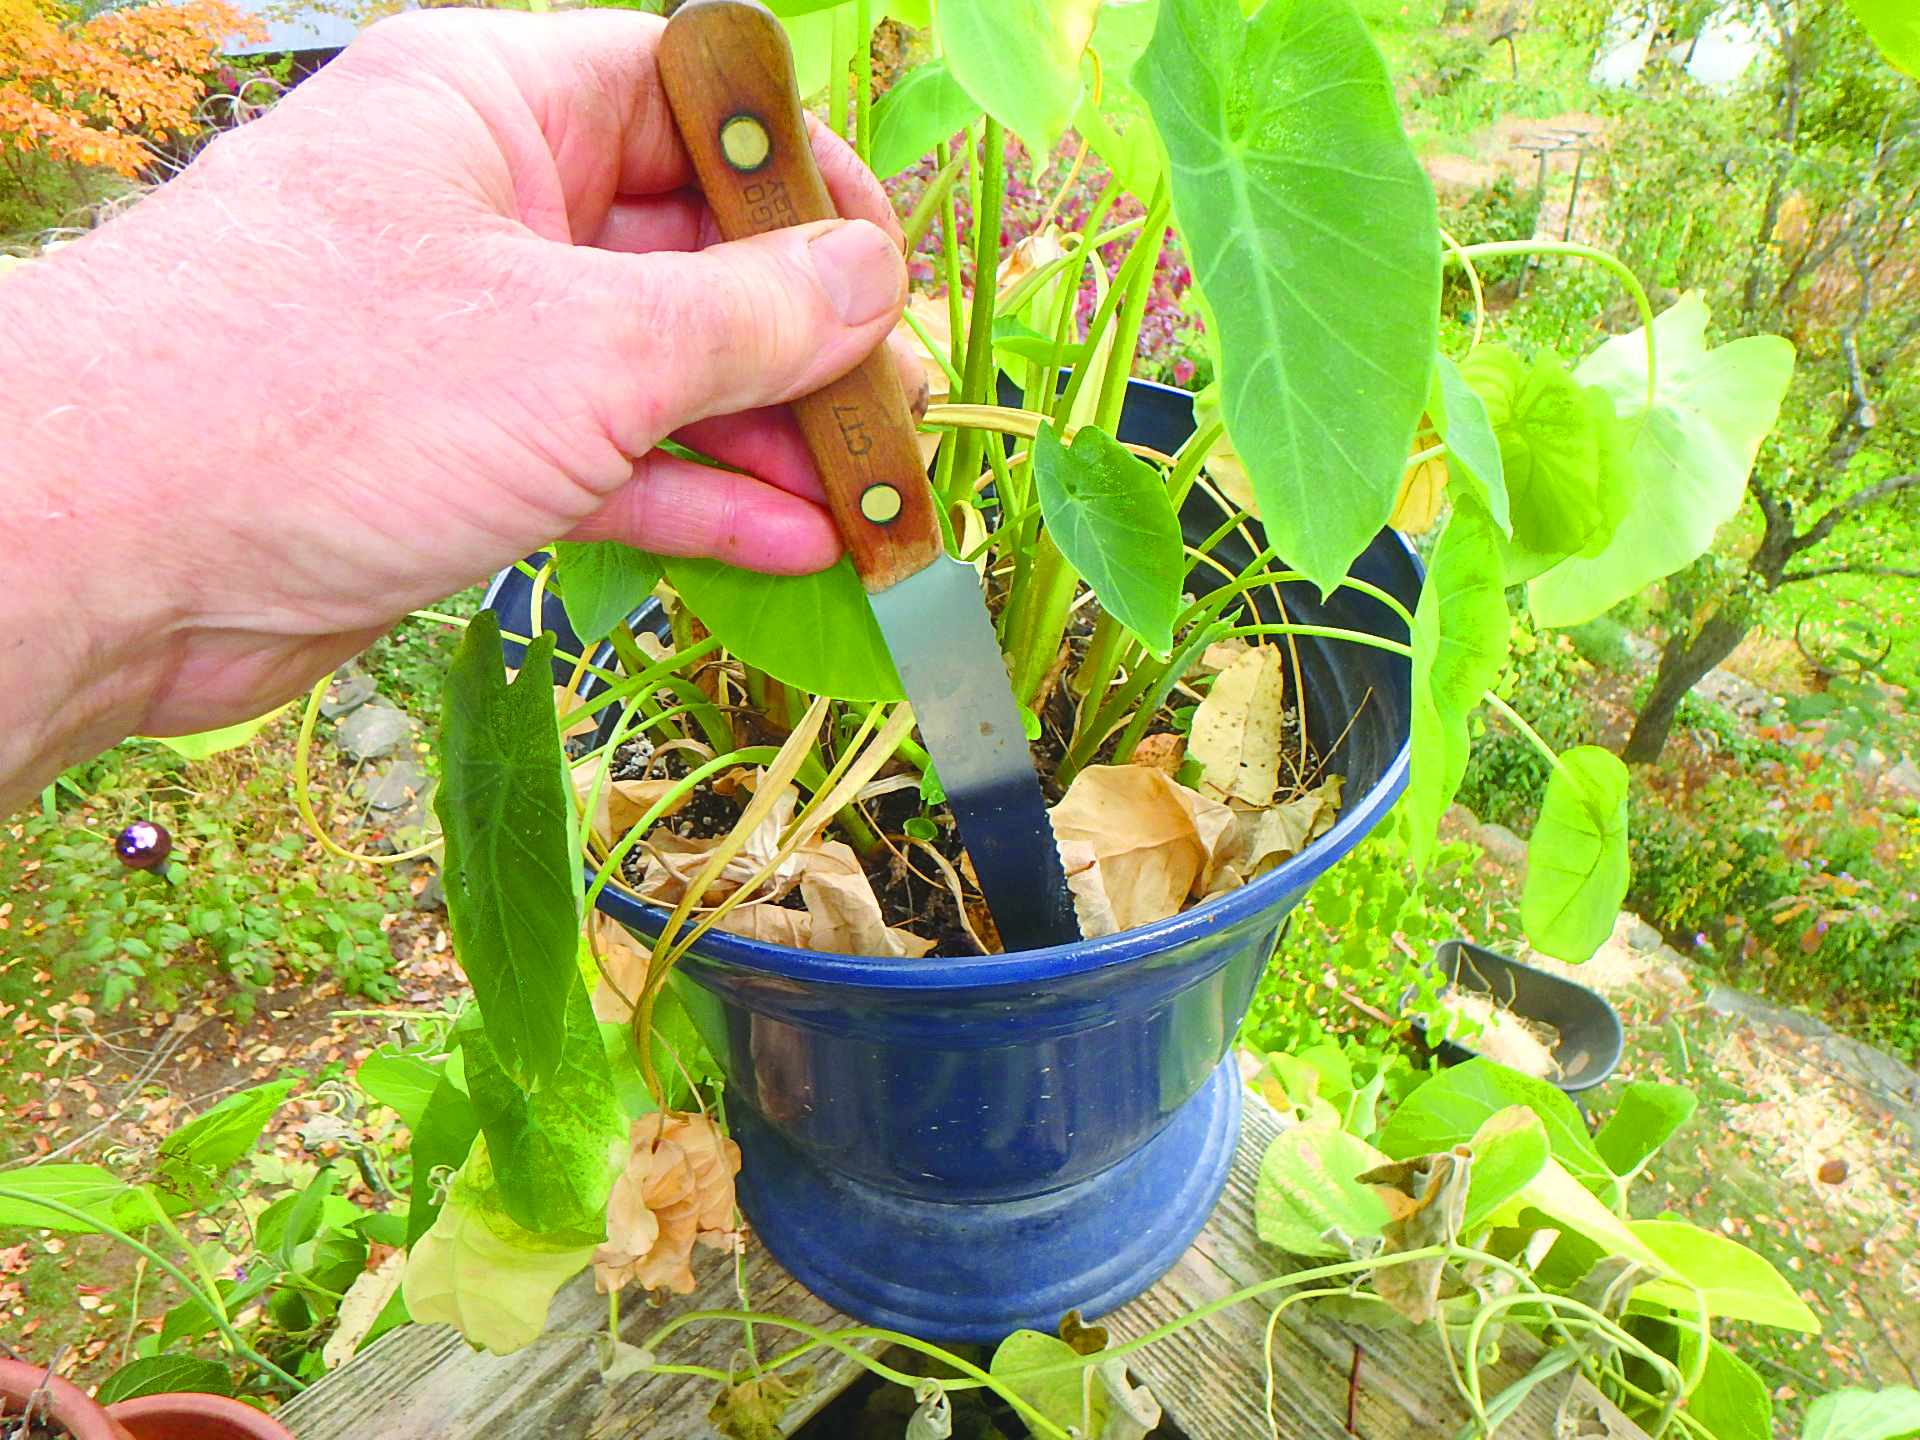
This is also a good time to divide perennials to make more plants. Peonies, for example, are best divided and moved in late September to mid-October. Dig up daylilies, phlox or asters now the way you would a shrub, and then use a small saw or root knife to divide it into two or more plants. Most plants like being divided, assuming you give them some compost and a little fertilizer

Featured Photo: Photo by Henry Homeyer.

Store like a squirrel

How to prep your food for winter

Like a conscientious squirrel, I put away food for the winter in August and September. I freeze and dehydrate lots of vegetables and store some in my cool basement. Here are some tips on ways to save food for later.

I grew about a dozen kale plants this year. The workhorses are those that end in “bor” — winterbor, redbor, starbor and others. I get seeds from Johnny’s Selected Seeds of Maine to start my own indoors in the spring, or find them at my local garden center growing in six-packs. Most of the kale I grow is for winter use because it freezes so well. This week I put up eight-quart freezer bags of kale, and I still have more I may process later.

To freeze kale I wash it first and make sure it is free of (ugh) slugs and bugs. Then I either pull the leaves off the midrib or slice it off. I chop the kale into one- or two-inch squares prior to blanching in boiling water.

To blanch the kale I submerge it in boiling water for 30 to 60 seconds. This will kill the “aging” enzymes in kale, allowing me to keep it frozen and good to eat practically forever, if need be. Normally I eat all the kale within a year of freezing it, which is recommended. I could freeze kale without blanching it if I were planning on eating it all in three months or so. But blanching also allows me to pack more kale in each bag.

For the blanching of kale and other veggies, I use my big black tin pot that is sold for hot water bath canning — it is roughly 14 inches wide and 9 inches deep and will hold seven quart mason jars for canning tomatoes. I fill the canner half full and bring to a full, rolling boil.

I have a special blanching pot that fits inside it — a metal pot with big holes in the bottom and sides, and a handle for putting it inside my canning pot and taking it out. You can buy a canner at any hardware store, but the inserts are harder to find — a restaurant supply store should have them.

Then I drop in the kale; I do 15 leaves or so at a time. The water will just barely come to a re-boil in 60 seconds. Use a timer. If you use lots of water and not too many leaves, you can blanch for just 30 seconds.

Next you want to cool the kale quickly. Some people prepare an ice bath, but I just fill the kitchen sink with cold tap water. I lift the blanching pot and let the water drain back into the canner. Then, with the lid of the canner under the pot, I move from stove to sink and drop the kale into the cold water. I stir, then scoop it out with a colander or slotted spoon, and put it into my salad spinner. The brand I prefer is Zylis, which has a pull string, not a crank. Sometimes I squeeze the kale to get some of the water out before spinning it.

Lastly, I dump the damp kale out of the salad spinner and onto a clean dish towel on the countertop. I pat it and roll it in the towel to remove more moisture. I fill bags, squeeze out some air, and then suck out as much air as I can with a straw inserted into the bag when it is closed right up to the straw. Still sucking, I pull the straw and snap the zipper shut.

Other veggies I blanch include beans, beets, broccoli, Brussels sprouts, cabbage, carrots, cauliflower, corn, kale, peaches, spinach and Swiss chard. But not all veggies need blanching. Things I don’t blanch include apples, berries, pears, peppers, leeks and tomatoes. And I bake or steam winter squash, then freeze it.

Summer squash for use as a side dish needs only 30 seconds of blanching, but squash for soup I don’t blanch at all. This week I put up 11 quarts of grated Romanesco zucchini for use in soups. Even big Romanescos are good, if you remove the seeds. I use the grater blade on my food processor to grate it — it would take forever by hand. One bag of grated zucchini with an equal amount of tomato (which I freeze whole), some onions or frozen leeks, vegetable bouillon and spices makes a great winter soup.

I grow a lot of leeks, in part because they freeze so well. I wash them, take off a layer or so of outer leaves, cut off the tops and quarter them lengthwise. I chop them, put them in freezer bags and suck out the air. They last forever in the freezer. I store lots of onions, but always run out before next year’s crop comes in. And onions don’t last forever, even in cool storage, so I use leeks in soups and stews when I run out of onions. I’ll put up a dozen quarts of leeks or more this year.

I haven’t harvested potatoes yet. I plant mine in June to avoid potato beetles. Didn’t have a single one this year! But it also means my potatoes are still growing now and are not ready to harvest. I have “stolen” a few by reaching under a plant and grabbing a few but not disrupting the others.

Potatoes store well in a spare fridge, or in a cement-block enclosure with a plywood lid in a cold space that stays in the 33- to 50-degree zone. Mice love them, so an old fridge really is best unless you are storing a lot of them. If I had to survive on what I grew, I’d grow a lot of potatoes and store them well.

So get to work. No point in growing a lot of produce and letting it go to waste. Of course, it’s fun to share with friends and the local food pantry.

Treasure hunt
Dear Donna,
This was mine when I was young and now I have no need for it. Can you tell me if it has value or should I pass it on to my niece?
Claire


Dear Claire,
Barbies have evolved drastically since the first one was created and signed by Ruth Handler in 1959. My thoughts are that any doll or case that made it through all these years of playing should have a value. That, however, is not always the case.
The first Barbie is still sought after. She can bring a very high value depending on condition. I think that other items such as outfits can be in demand as well. It all depends on how many of the items were made and their condition, and if the dolls are American-made.
Now let’s get to cases such as yours. They made so many and in different styles. Yours is a 1961 Ponytail Barbie carrying case and looks to be in fair (but faded) condition. I’m not sure how they could have ever made it through in excellent condition — who didn’t play with their Barbies every day?
Because so many were made, the value on the cases seems relatively low, in the range of $15 to $25, depending on condition and whether the drawer is still inside. If it were me I would pass it down and let your niece enjoy an old case for new dolls.
Donna Welch has spent more than 30 years in the antiques and collectibles field, appraising and instructing, and recently closed the physical location of From Out Of The Woods Antique Center (fromoutofthewoodsantiques.com) but is still doing some buying and selling. She is a member of The New Hampshire Antiques Dealer Association. If you have questions about an antique or collectible send a clear photo and information to Donna at [email protected], or call her at 391-6550 or 624-8668.

Featured Photo: Blanching kale is worth the work. Photo by Henry Homeyer.

Flowers fit for a dog

In celebration of Daffy

Daphne mezereum was the registered name of my corgi, Daffy, who passed away on Aug. 25. Born in 2006, Daffy was my constant companion who was always ready for an adventure — or especially a meal or snack. When her back legs gave out, she figured out ways to propel herself forward with glee — ignoring the inconvenience, and trying to overcome the pain. Finally, when the pain was nearly constant, we reluctantly called the vet.

We buried Daffy alongside her cat friend, Winnie, who passed naturally at age 23 in June, and Abby and Stanley and Emily, all good dogs who have passed on and been buried in a quiet shady place on our property. Each had their graves decorated with flowers from the garden. Let’s take a look at some of the plants I grow, and that I used to commemorate Daffy and celebrate her life.

Of course I cut branches of her namesake, Daphne mezereum or February Daphne. It is a fabulous shrub that blooms in May here in Cornish Flat, displaying pinky-purple fragrant flowers in abundance. It is slow-growing, so easy to maintain. No need to do much pruning, other than stems I cut to force in a vase each year in April.

And I put in her grave a couple of stems from a Harry Lauder’s walking stick shrub. A walking stick seems fitting for a dog that had trouble walking. It’s a curly hazelnut that would not really be good as a walking stick — there are no straight bits. Mine is a variety called ‘Red Majestic’ of the European filbert (Corylus avellana).

In the spring the leaves are a deep red-purple but develop a greenish tinge as the summer progresses. I have mine in a flower bed and have been able to keep it to a six-foot-wide and -tall tree by annual pruning.

And I sent Daffy off with diamonds: Pink Diamond, that is. It’s a lovely variety of hydrangea paniculata. I bought one that is a “standard,” meaning that it came with a straight trunk that had branches grafted on at the four-foot-high level. So it started out as a shrub with some height, and never suffered from the awkwardness common to many hydrangeas that start as multi-stemmed shrubs.

At the bottom of Daffy’s grave I placed boughs from a Canadian hemlock (Tsuga canadensis). This is a native evergreen tree that grows well in sun or shade. In 1972 I dug up several growing wild in a field nearby and planted them as a hedge. They are now 50 feet tall or so. My late sister, Ruth Anne, lived in Canada and loved Daffy fiercely, calling her “the dog of joy.” So these boughs commemorated them both. I no longer promote planting hemlocks because an insect pest, the wooly adelgid, is decimating them, though thankfully not in my area, as yet.

Of the woody plants, the last I placed in Daffy’s grave was a stem from my Bartlett pear. Daffy, always hungry, would gorge on the pears that fell on the ground beneath this tree, so it seemed fitting to put a branch in.

I cut fresh perennial flowers for Daphne’s grave, too. Phlox have been gorgeous this year, disease-free and fragrant. Daffy is the only dog I’ve had who noticed flowers. I have a picture of her checking out a vase of tulips. But phlox is in all its glory in sunny beds, so I cut some.

Daffy had a sunny disposition, even at the end when she was in pain, so I included a sunflower. Like Daphne, it was a short one, perhaps ‘Teddy Bear.’ There are so many great sunflowers out there, many short and with multiple flowers branching off the main stem. They are easily started from seed. Chipmunks love them when they are just starting, so I grow them in six-packs until they are tall enough to ignore the rodents. Deer love sunflowers, too, however, when they get bigger.

And roses went in the grave, too. My favorites are the Knockout roses. Perhaps because they are not fragrant, they don’t seem to be attractive to the Japanese beetles that can plague old-fashioned roses. They are fast-growing and can reach a height of four feet in a couple of months even if all above-ground stems died over the winter. The one I selected for Daffy has had 25 blossoms most of the time this summer.

Then we added some Shasta daisies, those wonderful, cheerful flowers with white petals around a central yellow button. My patch of those gets a bit bigger each year in full sun. And Mexican sunflowers (Tithonia rotundifolia), a six-foot-tall orange annual in the daisy or sunflower family. We start lots of these by seed each year, and I am always delighted by the results.

I suppose there were other flowers we picked for Daphne’s last day, though it’s all a bit of a blur. I do know that flowers always lift my spirits, and certainly they needed some lifting that day. But I’m doing better now, and being in the garden has helped. Later this fall I will plant bulbs on her grave – snowdrops. They are the first flowers to bloom in spring, and always bring me joy. And after all, she was the Dog of Joy.

Glorious hydrangeas

Now in full bloom

When I was a boy, I always took note of cemeteries as we drove by them. I’d lost a beloved grandfather, the original Henry Homeyer, and my mother’s mom. I was taken with a shrub or small tree in cemeteries that I called either “the snowball bush” or the “cemetery bush.”

Back in the day what I now call the PeeGee Hydrangea (Hydrangea paniculata ‘Grandiflora’) was present in every cemetery. They bloom for months, require no work other than planting, and will grow anywhere. Now there are dozens of species and varieties of hydrangeas, offering a great choice for small gardens — these never get huge, like a maple or an elm.

In the nursery trade the PeeGee hydrangea has fallen out of favor, mostly. Now Limelight, Pinky Winky and others with jazzy names and bigger flowers are more popular. But I love my PeeGee that I planted some 25 years ago. It is blooming with over 100 large white flowers now. It’s about nine feet wide and eight feet tall. Like most hydrangeas, if I wait until just before frost and cut some flower stems to put in a dry vase, they will look good all winter — and longer.

Most hydrangeas like full sun or part shade, good soil and adequate moisture. Some, like the panicle hydrangeas, bloom on new wood, while others — those that bloom early in the summer — bloom on buds developed the summer before, also called “old wood.”

The blue hydrangeas (H. macrophylla or big-leaf hydrangeas) generally bloom on old wood, and for those of us in the northern part of New England, that is unfortunate. Our tough winters ruin the flower buds, so the plants don’t bloom in June as desired. Nurseries in the South grow them, ship them to us in full bloom, but after Year 1 we are lucky to get three blossoms in September. Period.

Then along came Endless Summer, a big-leaf hydrangea that promised to bloom all summer long. I tried it, and called it Endless Disappointment. It died back in the winter, grew, but rarely flowered. Newer varieties are out there, and may be tougher, but in Zone 3 or 4 I say buy them in bloom and use as annuals. Not only that, blue hydrangeas produce pink or insipid colors if the soil pH is not acidic enough. ‘Nuff said.

I like my Pink Diamond, a panicle hydrangea with strong stems and fewer florets per flower head than the PeeGee. That means it doesn’t get weighed down by rain and drop to the ground like many other hydrangeas. It starts out white, then gradually turns pink. It is an excellent cut flower, too.

What about shade-growing hydrangeas? There are two nice ones. H. arborescens Grandiflora, also known as Hills of Snow, does well in shade. Its pompoms are much smaller than those of Annabelle, another of the same species, so it does not flop much after a rain. I like it better. It gets to be five or six feet tall and wide if left to its own, but many people cut it to the ground in late winter. The vigorous new growth will be shorter, and the pruning invigorates the plant.

My favorite shade hydrangea is the climbing hydrangea (H. anomala ssp. petiolaris). This tough vine will grow on the north side of a wall and can attach itself to brick or stone. It is slow-growing when young but after five years or so becomes quite vigorous. I attached the stems of mine to the side of my barn when young, but later the stems slipped through cracks in the barn and held on. Mine has even bloomed inside the barn! Climbing hydrangea has showy white, sterile petals on the outer rim of each flower panicle, and less showy, fertile flowers in the center. It blooms in June and the white petals stay white all year, so the flowers always look good. The vines have shaggy exfoliating bark, which is interesting in winter, too.

I recently attended a Hydrangea Walk at the home of Chris Wilson of Newbury, Vermont. Chris is a nursery professional, having worked at EC Brown Nursery in Thetford, Vermont, for over 35 years. Chris collects hydrangeas, lilacs and daffodils and opens his gardens three times a year to view them. This time we all wore masks and practiced social distancing. We didn’t want, as Chris said, “to die to see a hydrangea.” Chris has at least a couple of dozen different kinds of hydrangeas — and a good sense of humor.

Chris had two hydrangeas I had not ever seen before that I like. The first, called Great Star (H. paniculata), was first discovered in the gardens of Princess Greta Sturdza in Varengeville Sur Mer, Normandy, France. It appeared as a naturally occurring branch mutation of an unnamed seedling of Hydrangea paniculata. It has very prominent wide, strap-like sterile florets that are star-like. I hope to find a specimen and plant it in my garden.

The other hydrangea I saw there is another that does well in shade, H. paniculata White Moth. Chris had it tucked in near a large tree, and it was blooming nicely.

Don’t have a hydrangea? I highly recommend them. Most have blossoms now, when most flowering trees are done for the year. So go to your local family-run garden center and see what they have. I bet you’ll find something you like.

Featured Photo: Hydrangea “Great Star”. Photo by Henry Homeyer.

Re-wild your lawn

Start small to build up your garden

Tired of mowing your lawn, but afraid to stop? What would it look like, and what would the neighbors say? I was on a panel discussing “re-wilding” the lawn on New Hampshire Public Radio recently. Here are a few of the points we discussed.

First, a lawn is the easiest, least time-consuming way to maintain your property. If you want a meadow of flowers for birds, bees and pollinators of all kinds, lots of work is involved. You can’t just quit mowing, or rototill the lawn and broadcast some wildflower seeds, and then step back to enjoy. You would get some nice flowers, but your yard would also fill up with weeds and invasive trees.

My advice? Start small. A little corner of the yard, say something four feet wide and 15 feet long, would be a good start. Decide how much time you can commit to it, and how often you want to work in the garden. Can you dedicate half an hour each morning before work? An hour after work? Good gardens are built by people who do something in the garden every day.

Get a soil test done. New Hampshire and Rhode Island have stopped doing tests, Vermont will do them for Vermonters, and Maine, Massachusetts and Connecticut accept samples from out of state. Get a home gardener test with as much info as possible.

Next, you have to remove the grass. That means slicing through the lawn to create one-foot by one-foot squares that you can remove and take away to your (new?) compost pile. Don’t try to do it all at once. Do a little at a time.

Do your homework. Read books and go online to see what will work in your yard. Do you have full sun (six hours or more each day), part sun, or shade? Is your site hot and dry or cool and moist? Select flowers that will work in your climatic zone, and get a variety of bloom times: some for spring, others for early summer, late summer and fall.

Improve your soil. All soil can be improved with compost. Buy it by the truckload, not the bag. Get it delivered if you don’t have a truck. Work the compost into the soil after the grass is removed.

If you want to support butterflies, birds and bees, think native plants. Native plants are those that co-evolved with the wildlife. And let wildflowers be part of the mix. Right now Queen Anne’s lace is in bloom along the roadside. It’s a biennial in the carrot family and is loved by the bees. Learn to recognize the small first-year plants, dig up a few and plant them. Once established, the flowers will drop seeds each year.

But what about the neighbors? One of the panelists had done a study in Springfield, Mass. She asked homeowners to mow their lawn either weekly, every two weeks, or every three weeks. So that the neighbors would be more understanding, they put signs in the yards telling others that they were part of a scientific study.

They counted insects and found a two-week schedule for mowing was best for bees and pollinators: clover and dandelions had time to bloom and to provide food without being hidden in tall grass.

To create a sustainable non-lawn, you need to introduce not only those tall, bright flowers like black-eyed Susans and purple coneflower, but groundcovers that will fill in between plants.

One of the panelists, Thomas Rainer, is the co-author with Claudia West of the book Planting in the Post-Wild World: Designing Plant Communities for Resilient Landscapes. In their book they explain that in nature there are plant communities: plants that need roughly the same soil and light, and that co-exist nicely. If you want a balanced plant community, you need a diverse, supportive collection of plants, including groundcovers.

Groundcovers can act a bit like mulch: They can prevent soil erosion and suppress weeds. It is often tough to find good native groundcovers like groundsel or goldenstar for sale, but they are available if you look hard enough. Winecup is a good groundcover for hot dry, sunny places, and is often available. Oregano and thyme can be used as an understory ground cover that bees love, and they are readily available.

And Creeping Charlie? It’s that “weed” hated by lawn-lovers because it can “spoil” a nice lawn and spread like crazy in part shade. But it is a native plant with nice flowers and is loved by bees. Think about letting it proliferate in your “non-lawn.”

Lastly, if you want a landscape that is beautiful and low-maintenance, think about planting trees and shrubs. Many bloom nicely and all are useful to wildlife. Some native shrubs that I grow and love are fothergilla, blueberries, elderberry, buttonbush and our native rhododendron and azalea.

If you stop mowing the grass and want flowers, put up a sign. I recently saw one that was very simple: it said “Butterfly Crossing.” Hopefully that appeased the neighbors a little.

A sign like this lets neighbors know you are not lazy, but letting the lawn grow for a reason. Photo by Henry Homeyer.

Stay in the loop!

Get FREE weekly briefs on local food, music,

arts, and more across southern New Hampshire!