Plant bulbs now for spring blossoms
Now is the time to buy your bulbs for spring blossoms. Most years I have bulb flowers pushing their way up through mushy snow and fallen leaves in early March, delighting me with their improbably delicate flowers.
First the small bulbs bloom: snowdrops, glory of the snow, scilla, winter aconite and crocus. Next come daffodils, tulips and alliums. Finally come summer snowflake and camassia. You have plenty of time to plant bulbs as you can do so until the ground freezes. But I recommend that you get them now before they are sold out. Gardening has taken a big uptick in interest this year, and I predict bulbs will go the way of seeds and hoses — all sold out early.
Here are the basics: you plant bulbs in the fall and they bloom in the spring according to an internal clock. All need plenty of sun, though the little ones that bloom early can be grown under deciduous trees, as they will get enough sun to “re-charge” the bulbs by photosynthesis before the leaves are on. Don’t plant bulbs of daffodils or tulips in the lawn because you won’t be able to mow it until July (if you do, the bulbs will not get enough energy and they won’t bloom).
Planting depth matters. The small bulbs only need two or three inches of soil cover over the top of the bulb; bigger bulbs like tulips and daffodils generally need 6 inches of cover. Follow the directions that come with the bulbs.
Tulip bulbs are loved as food by rodents like squirrels and chipmunks. Deer will eat the foliage and flower buds — often the night before you planned on picking some. Daffodils are vaguely poisonous, so not eaten by anything. Alliums, in the onion family, are not eaten by anything, either. Crocus are not generally bothered by anything, but this past spring we had a plague of chipmunks that ate the blossoms just before they bloomed. I’ve never had trouble with any of the other small bulbs.
I like to plant bulbs in big batches. Fifty daffodils will knock your socks off when they bloom, but five will hardly be noticed. I know that some stores sell tools that can be used to cut out and lift a circle of soil all in one motion. The idea is to dig lots of holes (three inches across) and plant one bulb in each hole. I find that method tedious. The same goes for using an auger on a drill to dig holes for bulbs.
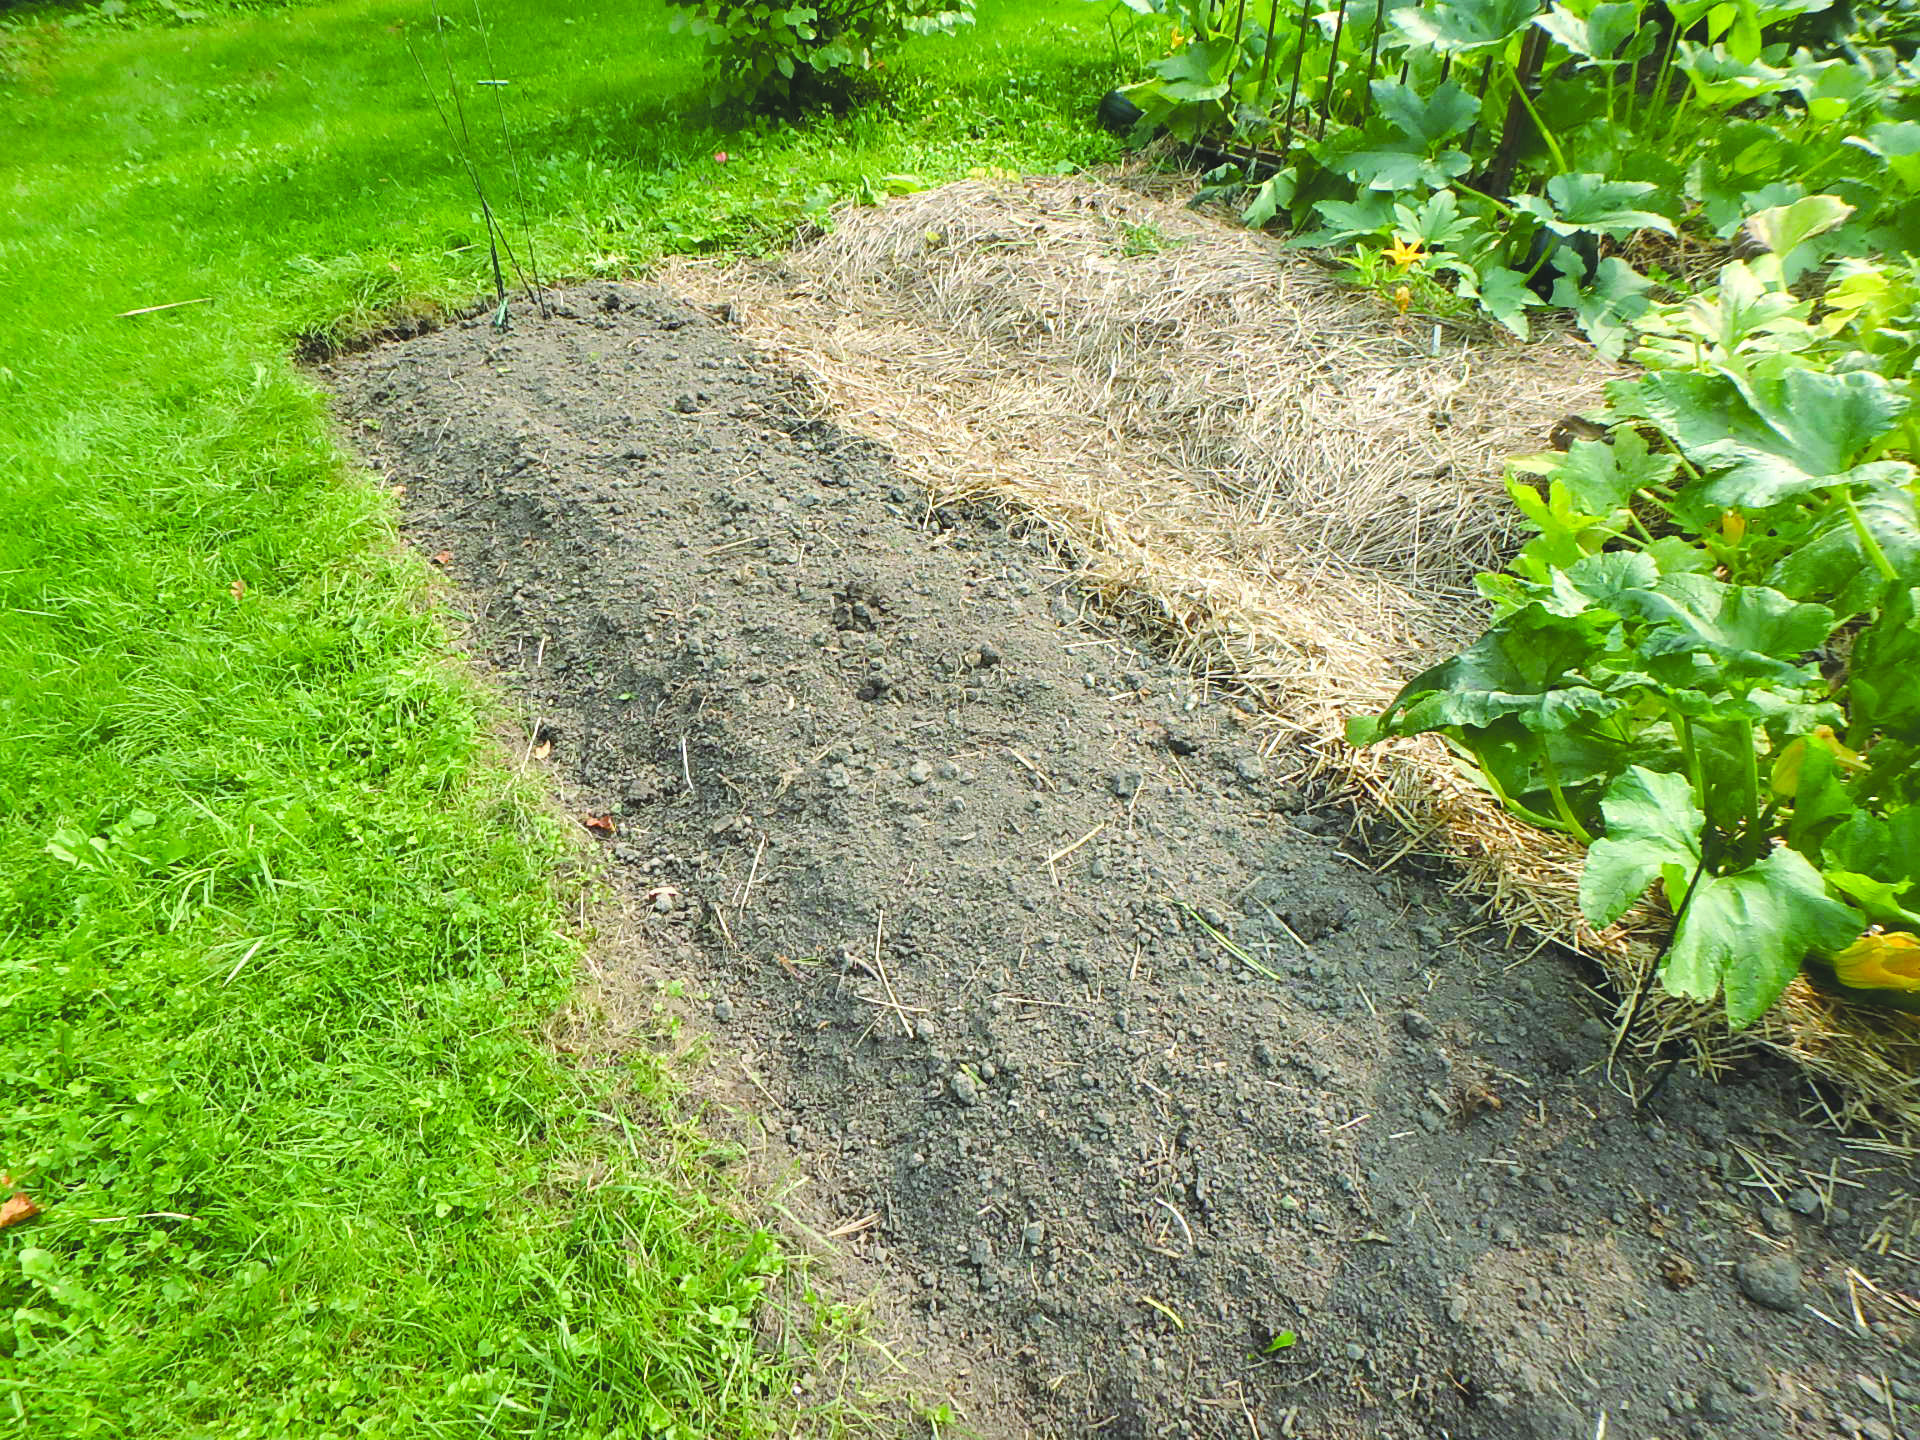
What I like is to dig a bulb bed for 25 or more bulbs. Dig down six inches, remove the soil in an oval or circle 24 to 36 inches across. I put the soil in a wheelbarrow or on a tarp so as to keep the area tidy. Once the hole is excavated, I add some bulb booster or slow-release organic fertilizer in the hole with my CobraHead weeder. I generally add some compost, too, and scratch it into the soil at the bottom of the hole, along with the fertilizer.
After all that, I just place the bulbs in the soil, pointy end up. Space them according to the directions, or a little closer than the directions indicate. Daffodils and tulips I space about three inches apart, small bulbs less. Then I take the soil I removed and return it to the hole, being careful not to disturb the bulbs. I remove any stones that are the size of the bulbs or larger, and mix in some compost with the soil if it is a heavy clay or very sandy.
What about those rodents that want to eat your tulips or small bulbs? People try many things to deter them. Some sprinkle hot pepper powder on the soil surface, or crushed oyster shells, which are sharp and unpleasant. A variety of animal repellents are sold, and some may do the job. I like to hide the hole with a layer of fall leaves so it won’t be so obvious to rodents.
Back at the end of Bill Clinton’s time in office I got to interview the White House gardener in the fall. They had just planted, for the newly elected President Bush, thousands of tulips, a variety named Hilary Clinton. I asked how they would keep the squirrels away — I saw them everywhere. Dale Haney, the head gardener, told me they keep the squirrels fat and happy — they give them all the dried corn they can eat. That reduces the desire for tulips. And, he said, they put a layer of chicken wire two inches below the soil surface after planting. Squirrels are deterred by the wire. I tried that method, and it is not easy to do — I needed to cut the chicken wire to fit my plantings, and it was like handling razor wire.
There are a few fall-blooming bulbs, too. Saffron crocus and colchicum need to be planted before this, but you might like to try them another year. Colchicum, generally planted in August, is also called “fall crocus” (even though it is not a crocus at all). But the blossoms look like giant crocus, and each bulb produces several blossoms. I love them.
Colchicum are leafless now, but they put out leaves in the spring that disappear by mid-summer. Bulbs cost $5 to $8 each and are generally sold in packages of three. Good garden centers may have a few for sale potted up and already in bloom now.
I’ve been planting bulbs every year for decades and find it one of my favorite gardening activities. Now, in fall, when the garden is declining, I plant something and dream of spring.
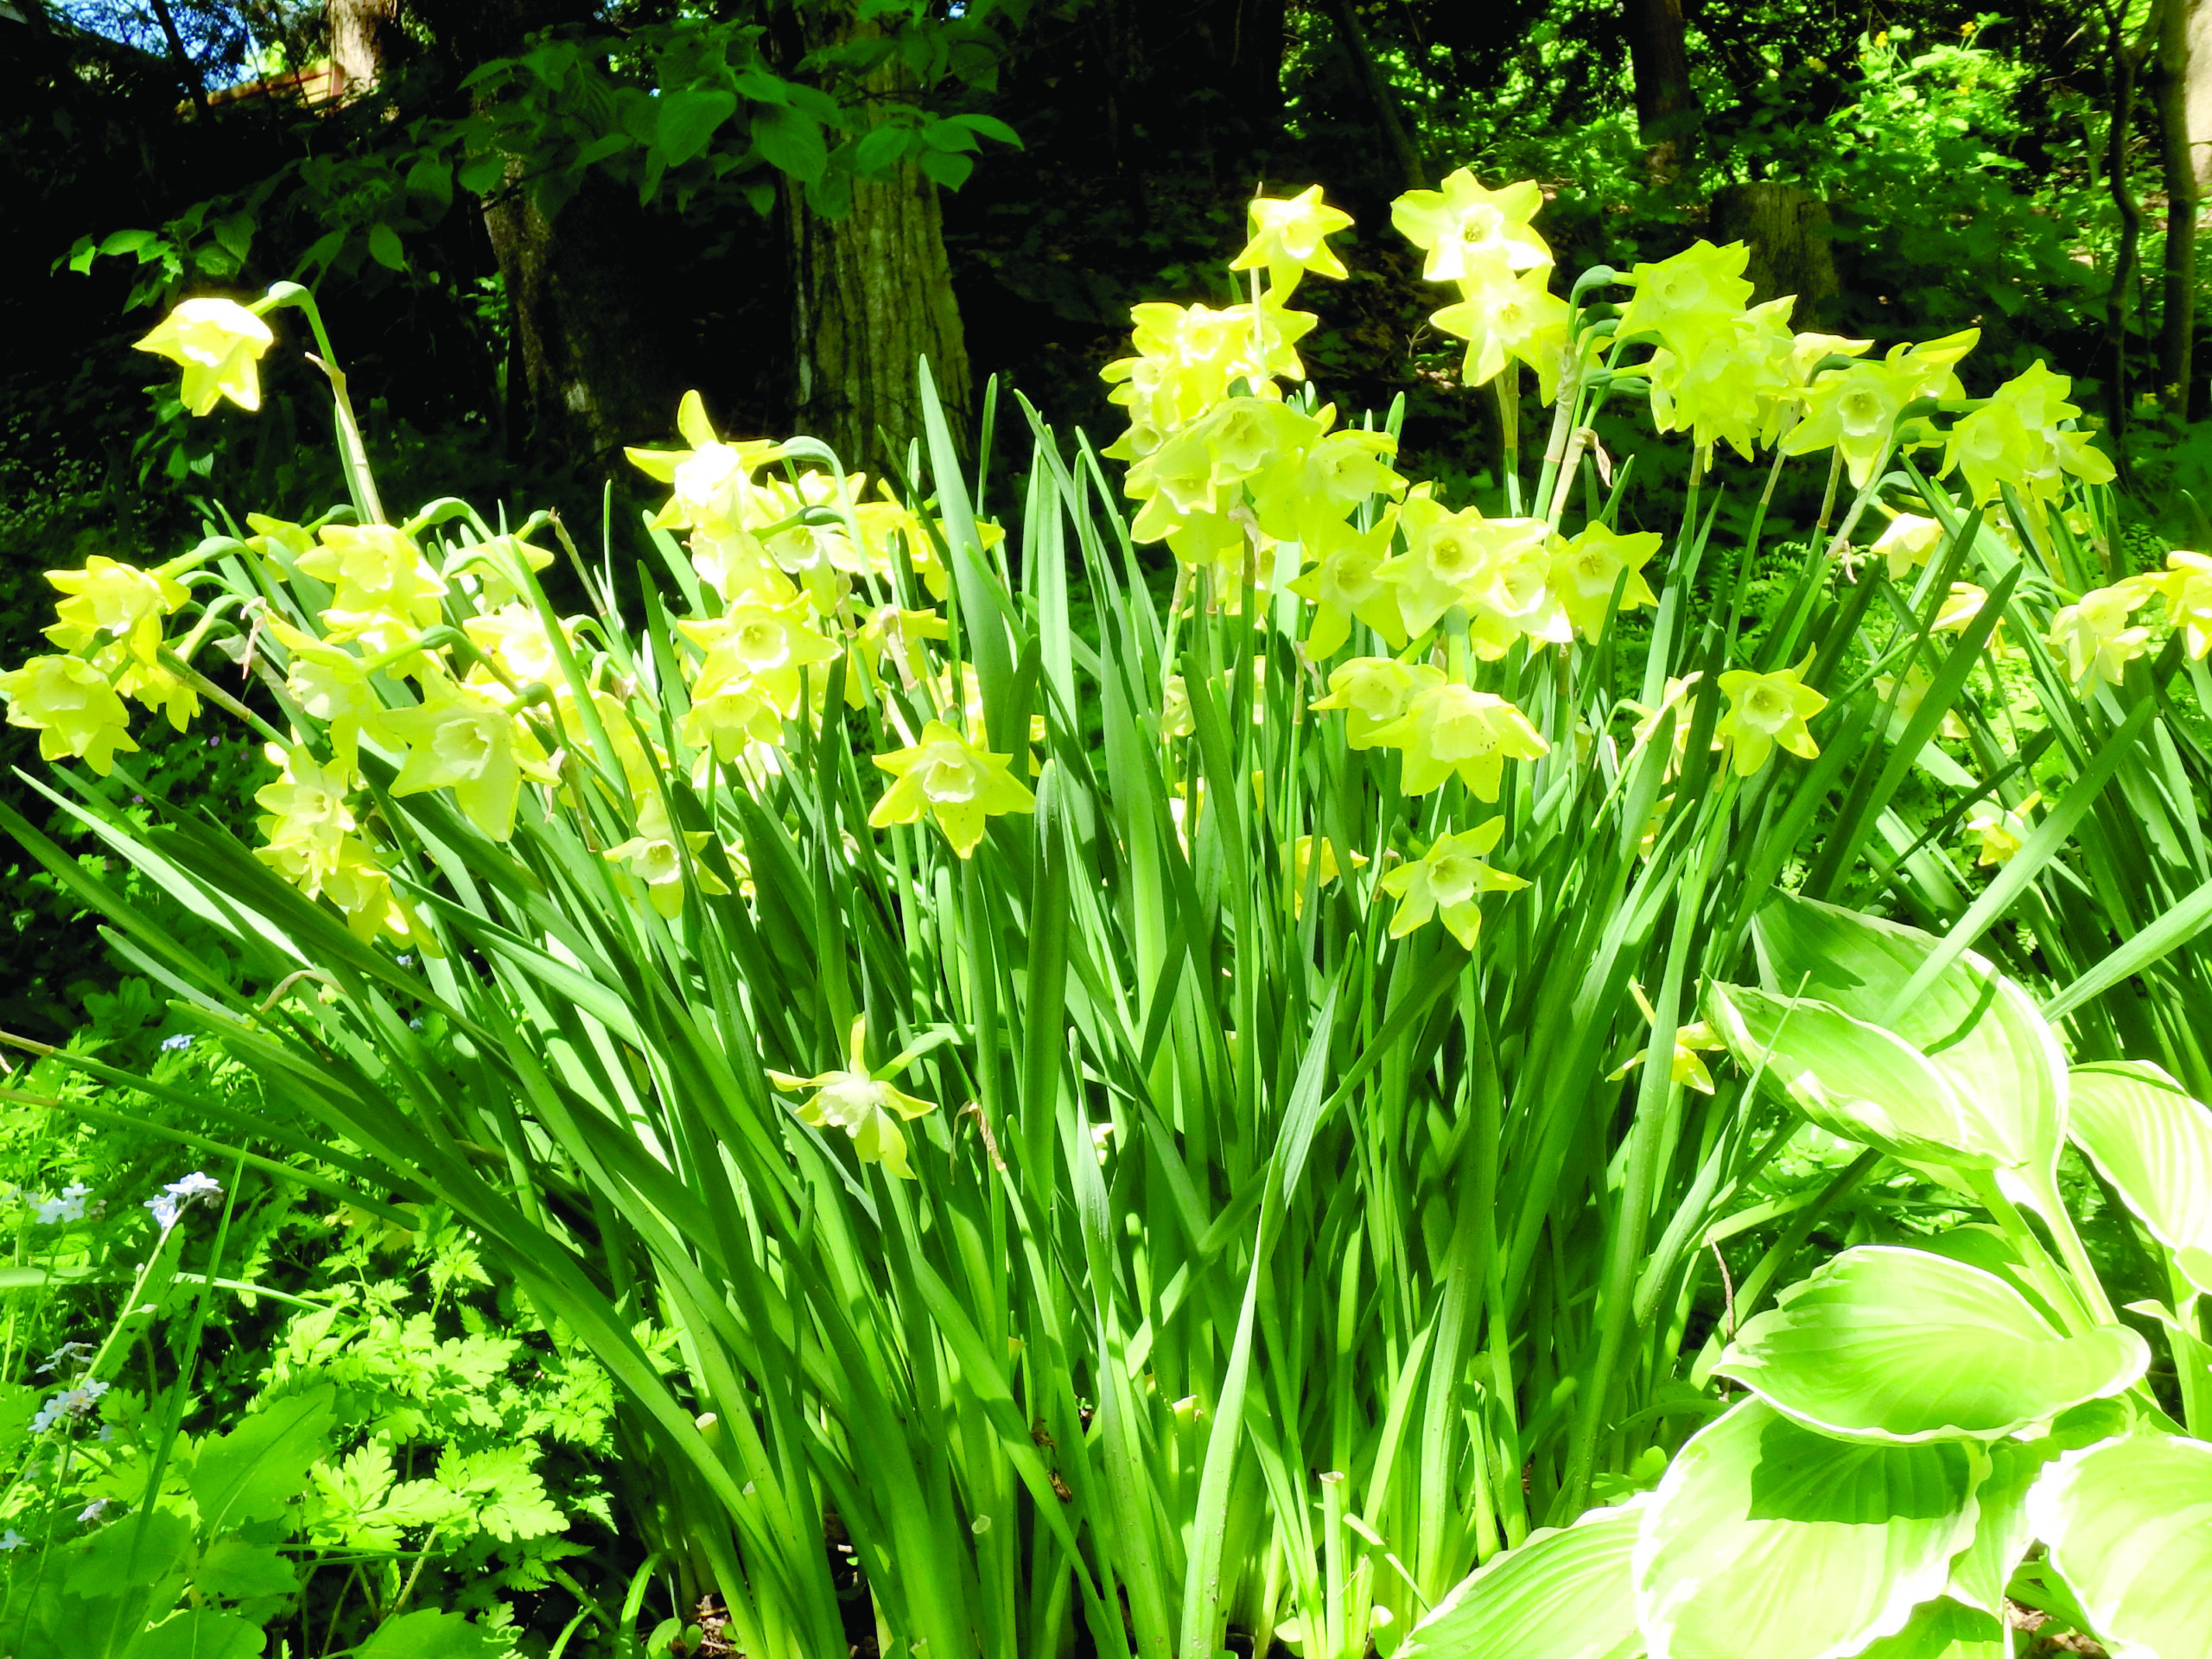
Featured Photo: Photo by Henry Homeyer.