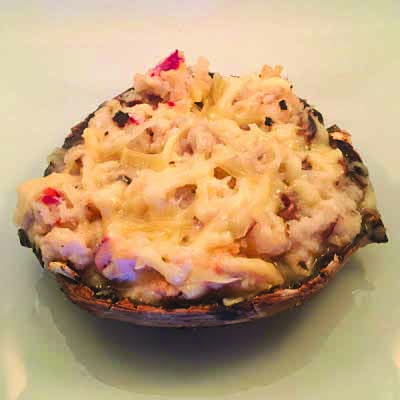
Summer is here, and with that comes a variety of local produce. Although it is probably a month until local corn is ready, you definitely could use non-local corn to make this recipe. With the corn being sautéed, the need for just freshly picked this morning is less necessary.
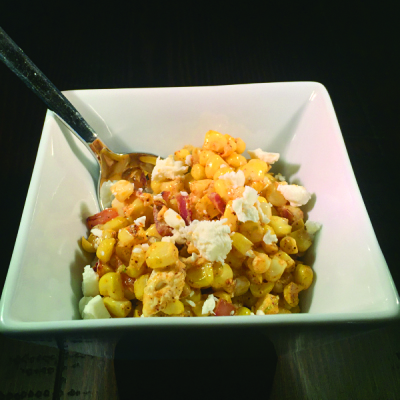
Mexican corn is one of my favorite summer dishes because it is so versatile. Need a side dish to accompany whatever protein you’re grilling? Want a different topping for your taco dinner? Looking for an appetizer to start your menu? This recipe can do all of those things!
The ingredients are pretty cut and dried. The only ingredient that can’t be changed is the lime. You need an actual lime in order to have zest, and the lime zest is key in adding a sharp bite to the dish. Everything else has some wiggle room. While red onion is preferred, you could use a white or yellow onion. I have never tried frozen corn, but I think it would work, if you thawed it before sautéing. The plain Greek yogurt can be swapped for sour cream, if you have some on hand. Finally, since cotija may be more difficult to find, you can use feta instead.
Now with your ingredients in hand, it’s time to start cooking. Speaking of which, this recipe is super easy to make. From start to finish it’s about 10 minutes. Delicious and easy to make — two things to make you smile!
Mexican corn off the cob
Serves 4
3 Tablespoons extra virgin olive oil, divided
1/4 cup diced red onion
3 ears corn
zest of 1/2 lime
1/2 teaspoon chili powder
1 Tablespoon lime juice
2 Tablespoons plain Greek yogurt
1/4 cup cotija, crumbled & divided
Remove kernels from each cob of corn; set aside
Heat a large frying pan over medium heat; add 1 tablespoon oil.
Sauté red onion until tender; transfer it to a small bowl.
Add the remaining 2 tablespoons oil to frying pan, then add corn.
Sauté corn for 2 minutes, stirring constantly.
Return onions to pan, still stirring, for 30 seconds.
Transfer corn mixture to a medium-sized bowl, and add lime zest, chili powder, lime juice, yogurt and 2 tablespoons cotija.
When serving, top each dish with remaining cotija cheese.
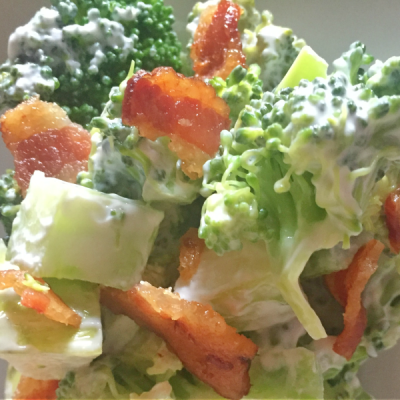
Featured Photo: Broccoli, apple and bacon salad. Photo by Michele Pesula Kuegler.