A springtime tradition at Concord Craft Brewing
Dennis Molnar, co-owner of Concord Craft Brewing, says weather plays a bigger role in running a brewery than you might think.
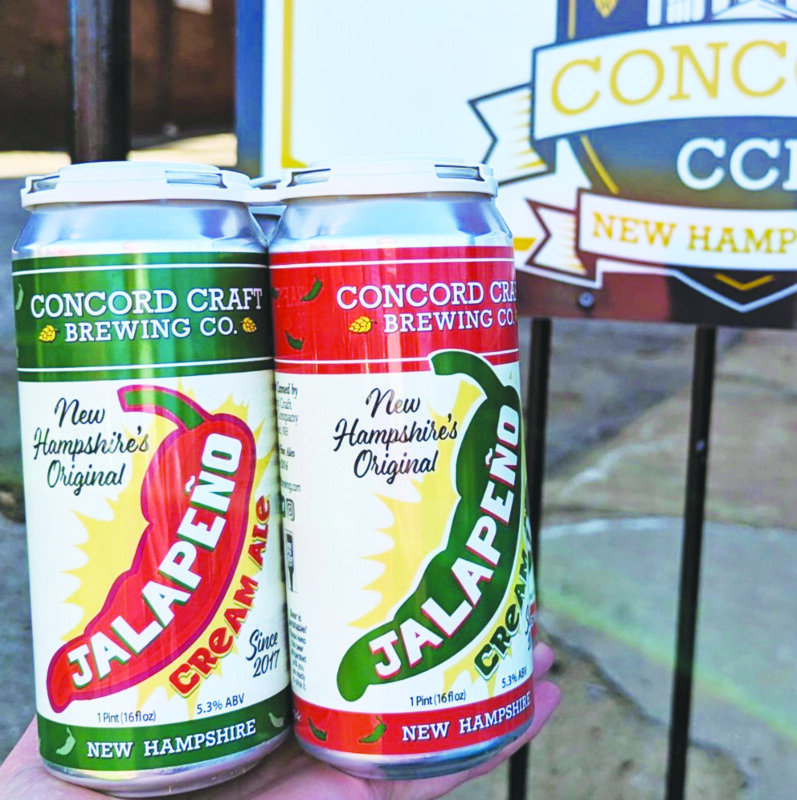
“Most people, unless they’re die-hards, are pulled toward lighter beers,” he said of spring beer drinkers. Which explains the Jalapeño Cream Ale.
Molnar said one of the challenges of making specialty seasonal beers is knowing how much to make, and when to make it.
“We get people getting in touch with us all the time, asking, ‘Why can’t you make the Jalapeño year-round, or why can’t you make that very rich, heavy porter all year round?’ It’s hard to know what the right amount to make is, before people’s tastes change,” he said.
The Jalapeño Cream Ale originally started as a tribute to Cinco de Mayo, Molnar said, but after several years customers started to think of it as a generally springtime beer.
“It’s a Golden Ale,” he said. “It’s on the lighter side, which makes it popular for warmer weather. We use real jalapeños and let it age [with the chiles] for several weeks. There’s a little bit of spice there, but not so much that you can’t finish your dinner or anything.”
Before the Jalapeño this year, there was the maple-season-themed Logger Lager.
“Most years, in the late winter/early spring, we make a bourbon barrel-aged maple brown ale,” Molnar said, “but we had trouble getting barrels this year.” Instead the brewery put out a mazen, a German-style, medium-bodied golden ale with maple syrup. “We liked the name,” he said. “Also, small brewers [like us] make unpasteurized beers. That means that the yeast ferments out the maple sugars, and you’re left with a more subtle maple flavor.”
One of the advantages of running a small brewery is having the freedom to test out new ideas, Molnar said.
“We can make a small batch and see how it works out,” he said. At the moment, he and his team are thinking about something new for the summer, a cherry wheat beer.
“It should be a fun, light, bright-colored beer,” he said. “We’ve finally got a good source for cherry purée.”
During the summer the brewery’s customers drink beers that are lighter in color, texture and percentage of alcohol, but in the fall they start drinking heavier porters and stouts.
“Our Squirrel Fights Nut Brown Ale is really popular,” Molnar said, “and Apple Crisp — like the dessert — Porter is one of our most popular fall beers. We almost always brew a pumpkin beer, too. Some people really like pumpkin beers around that time of year. A lot of them don’t actually like eating pumpkin, but they love seeing it in a glass.”
Right now, the flavor of the moment is jalapeño. Because it has become identified so strongly with springtime, it will be around for the rest of the season.
“We’ll have it in stores until the beginning of June,” Molnar said, “and on tap for a little longer.”
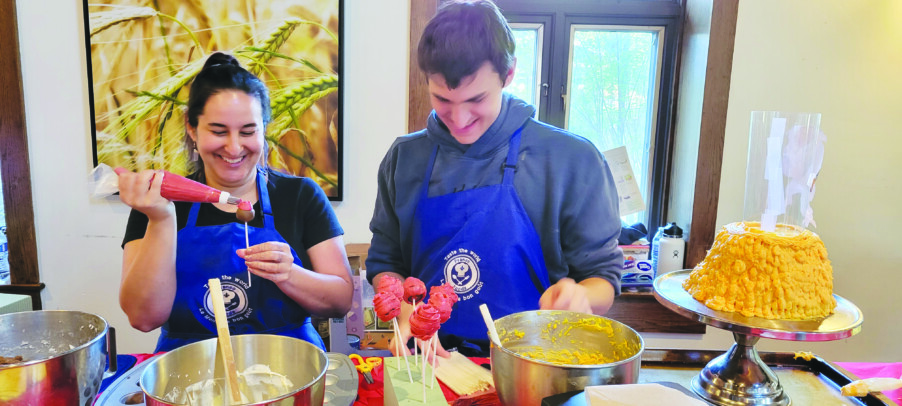
Featured Photo: Photos courtesy of Concord Craft Brewing.