Take notes now for a nice garden later
This was supposed to be my very last gardening column, but (spoiler alert) it is not. I started writing a gardening column in 1998 and wrote weekly for 25 years. Then in late 2023 I dropped down to once a month. I liked the extra time and freedom it gave me to do other things.
Recently I have been tempted to say, ”Adios, my friends” once I turned 80 this month (same day as Will Shakespeare, different year). But I have decided that I will continue on — as long as I can and still have readers who tell me they learn from the column. And so long as local newspapers, like this one, keep on being willing and able to pay me. Thanks to all of you for your enthusiasm and support.
Despite occasional snows, our gardens are awake in April. Flowering bulbs abound: Snowdrop and winter aconite have been blooming since March; early daffodils, glory of the snow, scilla (also called Siberian squill) and crocus are plentiful. Trees are awakening, too: Spring witchhazel is blooming and leatherwood (Dirca palustris) will bloom by the middle of the month.
Spring is a good time to determine where you should plant bulbs, come fall. Get some plant tags and place them where nothing is coming up, places that would look good with some daffodils or snowdrops. Come fall, most of us cannot remember exactly where we have clusters of spring-blooming bulbs.
Bulb flowers can last decades. My family had hundreds of daffodils that bloomed along the paths through our woods in Connecticut. The high canopy of mature maples was quite dense, but the daffies got enough sunshine to re-charge their energy before the maple leaves were big. I have some clumps of daffodils I moved from there, some 40 years ago. FYI: Planting bulbs under evergreens is not a good idea.
The timing of spring clean-up depends on the weather and where you live. We don’t cut back many of our tall perennials and grasses in the fall as they offer food for seed-eating birds, and some harbor eggs or larvae of pollinators in their hollow stems. We’ll wait until the weather is consistently in the 50s before we clean up and remove dead stems so insects can hatch. We’ll rake and remove debris from mid to late April.
April is a good month for pruning fruit trees. Although there are entire books about pruning, the rules are fairly simple:
1. Never remove more than 20% or 25% of the live, leaf-bearing branches. This may mean spreading out your pruning over two or three years if a tree is badly overgrown. Pile up your branches as you work, so you can estimate more easily how much you have cut off.
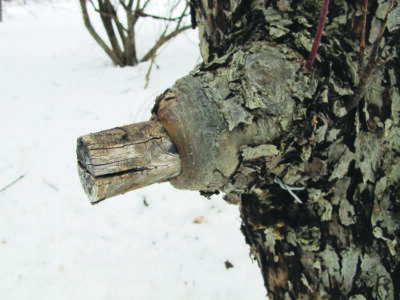
2. Don’t leave short stubs of branches. Cut back to the swollen area called the branch collar. This is where it heals.
3. Remove all dead branches. They don’t count in that 25% threshold.
4. If two branches are rubbing, crossing or fighting for sunshine, remove one. Don’t be afraid to cut out large branches.
5. Remove all “water sprouts,” which are thin, pencil-like sprouts growing straight up. Do this every year. Remove any root sprouts, too.
6. Remove branches pointed toward the middle of the tree.
April is a good month for planning what you want to grow this year, and what you want to eliminate. I know people who refuse to cut down trees or dig out shrubs. Not me. If a woody plant is not performing well or is difficult to keep looking nice, I remove it. It opens up a place for something new.
This year Cindy and I plan to plant two more peach trees. I planted a good-sized ‘Contender’ peach in 2021, and although it has produced some peaches they have not been very tasty. So this year I will plant a ‘Reliant’ peach and a ‘Red Haven.’ Both are peaches that are tasty and hardy here in our Zone 5 garden. And I hope to convince Cindy we should remove the ‘Contender.’ She is much less ruthless than I am.
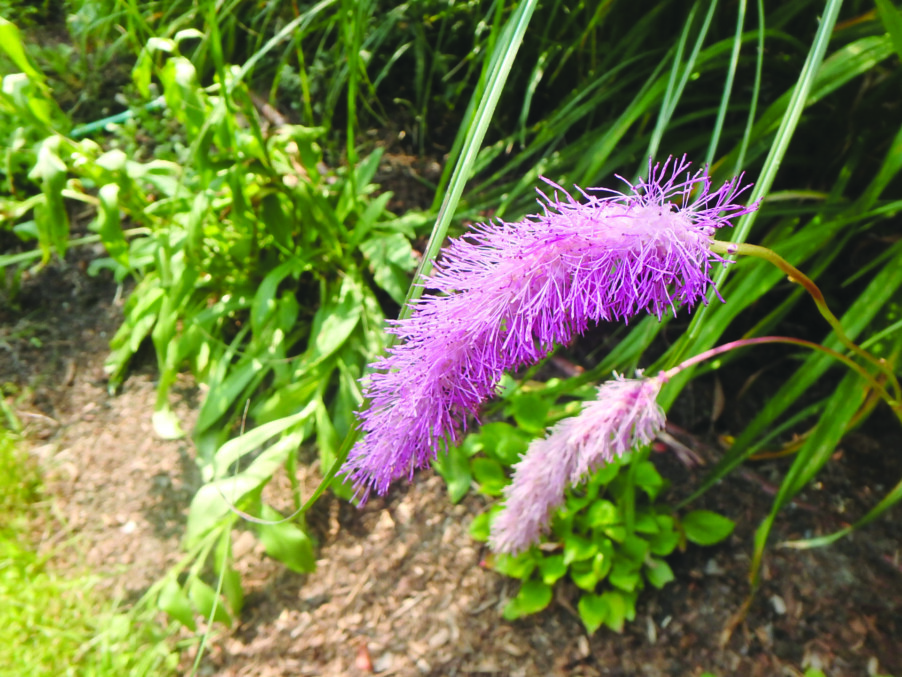
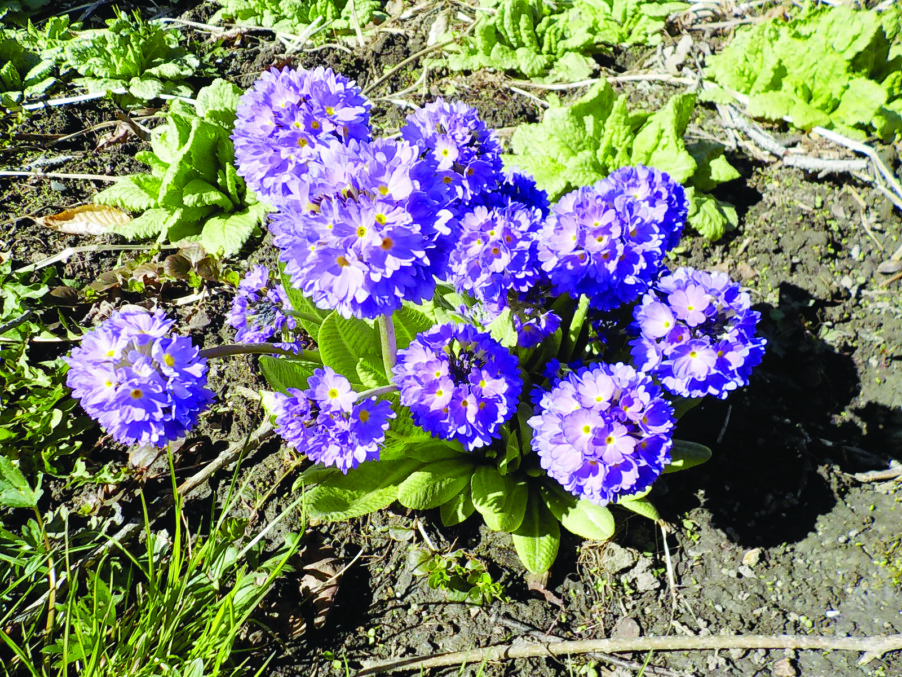
Pay attention to what pleases you in the perennial garden as spring moves along. Last year I planted a few common primroses (Primula vulgaris). They started blooming at the beginning of April this year, a striking bright yellow. I will plant half a dozen more since they bloom so early. They prefer part shade, rich soil and plenty of moisture. Another early primrose is the Drumstick Primrose (P. denticulata). It sends up a purple, blue or white cluster of florets vaguely in the shape of a chicken drumstick.
If you have a good location for primroses, think about obtaining some Candelabra Primroses (P. japonica). These beauties bloom on 2-foot stalks with rings of small trumpets in magenta, pink or white. They grow and produce a new set of flowers each week for four to six weeks starting in mid-May for me. And best yet: They produce lots of seeds and spread quite rapidly. They do best in rich, moist soil beneath mature apple trees. Buy three plants and before you know it you’ll have a dozen, then three dozen. Twenty-five years ago I was given seven plants; now I have more than 500!
I firmly believe that gardening keeps me fit and young. I always have to survive the winter to see what blooms well in the spring and beyond!
You can reach Henry with comments and questions at PO Box 364, Cornish Flat, NH 03746 or by email at henry.homeyer@comcast.net.
Featured photo: Drumstick primula is an early spring bloomer. Photo by Henry Homeyer.