And other advice for September gardening
By Henry Homeyer
listings@hippopress.com
I’ve seen the big yellow buses meandering down the road, lines of impatient drivers behind them, noisy kids inside. That tells me, temperatures notwithstanding, that fall has arrived.
The most common question I am fielding is about lilacs: Why have so many had their leaves turn brown and fall off early? We had a wet spring, ideal conditions for fungal diseases to thrive, and many are affected. The ultra-dry conditions of August stressed the lilacs, making them even more susceptible. But fear not: They should recover next year.
I recently spoke to Kitty Werner, curator of lilacs at the UVM Horticulture Farm. She agreed that the problem is a blight and suggested that you rake up the dead leaves so spores don’t overwinter near your lilacs.
Give your lilacs a slow, deep watering now, and again every week until we get some serious rain. Bring your hose to the plant, and set the rate at very slow. Let it slowly sink in over a period of five minutes or more. If you have planted any new trees or shrubs this year, also give them a deep watering on a regular basis. This will allow roots to grow — scientists have determined that fall is when most root extension occurs.
Mulch can be useful for minimizing weeds, but it is also a liability. Even 2 inches of ground bark mulch on a flower bed can soak up all the water from a quick watering with your hose, or a nice 20-minute shower from the sky. If you are not sure if the water is getting to your soil, water, pull back the mulch and poke around in the soil with your finger.
My vegetables did well this summer, as they loved all the sunshine. My soil is very high in organic matter, so it holds water well. My spring-planted lettuces were cut-and-come again varieties, so I ate good lettuce all summer. Because I cut off heads instead of pulling them, the roots started up new plants, which produced well. Now everything has bolted and I will leave a few to set and drop seeds. Those will start new plants in April, even when the soil is too wet for me to work it.
When I was visiting a friend the other day, she pulled off a leaf from a lettuce plant that had bolted and ate it. Huh? I always worked on the idea that bolted lettuce is too bitter to eat. But I tried one, and it was good. So I have been tasting my lettuce that has bolted, and lettuce from other gardens. Most tasted fine to me, a few were worth making a face. Of course, I know that as we age our taste buds change, so to you younger folk, maybe all bolted lettuce is inedible. But it’s worth sampling your lettuce before pulling it out.
It is not too late to plant more lettuce. In late August I planted some Black Seeded Simpson. It is heat tolerant and frost tolerant, and matures in 21 to 40 days after it germinates. It’s a workhorse, and I should be able to start picking a few leaves later this month. Even if you plant in mid-September you will get some in October — and maybe into November. Because of the dryness, I did not seed the lettuce in the ground, but used potting soil and cells that I could monitor for moisture levels. When it is well established, I will transplant it into the ground.
Over the years I have created flower gardens that have something in bloom all three seasons. Right now monarch butterflies and migrating birds need lots of energy for their long journeys. Birds need seeds, which are high in calories, so I am not cutting back summer bloomers even if they have gone by.
We all know that monarchs need milkweed — but that is so their larvae will feed on the leaves and become toxic to birds. Adult monarchs do not feed on milkweed leaves, but right now they are enjoying feeding on nectar from goldenrod, Joe Pye weed and fall asters, among others.
As the vegetable garden winds down, it is important to pick vegetables at peak ripeness if you intend to freeze, can or dehydrate them. Woody green beans picked huge will never get eaten even if you freeze them.
You know better than to let your zucchinis get too big, but did you know you can freeze them? Cut them into bite-sized pieces and blanch them very briefly in boiling water. Thirty seconds or so will kill the aging enzymes to keep them nice once frozen. Dump the blanched squash in a sink of cold water, let cool, drain and pat dry. Freeze in zipper bags and eat within six months.
If you haven’t got your seed garlic yet, buy some. We should plant garlic in October, but by then most seed garlic is gone. And harvest your potatoes soon — even if they haven’t blossomed (which is usually when we dig them). I got a great crop, due to all the sunshine.
Every year has its own challenges, but I try not to focus on the difficulties like lack of water. And who knows? Maybe next year it will rain some every week.
You may reach Henry at henry.homeyer@comcast.net
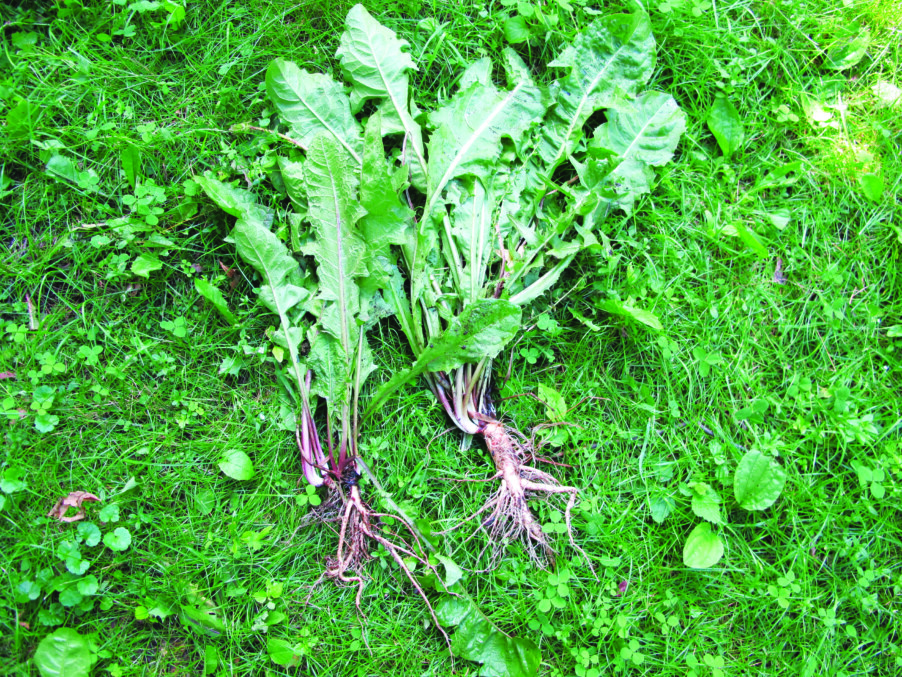
Featured photo: Lettuce bolts when it gets tall and produces seeds. Photo by Henry Homeyer.