Enjoy paperwhites and amaryllis indoors
As winter drags along, I long for warm sun and green plants surrounding me outdoors. It’s much too early to start spring seeds (even indoors), but I can plant some flower bulbs. I love paperwhites and amaryllis, and both are readily available for planting now — and they will bloom indoors while it snows outside.
Paperwhites are a type of daffodil specifically for forcing indoors now. Most grocery stores sell them, as do garden centers and feed-and-grain stores. They usually cost about a buck a bulb, and will produce flowers in four to six weeks. They are not hardy in New England, so don’t bother saving the bulbs to plant outdoors. Just enjoy them, and accept that they are a one-shot deal.
I should warn you that paperwhites have strong scents, and not everyone is enthralled with their smell. But I like the scent, which I can smell once I walk into a room with freshly blooming paperwhites. If you don’t like strong-smelling musky scents, there is one variety that is barely fragrant: Grand Soleil d’Or. Instead of the traditional white blossoms these bulbs produce gold or yellow blossoms.
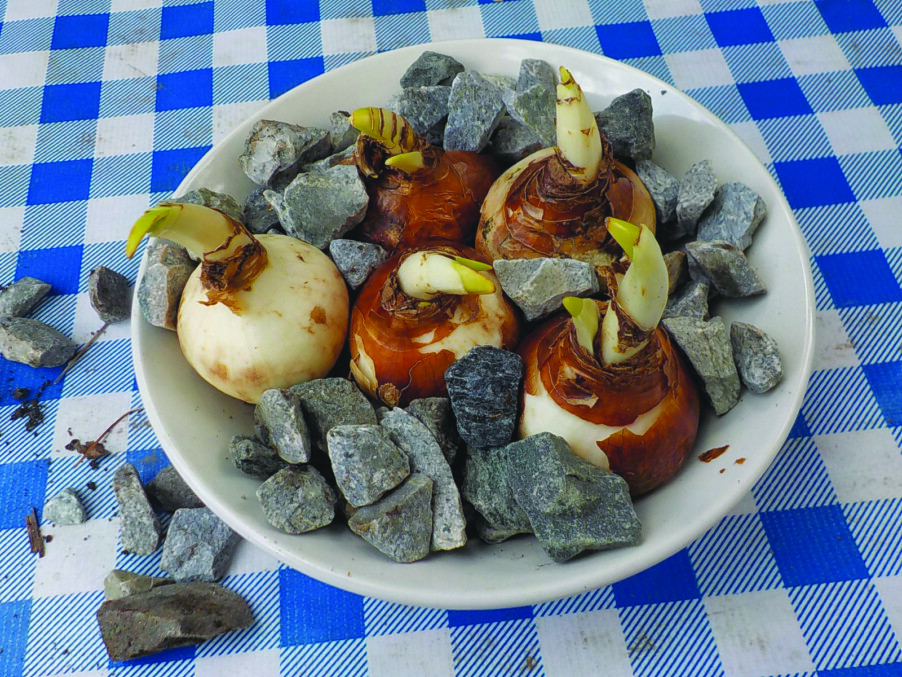
If you are in a hurry for blossoms and can select your bulbs from a bin, select those that already have started to grow. They are just aching to grow. Select a nice bowl or pot that will hold water, and get some small stones — three quarters of an inch to an inch is a good size. Garden centers sell white marble chips for this, but you can pick up stones from your driveway or garden, too. Just rinse off any stones before using them.
Arrange the three to five bulbs on a layer of stones, then fill in around the bulbs with more stones. The stems and flowers will get up to 18 inches tall, so they may tip over if not firmly seated and surrounded with stones.
Next, add water until it just kisses the bottom of the bulbs. You do not want the bulbs to sit in water. Those dry roots will quickly wake up and extend into the pool of water around the stones. Top up the water as needed, but try not to let it go dry.
Some people wait until the bulbs have grown an inch or two, drain off the water, and replace it with a 7-to-1 dilution of gin or vodka. This will, I am told, produce shorter, sturdier stems that will not flop. Or use rubbing alcohol and dilute a bit more, 11 to 1.
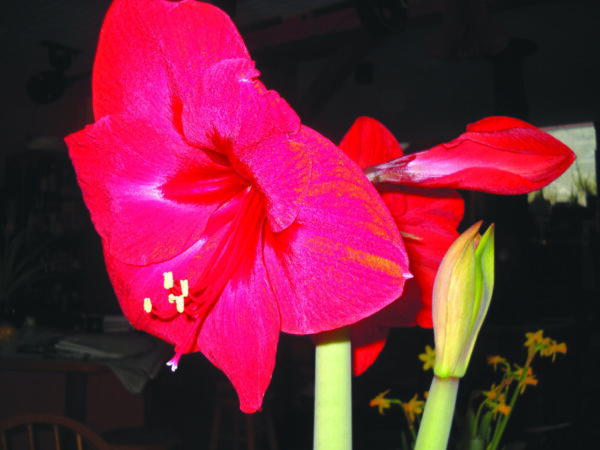
A more expensive but more dramatic flower for forcing is amaryllis. This is a tropical flower originally from South Africa — and many are still imported from there each year. Properly cared for, your investment in an amaryllis bulb will produce a plant that will last for up to 75 years, blooming every year
Amaryllis bulbs are big: They are anywhere from 2 to 4 inches across. They are often sold with a kit that includes an appropriate-sized plastic pot, the bulb, and enough potting soil to plant it in.
Smaller amaryllis bulbs are younger and less expensive, but you get what you pay for: A $5 amaryllis at a Big Box Store will probably produce one stem with three or four large blossoms. A $12 bulb will be bigger and should produce two stems with eight or more blossoms. In time, your small bulb will get bigger if you care for it properly.
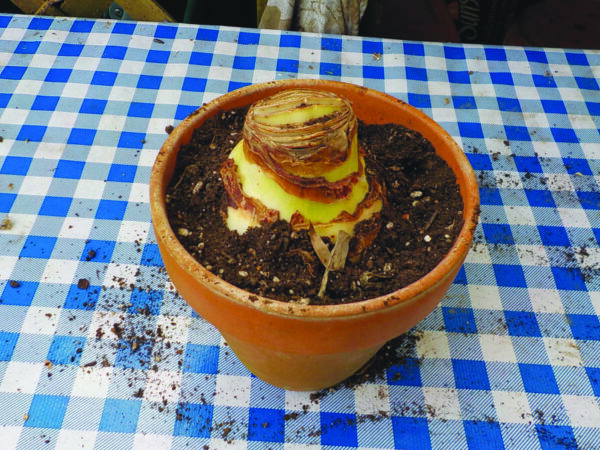
Planting an amaryllis is easy. You should plant it in a good potting soil, not soil from the garden, which may stay too wet and get compacted. It is important that the bulb not be buried in soil. It may rot if you do that. The shoulders of the bulb should stick up above the soil line, up to one third of the bulb. The potting soil should be lightly moist, not dry or soggy when you plant it.
Place your amaryllis in a sunny window and wait. Sometimes when you buy an amaryllis it will have already started to grow in the box. I like that, as it means that my amaryllis will start growing for me right away.
Other times an amaryllis will sulk for weeks, doing nothing. There is nothing I know of to encourage it to grow, though maybe whispering encouragement to it will help. Only do that, however, when you are the only person in the room!
Amaryllis stems tend to lean toward the light, so rotating the pot every few days will help to keep it growing straight up (and give you something to do). You may need to insert one or more thin bamboo sticks and tie with yarn to help keep the heavy blossoms — up to 4 inches across — from pulling the stem over.
After the first stem has bloomed you may get a second stem. You can cut off the first stem after it is finished blooming. Sometimes the first and second stems grow at the same time, which leads to a little pushing and shoving in the pot, much like teenagers. Once a stem is finished blooming, you can cut it off.
After blooming, keep it in the pot, and put it outside in a sunny location all summer, but bring it inside by Oct. 1. Remove from the pot and let it dry out. Cut off the leaves and place it in a paper bag and keep in a cool, dark place for five or six weeks. Then pot it up, and it will bloom again.
So if you miss gardening, get an amaryllis or some paperwhites. And spring will be along in no time!
Featured photo: 5 paperwhite bulbs fit into this soupbowl with gravel. Courtesy photo.