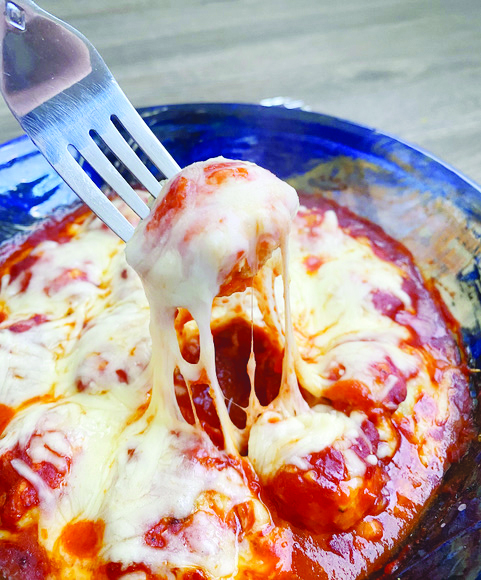
It isn’t quite blueberry season in New Hampshire, but there’s no reason to delay planning. Never mind that you probably can find some decent berries that were grown elsewhere available in the produce department of your grocery store.
These tarts are easy to make; the cooking portion is done in under 20 minutes. The longest part of the recipe is chilling the finished product. You could eat them right away, but the chilling time allows both fillings to set up a bit more firmly. No judgment if you want to eat them as soon as they are done!
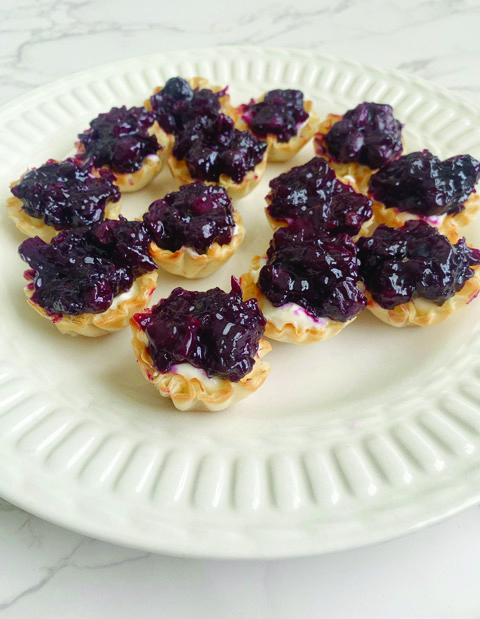
For the ingredients, there are three notes. First, you want phyllo tart shells, which I did have to search for. My local grocery store didn’t carry them, but my Walmart superstore did. Fresh blueberries are the ideal ingredient for this recipe. You can use frozen, but I would start with just one tablespoon of water when making the sauce. Finally, for cream cheese, be sure to use full fat. Do not buy Neufchâtel; it has a slightly grainy texture, which you’ll notice. You want these tarts to be ultra creamy.
Feel free to make these now, but keep the recipe handy for blueberry season. They make a perfect dessert to bring to a cookout this summer.
Handheld tarts bursting with blueberries
Makes 15 tarts
15 phyllo tart shells
⅓ cup granulated sugar
2 Tablespoons cornstarch
3 Tablespoons water
½ Tablespoon lemon juice
1½ cups blueberries
4 ounces cream cheese
⅓ cup powdered sugar
2 Tablespoons whole milk
Preheat the oven to 350 degrees.
Place tart shells in the cups of a mini muffin pan or on a rimmed baking sheet.
Bake for 4 minutes.
While shells bake, combine granulated sugar, cornstarch, water and lemon juice in a small saucepan, whisking until smooth.
Stir in the blueberries, and bring to a boil over high heat.
Reduce heat to low, and cook for 2 to 3 minutes, until the blueberries release some of their juices and the sauce thickens.
Remove the sauce from the heat, and allow to cool to room temperature.
Remove tart shells from the oven.
Combine cream cheese, powdered sugar and 1 tablespoon of milk in a small bowl.
Stir until smooth, adding the additional tablespoon of milk if needed.
Divide cream cheese mixture evenly among the cups.
Top with a layer of blueberry sauce.
Store tarts in a sealed container for at least 4 hours before serving.
Featured photo: Handheld tarts bursting with blueberries. Photo by Michele Pesula Kuegler.