It’s less than a week to Valentine’s Day! What better way to show someone you care than by delivering (or mailing) a batch of homemade cookies? Even better, these cookies are filled with chocolate, which so many people crave.
The ingredients in this cookie are pretty straightforward. There are just two key notes. First, you must use instant coffee for these cookies, unless you want a cookie that is bitter and hard to chew. Second, although the cookies are topped with only a sprinkle of coffee sugar, it’s definitely an important part of the recipe. It elevates the coffee flavor in every bite.
Head to the store and get all the ingredients you need. This may be the most delicious, and thoughtful, Valentine gift you could give.
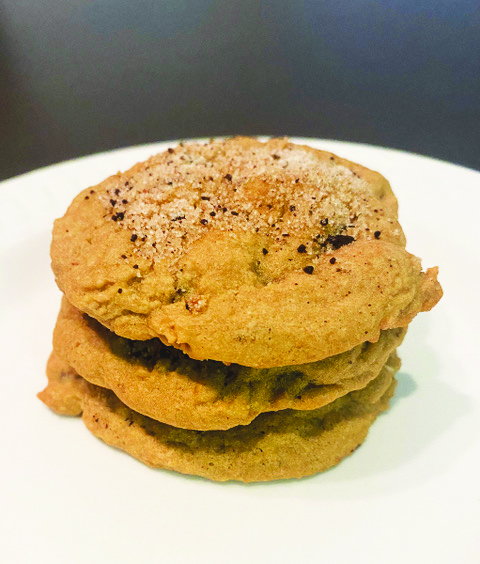
Mocha latte cookies
Makes 20
Cookie dough
½ cup unsalted butter, softened
¼ cup granulated sugar
½ cup light brown sugar
1 large egg
1 teaspoon vanilla extract
1½ Tablespoons instant coffee granules
1½ cups all-purpose flour
½ teaspoon baking powder
¼ teaspoon baking soda
¼ teaspoon kosher salt
½ cup semisweet chocolate chips
Coffee sugar
¼ cup granulated sugar
1 Tablespoon instant coffee granules
Make the coffee sugar
Combine ¼ cup granulated sugar and 1 tablespoon coffee in a food processor.
Pulse until the coffee granules are the size of grains of sand.
Set aside.
Make the cookie dough
Preheat the oven to 350 degrees.
Combine butter and both sugars in a bowl.
Beat on a medium-low speed, using either the paddle on a stand mixer or a hand mixer for 4 minutes.
Add egg, and beat again, scraping sides to combine.
Dissolve 1½ tablespoons of coffee granules in vanilla extract in a small bowl.
Add to dough, and mix until combined
Add flour, baking powder, baking soda and salt, stirring until combined.
Add chocolate chips, mixing until distributed.
Line a baking sheet with a piece of parchment paper, then scoop heaping tablespoons of dough onto the prepared tray.
Repeat, leaving a couple inches between cookies.
Flatten the cookies slightly using the back of a spoon or your fingertips.
Sprinkle a small amount of coffee sugar on each cookie.
Bake for 10 to 12 minutes or until golden brown.
Allow to cool for 4 minutes, then transfer to a baking rack to cool completely.
Featured Photo: Mocha latte cookies. Photo by Michele Pesula Kuegler.