When you’re setting out snacks for an afternoon of football-watching or an evening of movies, you want a nice mix of options. I really like having a dish of something that people can consume by the handful. No need for a plate or fork; just grab a couple or a lot, and continue snacking.
These bourbon and brown sugar mixed nuts are a terrific eat-by-the-handful snack. Unlike many flavored nuts, these have a decent amount of coating! In fact, they probably are the most indulgent, but also most delicious, mixed nuts I make.
Let’s talk about ingredients. I like using salted butter for flavor. If you use unsalted, add a sprinkle of salt — you really need it to balance the sweetness. As for the nuts, I like a mixture of half and half for the pecans and walnuts. However, if you prefer almonds or another nut, go ahead and substitute. For the bourbon, use one that you like to drink on the rocks or neat. If it’s a bourbon that tastes better with a mixer, don’t use it here.
I have one final recommendation. If you are sharing these with a larger group, I would highly recommend making a double (or triple) batch. Any time that I have made this recipe, they disappear faster than any other dish on the table.
Bourbon & brown sugar mixed nuts
Serves 8
¼ cup salted butter
2 cups whole pecans and walnuts
¾ cup light brown sugar
3 Tablespoons bourbon
Line a rimmed baking sheet with parchment paper.
Melt butter in a large saucepan over medium heat.
Add nuts, stirring well to coat.
Add brown sugar, mixing until all nuts are coated.
Add bourbon. (Mixture will bubble.)
Stir frequently for 3 to 5 minutes or until the sauce changes from liquid to grainy.
Pour the nut mixture onto the prepared baking sheet.
Using a spatula, spread the nuts into a thin layer.
After 2 minutes, separate the clusters using your hands. (Mixture should be cooler)
If nuts still are sticky, they can be baked for 5 to 10 minutes in a 350-degree oven.
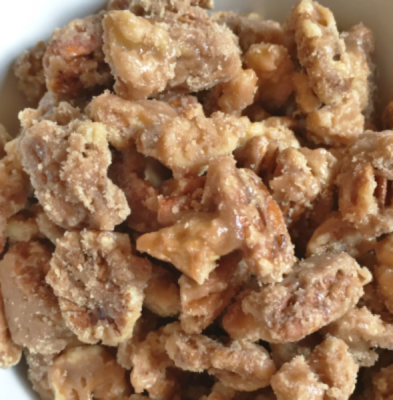
Featured Photo: Bourbon & brown sugar mixed nuts. Photo by Michele Pesula Kuegler.