It is said that the three hardest things for a man to say are “I was wrong,” “I need help,” and “Worcestershire sauce.”
From time to time recipes will call for Worcestershire sauce, and it’s one of those ingredients that we shrug and add without a lot of thought. The other ingredients in a bloody mary — or, in this case, her alcohol-free-but-still-a-party-girl sister, a virgin mary — are all pretty self-explanatory:
The tomato juice is there to provide an acidic, savory base for the other ingredients. It stands up well to strong flavors and doesn’t taste washed-out as the ice melts and it gets diluted a bit. The lime juice is also acidic and is there to give extra zing to the tomato juice. The various spices and flavorings are there to give layers of flavor to the tomato base, which really is very good at carrying complex flavors.
But the Worcestershire sauce is a bit of an enigma. It is there, it turns out, to add umami, a savory quality. Yes, technically tomato juice is a fruit juice, but it is at its best when it leans into savoriness, not sweetness. And Worcestershire sauce, which is made largely of anchovies, adds another layer of salinity and savoriness to the production. (Yes, I know you could have happily gone the rest of your life without knowing about the anchovies. Sorry.)
A 5.5-ounce can of tomato juice
1 Tablespoon pickled pepper brine – I like the liquid in a jar of pickled banana peppers or pepperoncini
1 Tablespoon fresh squeezed lime juice – about a quarter of a lime
1 teaspoon ginger paste – I use pre-pulverized, jarred ginger paste. If buying an entire jar of ginger paste seems like too ambitious a purchase for you, peel a knob of fresh ginger root, and chop it finer and finer, until it collapses on itself and turns into paste.
1½ teaspoon Worcestershire sauce
1/8 teaspoon onion powder
1/8 teaspoon garlic powder
1/8 teaspoon celery salt
Chili/lime powder for the rim of the glass
Garnish – This is where many restaurants lose their minds. Do an internet search for “bloody mary garnish” and brace yourself; some bloody marys have more garnish than actual bloody mary. Since we’re skipping the alcohol this time around, wowing your guests with garnish might be the way to go. This time, I’ve skewered a half-sour pickle, a large olive, a lime wedge and a chicken nugget.
Sprinkle some chili/lime powder onto a plate. Wipe the rim of your glass with a lime wedge to moisten it, then turn the glass upside-down and swirl it around in the powder, to coat the rim.
Add all the remaining ingredients and ice to a cocktail shaker. Shake to combine and chill.
Strain over fresh ice into the prepared glass, and garnish to whatever degree you can justify.
If you wanted to have a bloody/virgin mary party, you could easily make a large batch of this, and lay out garnish stations.
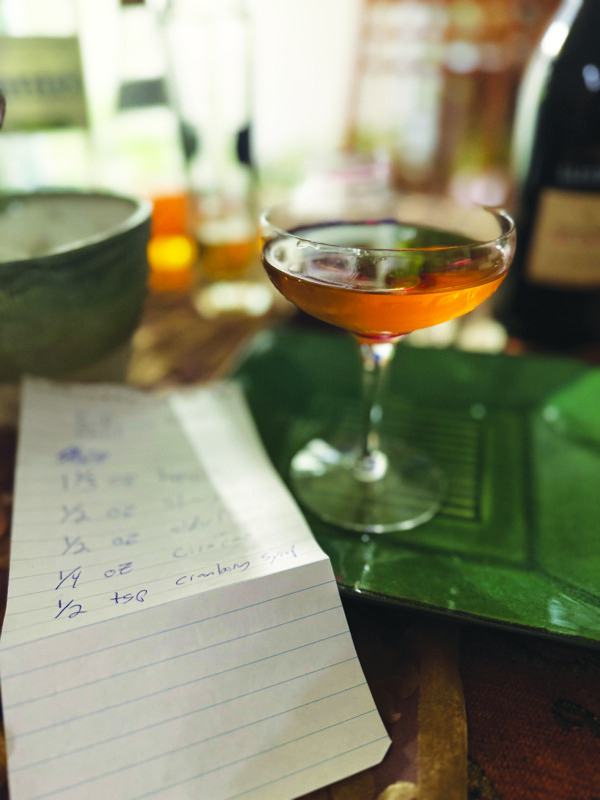
Featured photo: Virgin Mary. Photo by John Fladd.