They’re born to keep on blooming
Reclining in an easy chair on a recent cold and snowy day, I imagined myself a bumblebee. I meandered from flower to flower, taking in the colors and scents and textures of annual flowers, starting with A (alyssum) and ending with Z (zinnias).
I was a bumblebee tourist, seeing everything my mind could imagine, and all were in bloom at once. Then, returning to reality, I got out of my catalogs and started searching for new flowers.
Annual flowers are wonderful. Perennials are great too, but most make a relatively short appearance, rarely more than three weeks. Annuals are born to flower: many start early and keep on blooming all summer if you keep cutting them. They need to make plenty of seeds or their genetic lineage can literally die out and disappear at the end of the season.
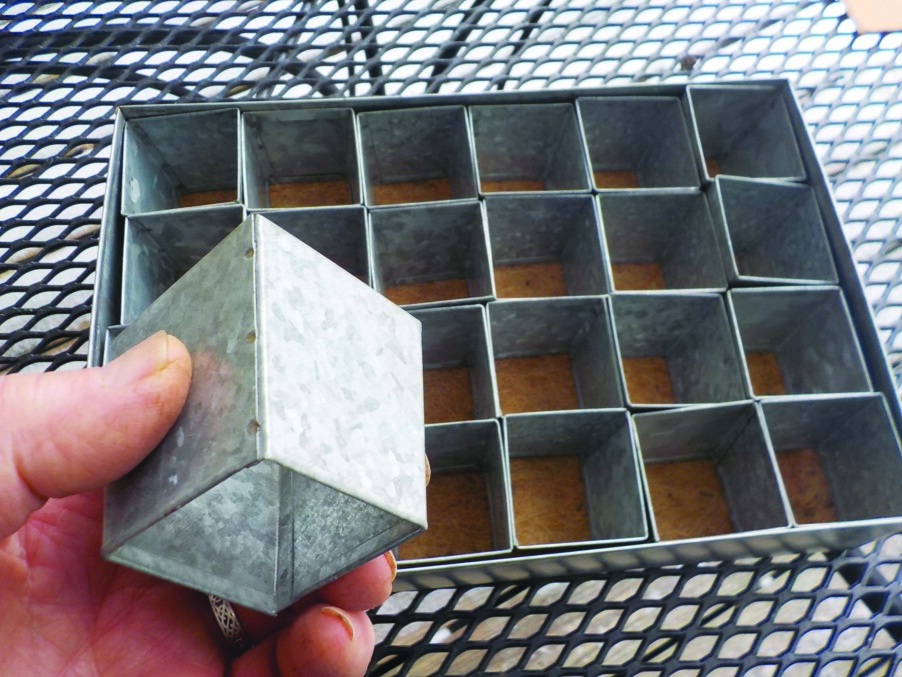
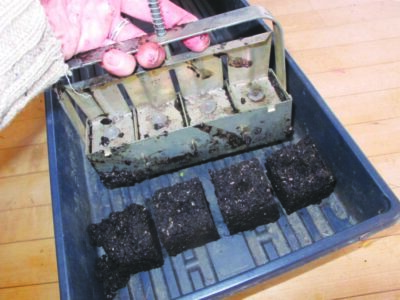
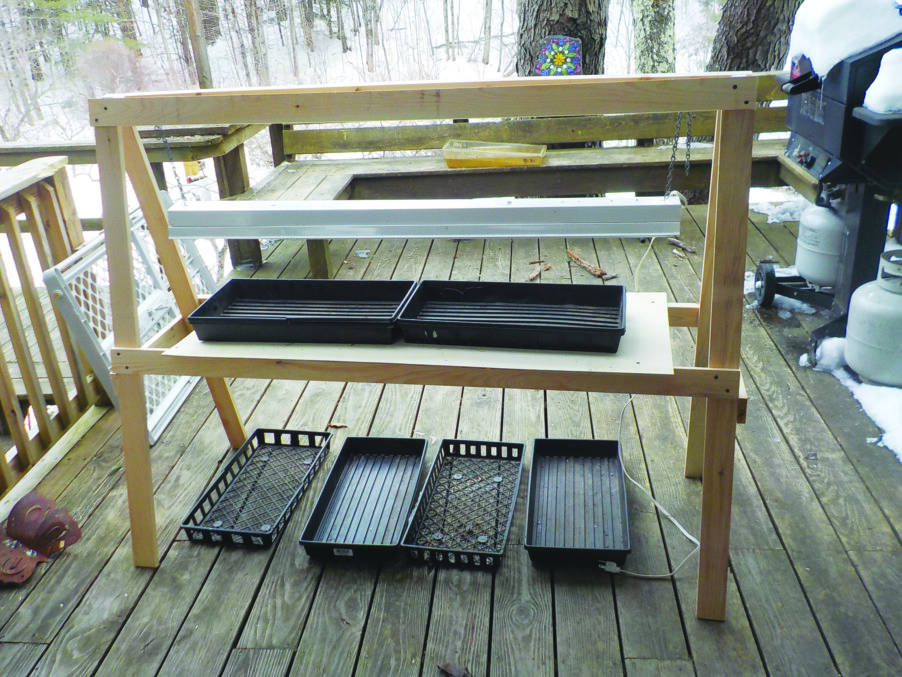
I like starting annuals by seed in six-packs indoors, even when it’s warm enough that I could plant them directly in the ground. Flowers can easily get lost or misidentified as weeds when planted directly in the soil, especially things I haven’t tried before, or if I just want a few.
I love zinnias. They come in such a profusion of colors, and range in size from diminutive to giant. I love the lime-green ones such as Envy and Benary’s Giant Lime because they look so great mixed in with other flowers, in a vase or in a flower bed. Zinnias come as singles, such as the Profusion series, which are short (12”), and doubles such as Sunbow (24 to 30 inches) and Oklahoma (30 to 40 inches). I save seed from non-hybrid ones and plant them directly in the soil in large numbers. And the more you cut these flowers, the more they branch and re-bloom.
Most annual flowers are easy to grow from seed, but not all. One of my favorites, lisianthus, takes 17 days to germinate if kept at 72 degrees, longer if cooler. And even after it starts to grow, its seedlings do not grow fast for several weeks. It’s not a flower for impatient gardeners.
Cosmos varieties have been bred and hybridized in recent years. Looking at the John Scheepers Garden Seeds website I see 23 different kinds of cosmos, including one I must try: “Double Click Cranberries Cosmos,” deep wine-colored and double-petaled like an old-fashioned rose.
A flower good as a cut flower or as a dry flower and spectacular in the garden goes by the unlikely name gomphrena. I plan to plant at least a dozen of these this year, maybe more.
Vines are good, too. I love purple hyacinth bean with purplish leaves and pink-purple flowers. They are slow to start, so I’ll start some indoors in March.
Nasturtiums are vines that don’t climb. They sprawl. Plant these large seeds in full sun after the danger of frost has passed, perhaps in a bed of daffodils. The daffies need sunshine to recharge their bulbs until the foliage dies away, and the nasturtiums will fill in and hide the dying foliage. Nasturtiums like lean soil, so don’t add fertilizer.
I grow some of my favorite annuals not for their flowers but for their leaves. These beauties are always in bloom, which is to say their leaves are a treat to look at. I love their bright colors and shiny surfaces. Here are some good ones:
Perilla: This is a terrific purple-leafed plant that self-sows exuberantly. Pinch off the flowers (which are not at all showy) if you don’t want it to spread next year. Eighteen inches tall. The ‘Magellanica’ cultivar is taller and has foliage in shades of hot pink, deep plum and vibrant green.
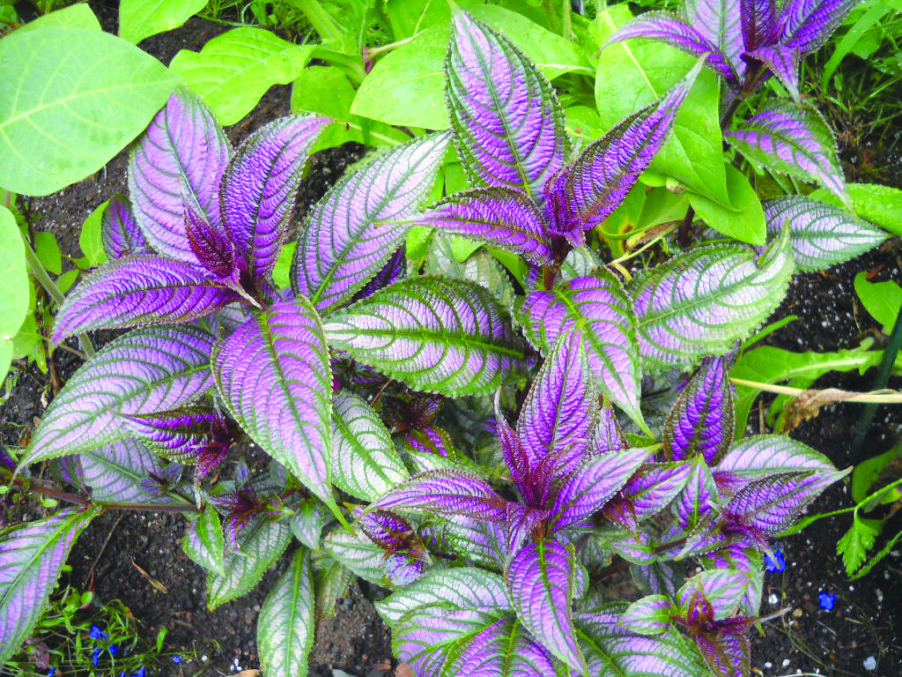
Persian Shield (Strobilanthes dyerianus): This plant just shimmers with silver overtones on dark purple and pink leaves. It loves hot weather and gets big: One plant can spread over a 3-foot circle and stand 3 to 4 feet tall.
Licorice plant (Helichrysum petiolare): I buy some of this every summer because I love the silvery leaves, because it mixes so well with bright-colored flowers in planters, and because it takes abuse. It rarely complains if I let it dry out in a pot. It flows over the edge of pots and weaves it way through other plants. It’s also exceptional in flower arrangements. There are also chartreuse and variegated lemon-lime varieties.
So even though annuals are disposable plants — they die when frost comes — I have to have them. I grow them in the vegetable garden, and in pots to fill in drab corners of the flower garden after perennials have finished blooming. If you want, all those mentioned above are available as plants in six-packs at your local nursery, come spring. Most are great cut flowers — and the bumblebees love them.
Featured photo: I grow Persian shield for its foliage. Photo by Henry Homeyer.