Cut, pull, label, rake
To me, this felt like the summer that never was. It was rarely hot and sunny. The rainy gray days felt more like those in Portland, Oregon, than in New England. Even so, the summer we had is largely over and it’s time to clean it up and get ready for winter. Let’s take a look at what we need to do.
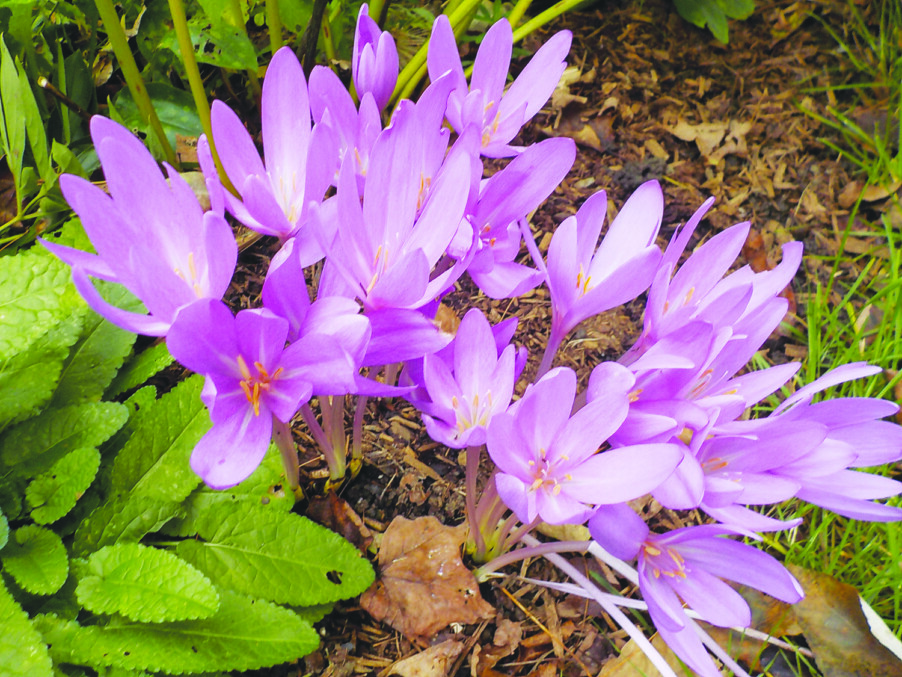
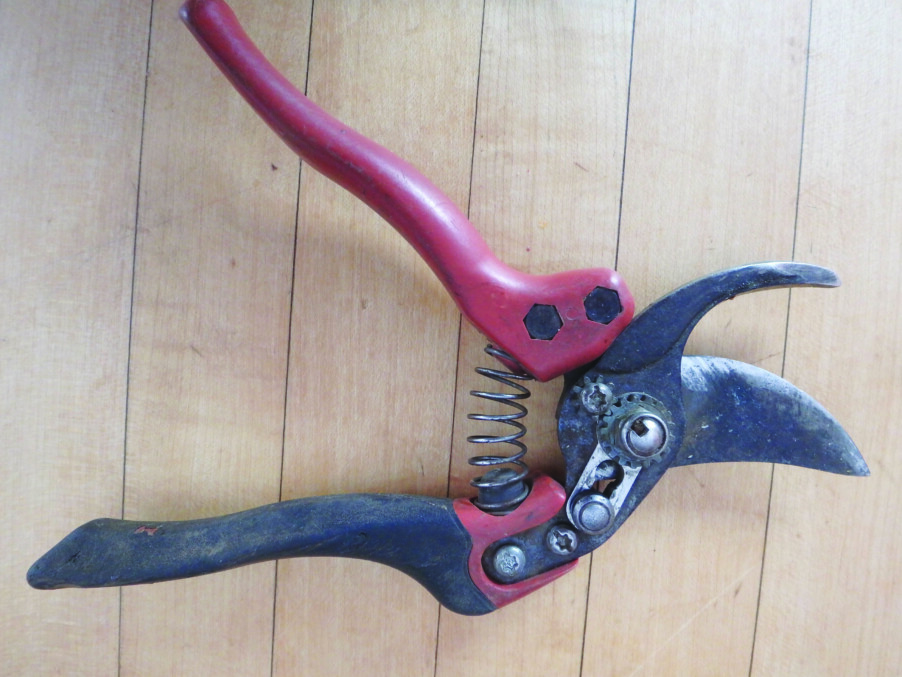
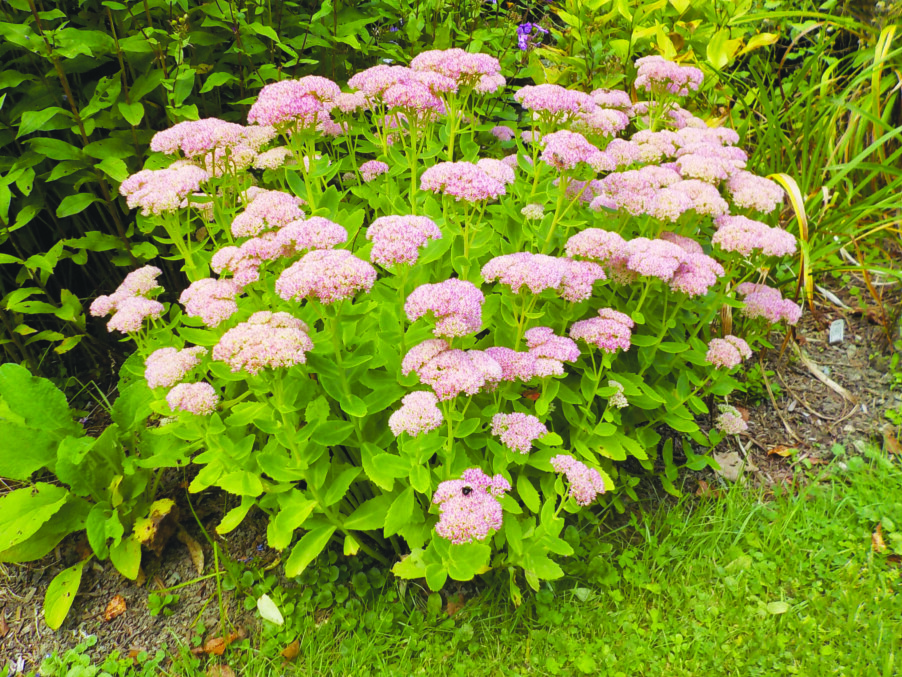
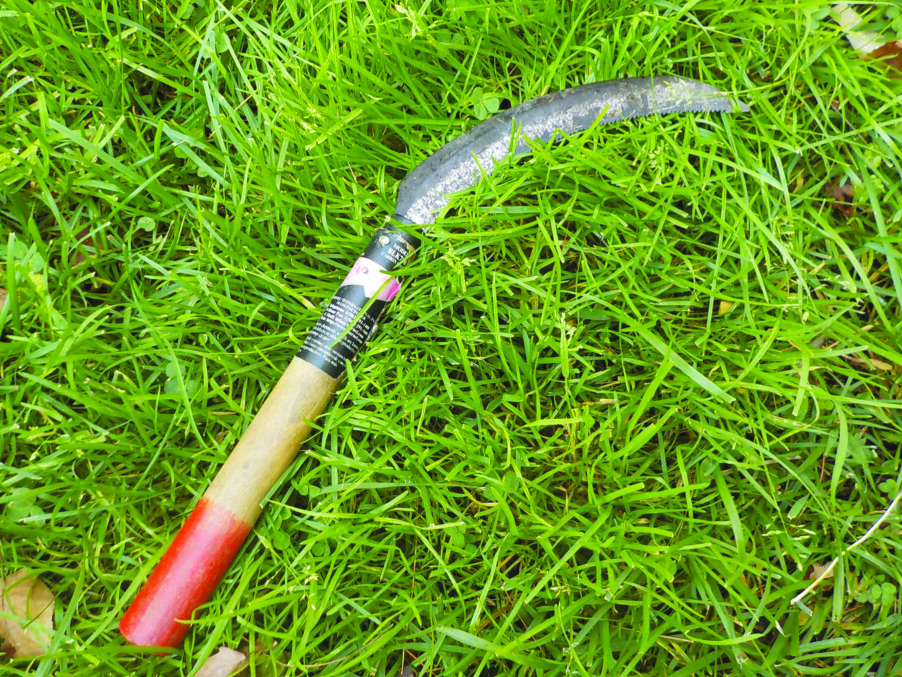
It’s time to start cutting back flowers that are no longer blooming. I like using a small serrated “harvest sickle” for the job instead of hand pruners. It’s available from www.oescoinc.com for about $8. I grab a handful of stems and slice through them with the tool, getting several stems at once. Of course you could use an old steak knife instead. I leave stems bearing seed heads that the finches, cardinals and other seed-eaters might munch on this winter. Wear gloves when you use the tool — it is very sharp!
I am conscious of erosion when removing plants in the fall. I think it’s better to cut off the stems of big zinnias, for example, than to yank them now. That way I am not opening up the soil, making it vulnerable to erosion or providing a nice resting spot for airborne weed seeds. Many weed seeds are tiny and can blow in from your next-door neighbor’s garden. I can always dig out roots in the spring when I plant something else, and they may decay and add some organic matter to the soil in the meantime.
Once you have cut back and cleaned up the garden a bit, you should pull all the weeds. I know this can be a tedious chore, it’s better done now than in the spring. Weeds in spring will start growing long before you start planting — and before the soil is dry enough for you to work it.
Weeding is easiest to do when the soil is moist. If you have big, deep-rooted weeds like burdock, you should use a garden fork to loosen the soil. Plunge the fork into the soil and tip it back, loosening the soil. Do that in a few places for a big weed. Then pull s-l-o-w-l-y. A quick yank will break off roots that will survive and grow next summer. Any weed that is loaded with seeds should go in a separate compost pile; otherwise the seeds could come back to haunt you, even years later. For smaller weeds, I like my CobraHead weeder.
And here’s a little-mentioned fall task: getting rid of the flowers that have not done well in the past few years. That’s right, not everybody gets to ride the bus. This is a good time to say to plants that have not performed, “You’re off the bus. Go live in the compost pile.” A plant that is too aggressive — or one that just won’t bloom — should be exiled. Next spring, that gives you license to buy something nice — you have a gap to fill in the perennial border.
What else? Place labels in the back right corner of any clump of flowers that is relatively new. By spring you may have forgotten what it is. I like those narrow white plastic labels. Not to look at, but to do a job. I use a No. 2 pencil or a special crayon to write the name, and then I push the label deep into the soil so that only a smidge is showing. If I can’t come up with a name, I know where to look. Back right corner.
Outdoor flower pots need to be emptied, cleaned and put away after frost. Don’t wait until December to do this — if a pot full of wet soil freezes, it will crack. You may as well clean out the pots now rather than in the spring. And save all that potting soil. You can invigorate it in the spring by adding compost and some organic fertilizer. So fill up a trash can or a few buckets with that potting soil and re-use it.
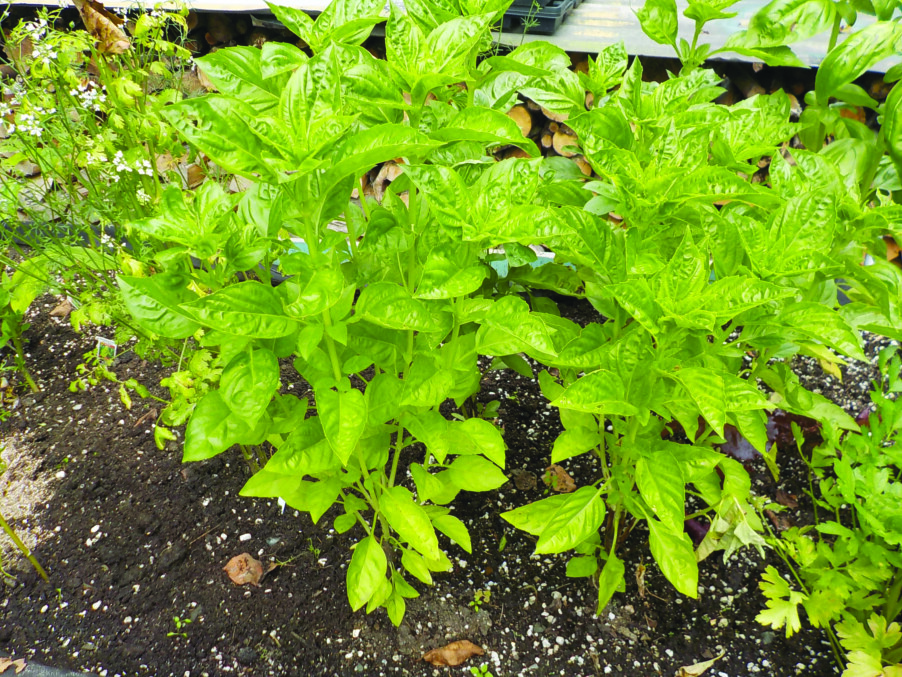
The vegetable garden needs to be weeded, and preferably mulched with chopped up fall leaves. If, like me, you make mounded wide beds, re-shape the beds now by hoeing up some soil from the walkways. Pull dead plants and get rid of them.
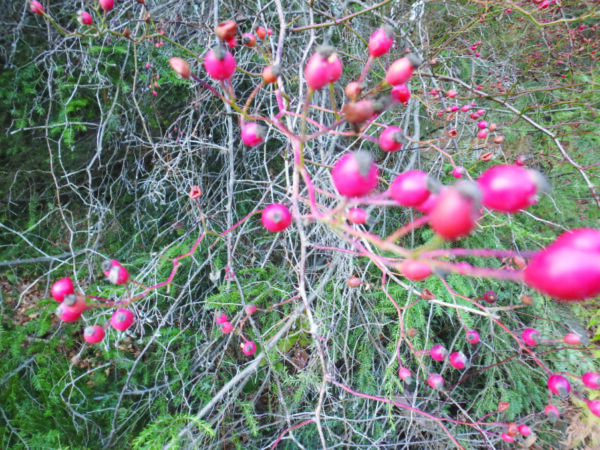
If you have an asparagus patch, look to see if your plants are loaded with those little red “berries,” their seeds. If you see seeds, cut down the stems right now. Some of those seeds will settle in and start more asparagus plants — and they will fight for moisture and minerals just as weeds do.
If you have old maple trees, think about giving them some ground limestone or agricultural lime this fall. Acid rain dissolves and washes away the calcium they need. Adding some lime will increase the vigor of your trees. And remember that soil compaction is bad for tree roots. Don’t park your car near a tree you love. Sprinkling a little compost over the soil will loosen it up as earthworms move it down and microorganisms break it down. Roots go far from the trunk of trees — much farther than the “dripline” of the branches.
My last task is always to rake the leaves. I chop mine in a chipper-shredder, but you can also run over them with a lawnmower. Leaves are full of good nutrients for plants, and are much loved by night crawlers and microorganisms. Rake the leaves onto a tarp and drag them away — that’s much more efficient than packing them into a wheelbarrow. Once it has rained, the leaves will settle in and make your plants feel cozy and loved.
Reach Henry at PO Box 364, Cornish Flat, NH 03746 or by email at henry.homeyer@comcast.net. He is the author of four gardening books.
Featured photo: This harvest sickle is great for cutting back stems of flowers. Photo by Henry Homeyer.