Give the kids a wheelbarrow and a shovel
Once again it is time to find the perfect gifts for your loved ones. Gardeners are easy to shop for because there are so many good things to shop for, and they will probably be pleased with whatever you choose. As a shopper I always try to support local, family owned businesses — they support our community and I want to support them when possible. Let’s take a look at some ideas.
Think about buying tickets for you and your gardening friend to a special garden or perhaps one of the spring flower shows. This will allow the two of you to have some time together and to get some ideas about what you both can do in your gardens. One of my favorite gardens is Bedrock Garden in Lee, New Hampshire. This garden was developed by plant guru Jill Nooney and her husband, Bob Munger, over a 25-year period and recently achieved 501(c)3 status as a nonprofit. Not only does it have a fabulous collection of plants; Jill is a sculptor and welder who has created art that is displayed in the gardens. This is truly a gem of a place and worthy of visits. Suggested donation of $15. See their website for schedules.
Another garden I love is Saint Gaudens National Historic Site in Cornish, New Hampshire. Augustus Saint Gaudens was a world-known sculptor who lived and worked there in the early 20th century. The well-maintained formal gardens and grounds are enhanced by his fabulous life-size (or larger) bronze sculptures. The grounds are open year-round and the galleries are open from Memorial Day weekend through Oct. 31. Admission is $10 and is valid for seven days.
Of the spring flower shows, the Connecticut show in Hartford is probably the biggest in New England, and well worth a visit. It will be Feb. 22 to Feb. 25 in 2024 and although tickets are not yet on sale you can make up a nice card inviting your gardening buddy to go with you.
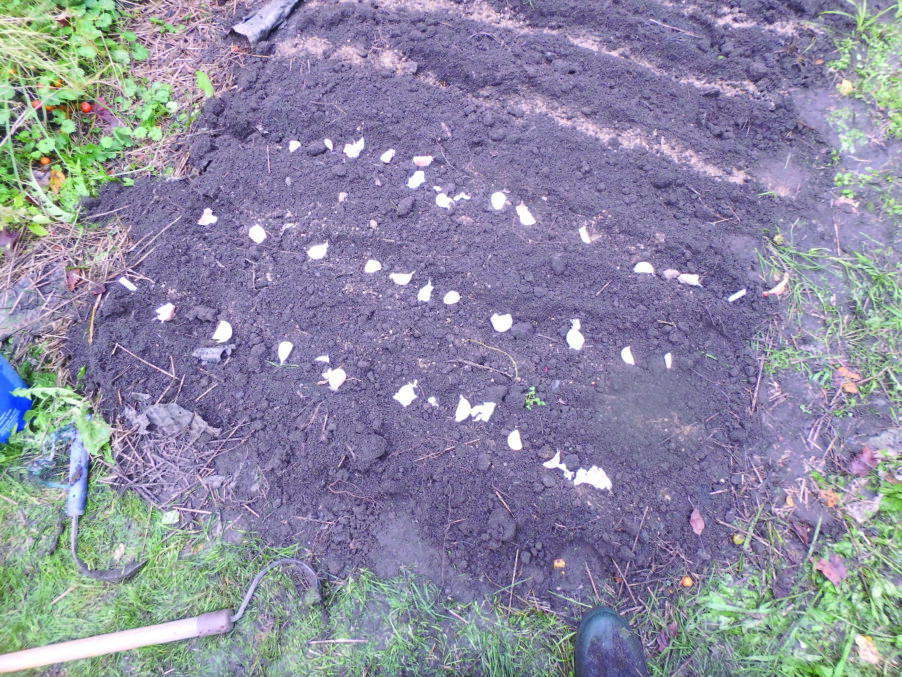
Garden tools are generally a hit. On my second birthday I was given a child-sized wheelbarrow, a watering can and a shovel, all of which helped form me as a life-time gardener. Most garden centers sell good-quality tools for kids made of metal, not plastic. See what you can find for a small person in your life.
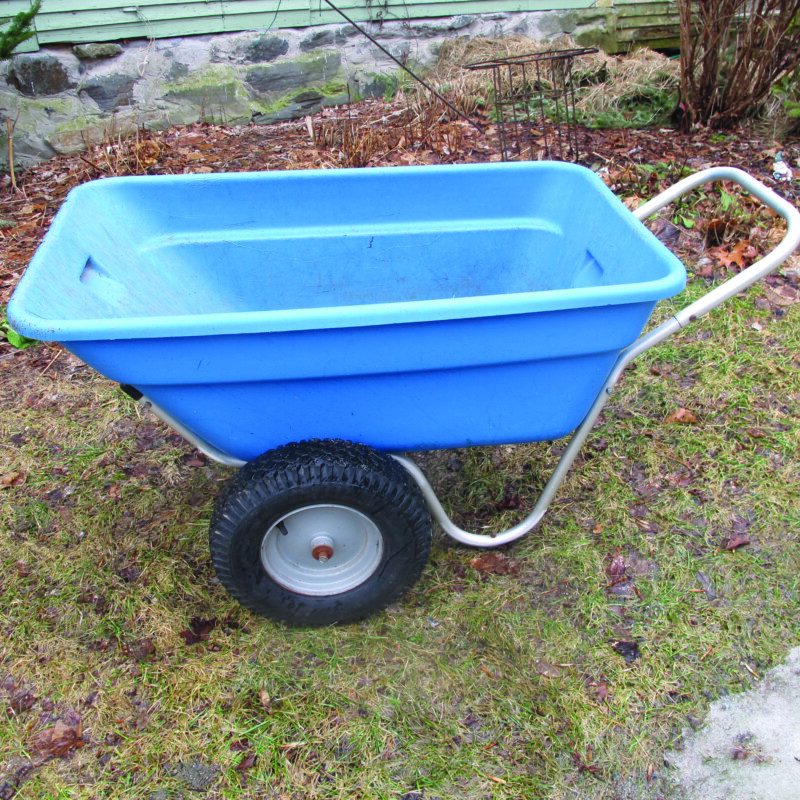
Adults like tools, too. For 20 years now I’ve had a Smart Cart, a well-balanced two-wheel cart. The frame is made of airplane-grade tubular aluminum and the 7-cubic-foot body of heavy-duty plastic. It comes either with bike-type wheels or smaller, fatter wheels capable of traversing wet areas more easily and carrying heavier loads. I chose the wide wheels, which make the cart rated for 600 pounds. The narrower wheels are rated for 400 pounds. I’ve never had a flat tire and the cart has served me well. The bin pops out if you want to wash a dog in it or carry home manure in your Subaru. It is not inexpensive but worth the investment.
My favorite weeder is the CobraHead weeder, a single-tine, curved hook that teases out roots with ease and precision. It has become an extension of my body — I use it for planting, weeding and more. About $29 and available not only online but also from good garden centers and seed companies everywhere.
Although there may be no better mousetrap to invent, amazingly there is a new design to the shovel, one called the Root Slayer. It is all one piece of steel; it has a straight leading edge that comes sharp and stays sharp. The edges are serrated and able to slice through roots like a hot knife through butter. Great for planting in the woods or near trees. I still use my regular shovel or spade for digging in my garden or filling a wheelbarrow with compost. But if I want to plant a tree in a field, it is great for slicing through sod. I use it for dividing big clumps of daylilies and other tough perennials. It’s available at good garden centers.
I know most of you probably keep track of garden events on your phone — things like when you planted lettuce seeds or when your delphinium bloom. I don’t. I like an old-fashioned journal I can write in with a pen. Blank books are readily available, and some companies even sell special garden journals. Gardening is a slow and thoughtful pastime and lends itself to the handwritten word.
If you know that your gift recipient starts seeds in the spring, or plans to, you might consider getting an electric heat mat as a gift. They considerably speed up the time needed for germination of weeds in the spring, So, for example, corn seeds can take two or three weeks to germinate in cold, wet soil but will pop up in three to five days when on a heat mat. Of course you then have to transplant the seedlings, but that is not bad for a small patch. I generally use a planting flat with 98 cells for corn and transplant them when they have leaves 2 inches tall.
If deer are a problem, some garlic-oil clips will add some protection in winter for your tasty trees and shrubs. I’ve had excellent luck with them, specifically with a brand called “Plant Pro-Tec Deer and Rabbit Repellent.” They come in a package of 25 for about a dollar each and seem to last all winter. They are advertised as working for six to eight months. Of course, depending on how hungry the deer are, they may not be 100 percent effective.
Seeds are great gifts and serve well as stocking stuffers. If you save heirloom tomato or flower seeds, you can package up some of your favorites for a friend, along with a good description. And you can give a nice houseplant, particularly one in bloom. But most of us already have all the houseplants we need.
Lastly, books are great gifts for gardeners, especially now, in winter, when we have time on our hands. If I could select just one book, I’d pickEssential Native Trees and Shrubs for the Eastern United Statesby Tony Dove and Ginger Woolridge (2018, Imagine, Bunker Hill Studio Books, $35 hardback). I’m totally behind the movement to plant native plants to support our birds, pollinators and wildlife and this book will answer all your questions — which plants are attractive to deer, salt-tolerant, good for poor soils and much more. It has excellent photos.
Enjoy picking good gardening gifts as you play Santa this year. Your loved ones will love you even more.
Henry is writing just one gardening article per month this winter. You may reach him at PO Box 364, Cornish Flat, NH 03746 or by email at henry.homeyer@comcast.net.
Featured photo: I’ve had this Smart Cart for 20 years. Photo by Henry Homeyer.