Yes, that is a squash in the spare bedroom
It seems to me that summer has been zooming by. Of course, I did plant many vegetables two to three weeks earlier than usual and crossed my fingers that Demon Frost would not appear. It didn’t. We’ve had a very sunny summer, and my garden is thriving.
I planted 35 tomato plants this year. Why so many? I eat tomatoes three meals a day when they are available and like to have enough to share with friends and neighbors. But most importantly, I freeze them to use for the rest of the year. I eat stews with a tomato base all winter, and love having tomatoes that I know are organic and picked at their peak of perfection.
If you have a big vegetable garden, you probably should have a freezer. I have two. I cook with frozen vegetables from last year until this year’s crop comes ready.
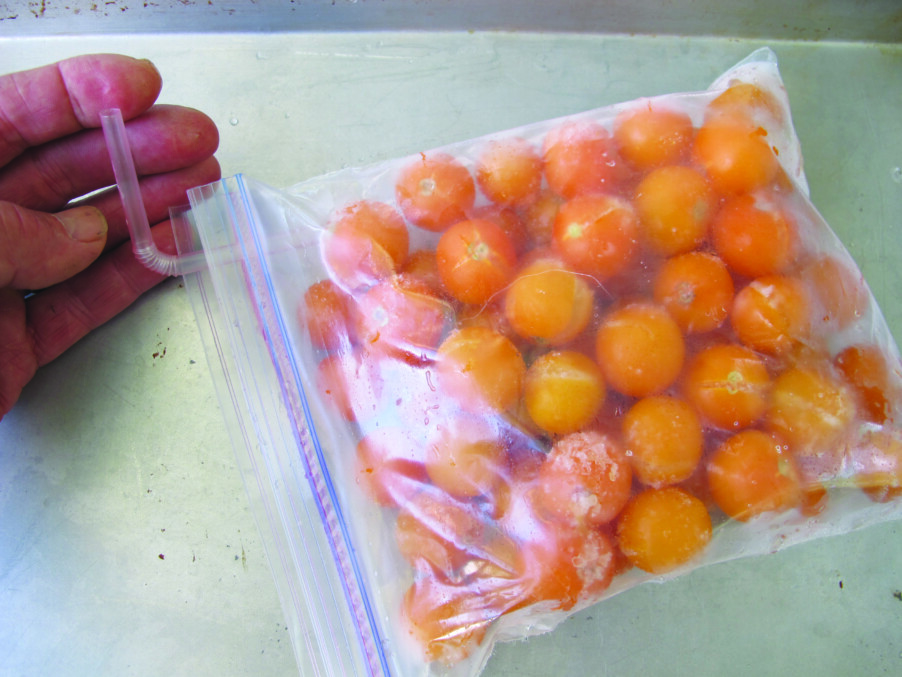
You can freeze whole tomatoes in freezer-grade zip-close bags. Make sure the tomatoes are clean and have no bad spots. Close the bag right up to a straw that you place in the corner of the bag and suck out the air. Quickly pull the straw out and finish closing the bag. Put several bags in a single layer on a cookie sheet and put in the freezer. Nine medium tomatoes will fill a quart bag.
When you need some for a soup or stew, just take a few out, rinse them under hot tap water and the skins will rub right off. Put them on a chopping board for a few minutes and you can dice them.
I grow eight to 10 Sun Gold cherry tomato plants each year. They are a delight popped in the mouth right there in the sunshine, but I usually dehydrate most of them. I cut clean, ripe Sun Gold cherry tomatoes in half and place them cut-side up on the tray of a food dehydrator. I start the process at high heat — say 150 degrees — for 30 minutes, then drop the temp to 125 or 130 so that I don’t damage the vitamins in the tomatoes. You can take them out when brittle, or earlier when they are leather-like. They store well in a dark cupboard, in the fridge, or in a freezer.
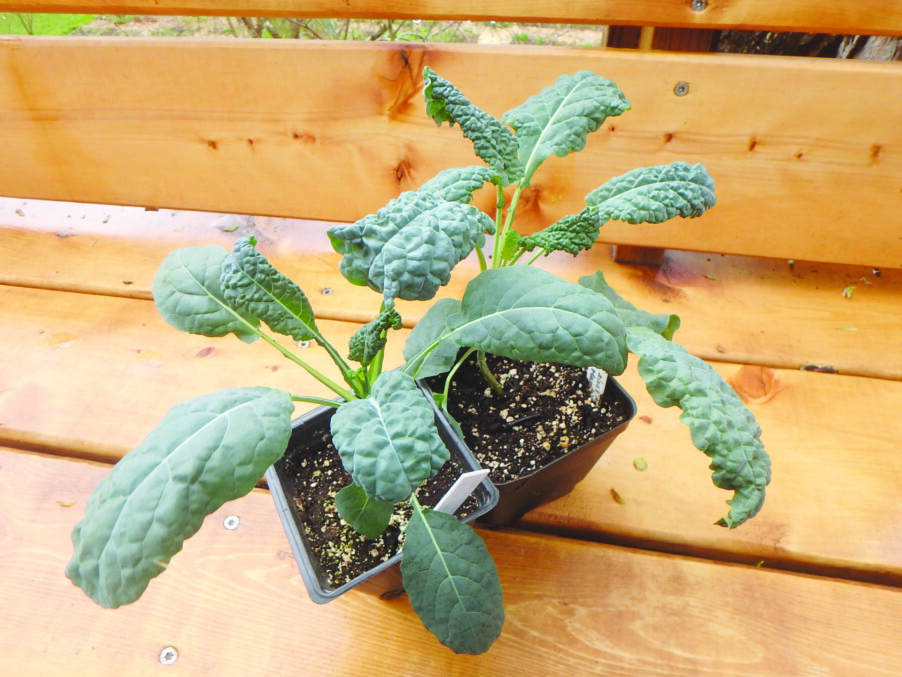
I love kale fresh or frozen. It is great in winter stews, smoothies or colcannon, an Irish kale and potato dish. I blanch kale and other brassicas by dropping the chopped leaves into boiling water for a minute, then removing them and dropping in cold water in the sink. I drain, spin dry in a salad spinner, and spread out the kale on a cotton tea towel and blot dry. This process is easy if you have a blanching pot with an inner pot that has drainage holes so you can pull all the leaves out quickly.
Most green vegetables need blanching to store well in the freezer. This includes Brussels sprouts, broccoli, beans and squash. The quick boiling kills the enzymes that cause aging, making for a better product. I don’t blanch tomatoes, peppers, fruit or leeks. But for best results it is good to eat frozen foods in Year 1, not Year 4 or 5.
The easiest way to keep food for eating all winter is to store it in a cool location. I have a cold basement and a cool area in the entry area of my house. Potatoes, carrots, kohlrabi, rutabagas store well in the basement with high humidity and temperatures in the 33-to-50-degrees range. Cabbages store well there, too, but a fridge is better for long-term storage.
Other veggies need low humidity and cool temperatures. Those include onions, shallots, garlic and winter squash. I keep them on a wooden rack I got from Gardener’s Supply, their “orchard rack.” I have that in the main part of the house where I have a woodstove — hence low humidity. But I keep them near the mudroom, which is unheated. You can also keep squash under the bed upstairs in a spare bedroom with the heat off and the door closed.
When picking vegetables or fruit for later use, it’s important to pick when ripe — which is not always easy. Apples are easy. Pick one, slice it open and look at the seeds. If white or green, not ready. If the seeds are black or brown, they are ready to pick. They dry well for snacks all year.
Winter squash and pumpkins are trickier. You should use pruners to leave some stem when you pick, and that should be dry and a bit brittle. The outer skin thickens and toughens up more, the longer they stay on the vine. I recently ate a butternut squash that I’d stored on a shelf since last fall, and it was delicious.
Green beans get tough if you don’t pick them when ready. If you start to see the individual seeds as prominent lumps, they are probably over the hill. Cook some up and you may still find them edible, even if not perfect. Some varieties, such as “Kwintus,” are tasty even when big.
Garlic? When the leaves start to dry up at the base of the plant, you can pull them. I’ve been told to cure them in a cool, dry place before cutting off the stems. They are said to absorb some nutrients from the stalks into the bulbs.
The bigger your garden, the more you can store for winter. But you can also support your local farm stand and buy some produce in bulk for storage. I recommend it.
Featured photo: A straw used to remove air from a bag of cherry tomatoes. Photo by Henry Homeyer.